Category Archives: Other crafts

Animals Always at the St. Louis Zoo
Two weeks ago I spent a few days with some friends in St. Louis.  I liked the city a lot.  One of the highlights of the trip was the spectacular “gates” to the  zoo by sculptor Albert Paley.  Last year I had seen the scale models while they were on display at the Corcoran in Washington, DC.
Here are my photos:

Back to marbling and books next week!

Leave a Comment

Filed under Life, Other crafts

Smushed Cups

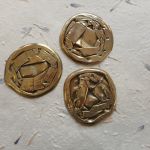
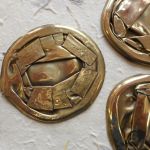
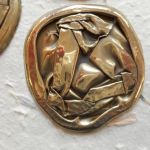
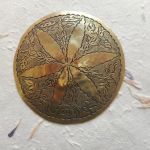
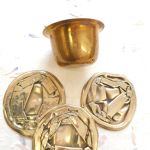
Sam Castner comes through again!  I recently asked Sam to flatten a small, incised, brass coaster.  I knew it would be easy for him since he has a press that will smash anything by putting a gazillion pounds of pressure on it.  At the same time, I gave him some brass drinking cups that had split their sides.  These had been brought home from India by my mother in the 1970s.  I gave him carte blanche with the cups – just saying to do something with them.  Since he was smushing (is too a word) my coaster, he decided to smush the cups also.  Brilliant. Here is the result:

All of these will be used as ornaments for books or boxes.  If you have a special desire for one, let me know and I can work to order.  When Sam delivered these, he also brought some other goodies.  I’m overwhelmed with the possibilities.

I’ve also been back at cleaning out junk and treasures that I’ve collected or inherited over the years and always keep an eye out for anything I can use on my books or boxes. Last week, I was really on a tear and besides getting rid of piles of stuff, rescued these for reuse.

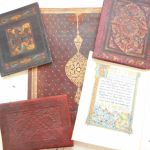
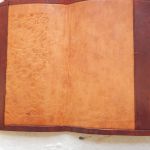
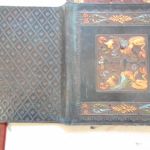
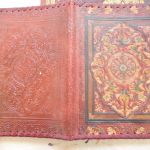
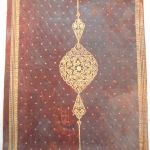
The last of my finds came from my aunt who lived in French Morocco (now Morocco) in the early 1950s.

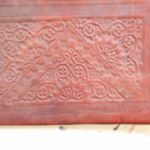
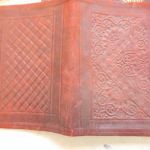
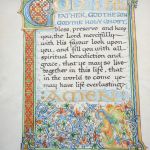
These cases or wraps seem to have been made to protect books or hold papers. I’m not sure what the large one was for. It’s much to big for a book.  I’m thinking about using the leather in some way to create covers for my blank books, but I may change my mind.  The vellum prayer was with the leather, but I think that was just happenstance.  It looks to me like modern English work. It is on parchment, but not old.  Maybe something my mother bought when she was studying illumination in England in the late 1950s, but I really don’t know.  Not a clue how to use it, but it’s neat.

Moral is it pays to clear out the junk!

Even if it does add to the “have to make” pile.

Leave a Comment

Filed under Art, bookbinding, Craft design, Other crafts

Beads in Flame, Addendum

Here are the photos I promised from the bead course. Unfortunately, I didn’t take any photos of people working on beads or lit torches.  That part is left to your imagination!

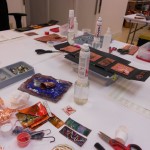
This is the enameling & glass studio, rustic on the outside and packed on the inside. There are eight student stations with a touch in front of each.  The crock pot in the center of the table is used to keep small beads warm until they can be annealed in a kiln. Large beads go directly into the kiln.

After the beads are formed on the mandrels, they are placed in the annealing kiln, which is kept at 950F until full and then allowed to slowly cool overnight.  In the morning, the kiln is opened and the beads removed like a bouquet of blooms. Beads are removed from the mandrels, cleaned and made into jewelry or just admired.

Final showing before leaving for home.

Leave a Comment

Filed under Other crafts

Beads in Flame

Last week my granddaughter and I attended the John C. Campbell Folk School’s Intergenerational week for the third time.  The first time, we took a course in wood carving, the second year was enameling and this year was creating lamp-work beads. Unfortunately, all my pictures of the class and the process are on my granddaughter’s phone and she is in a WiFi  and cell free zone for another week. You’ll have to be satisfied with a few pictures of the finished products for this blog.

The process of making beads requires concentration and coordination. A few seconds distraction can produce a lump of molten glass on the bench rather than a bead on the stainless steel stick  (mandrel).  Unlike the torch fire enameling I did last year with a hand-held torch, the smaller torch used in lampwork is fastened to the bench and both hands are used to make the bead.  That’s where the coordination comes in.  One hand holds the glass rod that is being melted to form the bead. This hand is moving constantly to make a blob or “gather” of  melting glass at the end of the rod as well as moving the glass in and out of the flame to keep it at the desired temperature.

The other hand holds the mandrel, where the bead will be formed. Once a gather is the correct size, it is carefully attached to the mandrel.  From then on the mandrel is constantly rotated to keep the bead even .  This is just for a plain bead!  Adding colors, dots, lines and other embellishments requires careful judgement and movement.  If a bead is heated or cooled too quickly it will crack or even explode.  Good depth perception is also useful to keep everything just where you want it in relation to the flame as bead and the rod need to be cooled slightly at times and heated at others.

My granddaughter and the rest of the class were able to coordinate all the movements well by the second day.  I had trouble keeping the right hand rocking back and forth while the left hand was rolling clockwise. My beads tended to become oval as the left hand rocked instead of rolled. 

Glass rods come in a myriad of colors, both opaque and transparent.  It was great fun playing with the colors and especially the combination of clear and solid.  Some of my favorite designs were on beads that broke in the annealing process.  I’d love to have the luxury of just spending hours by myself honing the techniques and really developing a fluency in the art. In reality, I have paper to marble, boxes to design and books to make.  Maybe some time …

In the meantime, here at home things were growing and growing.  Here are some new pictures of my garden and herb patch.


Herbs are a bit overgrown and need edging, but they are lush due to all our rain.  Tomatoes are slowly ripening – haven’t had enough sun, but the cherry tomatoes are beginning to come on. Delicious!  I’m not doing pickles this year so there aren’t many cucumbers, just enough to eat.

I’ve ordered a batch of paper and paints for some special orders and am planning to get back on track with marbling next week!  If it happens, I’ll be blogging my progress.


Leave a Comment

Filed under Life, Other crafts

Learning to Torch Fire Enamels

As promised, here’s a blog about the quick weekend course on using hand-held torches to fire enamels on copper. Last summer my granddaughter and I had taken a week-long workshop that covered both kiln and torch firing. I had enjoyed that and have already used a few of my pieces in my books, so I was looking forward to being able to learn some new techniques and make more pieces.  I was not disappointed.

For the basic procedures we used, see the page on Enameling.

The trickest problem with torch firing is that the copper can’t have a counter-enamel on the back.  Without a counter, the enamel is more fragile and if it is put on too heavily, will crack or warp easily. I cheated on some pieces and countered them in a kiln.

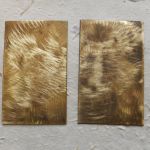
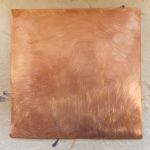
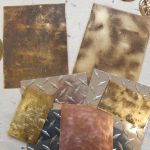
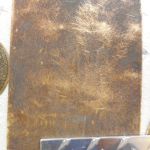
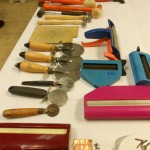
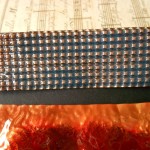
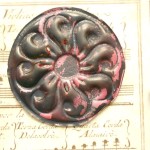
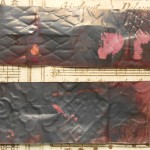
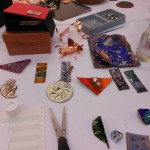
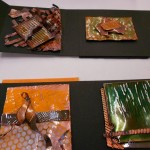
Texture was the first thing we worked on. The copper we were using as a base was rather thin and was easy to texture with crimpers, rollers and corrugaters as well as hammers. I found that putting a heavy texture into the copper made it sturdier and less likely to warp.  Because I need flat pieces for my books, I was very aware of warping.  Some examples:

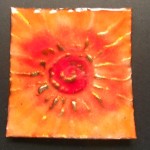
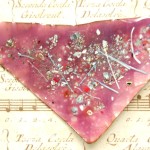
If you want the texture to show, the enamel has to be transparent, not opaque.  On the pinky-rose piece, even with transparent enamels, the underlying texture was lost because of the amount on enamel I put on the right side.  You can see the texture on the reverse. I really enjoyed playing with the various textures and could have spent a lot more time on it.  Unfortunately on the weekend courses you really have only one day of work.  The entire class spent Saturday from 9:00am to 9:00pm torching in spite of cold, wind and dark.  We used the torches outside, so light was a problem.  Unfortunately, I don’t have a picture of the torch table, but there were 6 or 8 torches set up around a table outside.  After putting the enamel on a piece, it had to be carried outside to be fired. One advantage was that it was cold enough to cool the metal quickly afer firing.

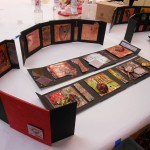
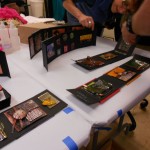
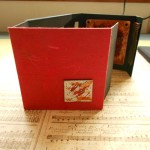
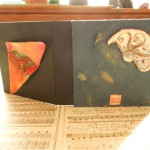
The instructor, Steve Artz, made boxes for all of the students as a way for us to display the pieces of enamelling we completed.  Here are some pictures of the boxes as well as some close-ups of my pieces.

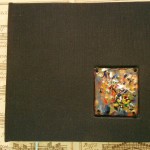
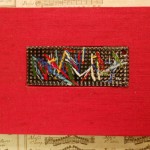
Lastly, here are two completed books. The black one has a piece I made in the summer.  The red book was made with a torch-fired piece in the Book Embellishment workshop, which will be my next blog.

Leave a Comment

Filed under Art, Craft design, Other crafts

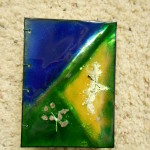
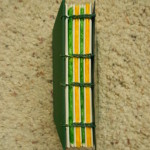
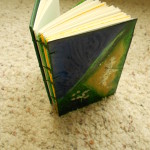
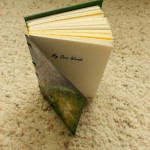
My First Enameled Book

Some weeks ago I took a class on enameling and was very excited to get working on some projects.  As usual, life intervened, but I have finished my first book.  Here it is!

Now I can’t decide whether to keep it or sell it.  One one hand, it may be the only enameled book cover I ever make as the rest of the pieces are smaller inserts.  On the other hand I really don’t need another blank book.  What to do?

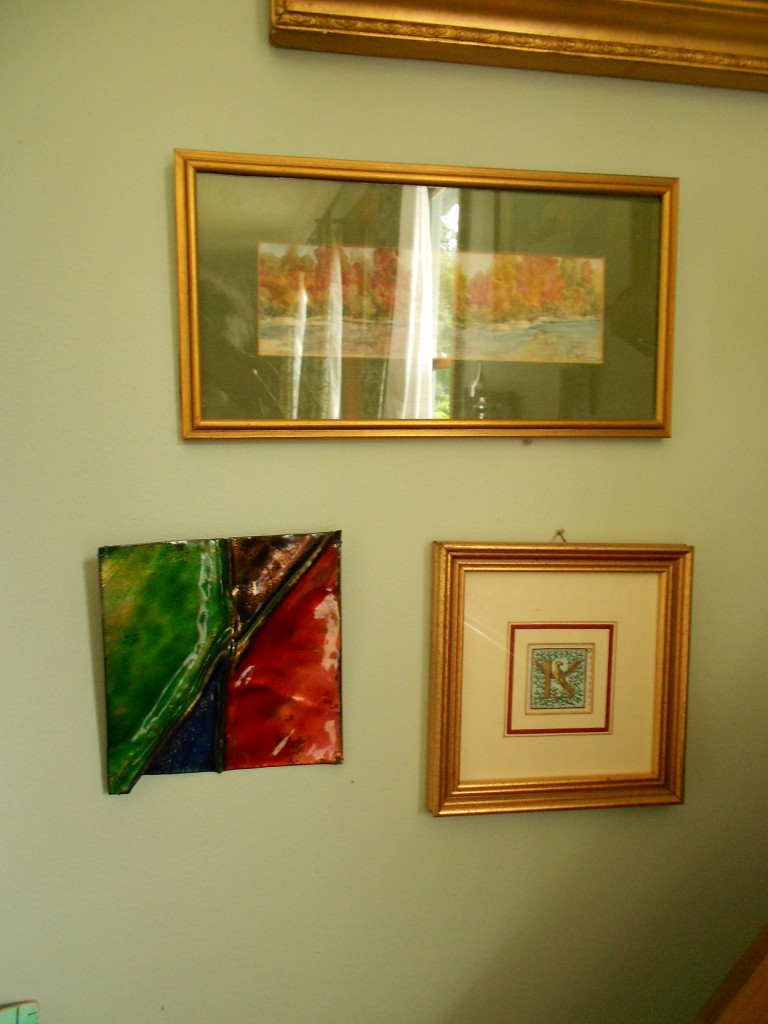
I also decided just to hang my biggest enameled piece. I found out then how fragile the enamel is. Just trying to thread a cord through the holes in the piece, I cracked some of the enamel.  Not catastrophic, but you can see fracture lines in the enamel. You can just see them in the upper left corner when the photo in enlarged.  If I had a kiln, I could just re-fire it.

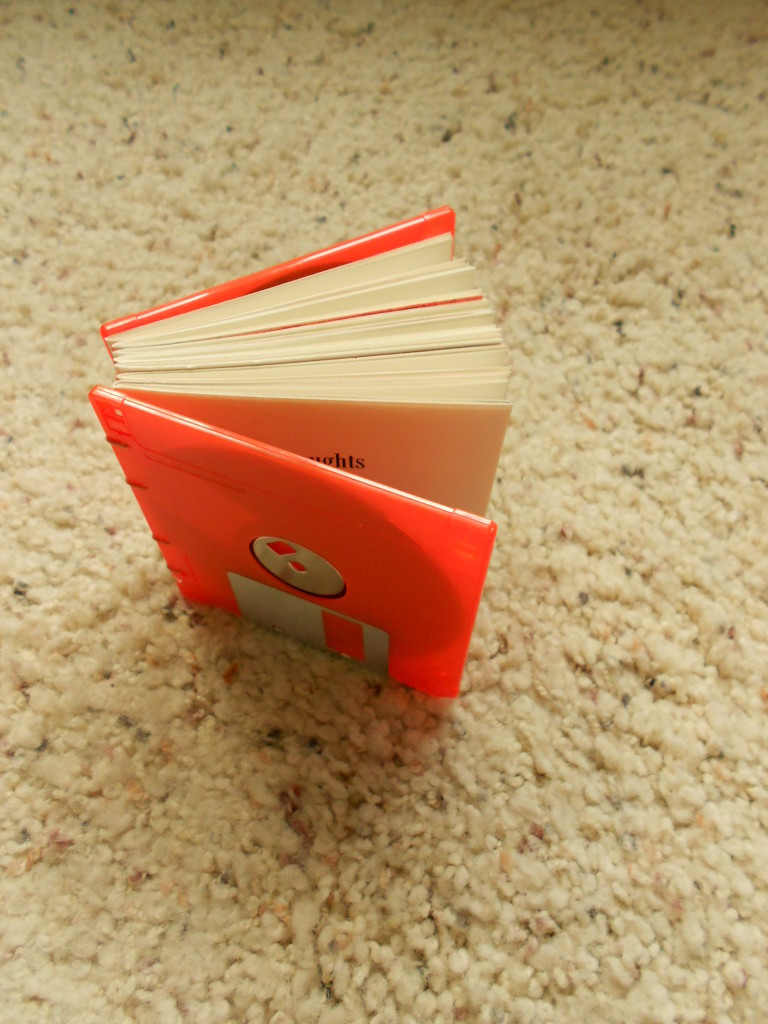
DSCN4479At the same time I was making the enameled book. I made another of the diskette books.  They are such fun! DSCN4518

I don’t really care for Coptic bindings.  They are not nearly as stable as a cased or bound book and they don’t protect the textblock as well, but they are a lot faster to make and are cute. I’ll probably keep them in my repertoire for fun, quick projects.

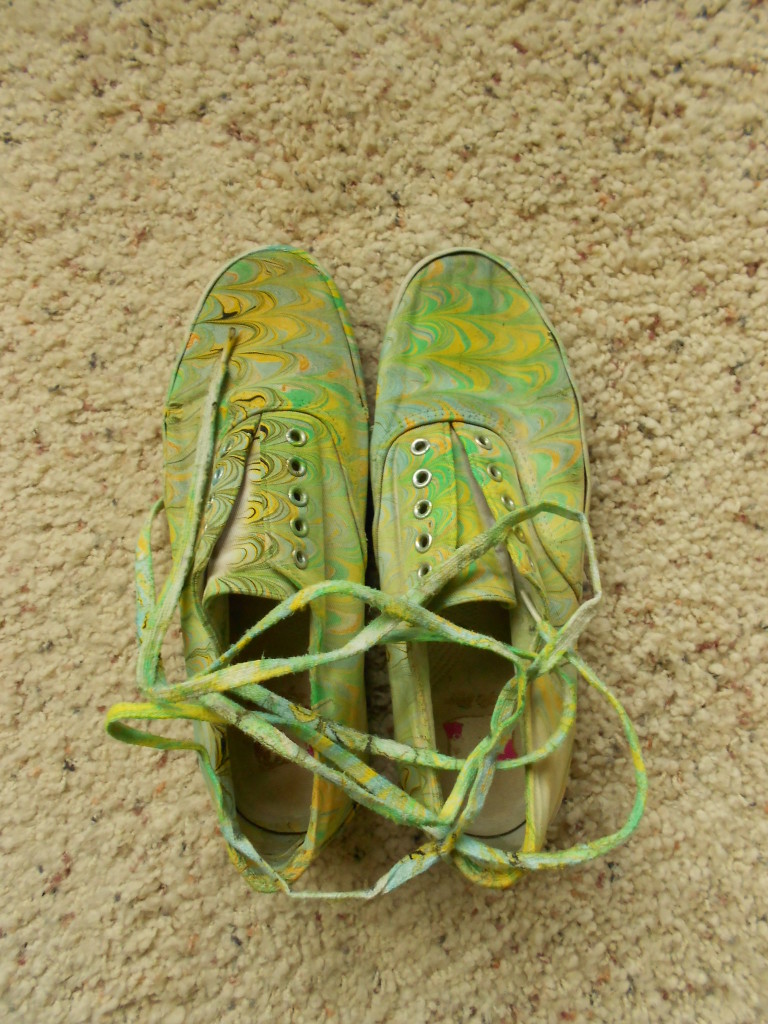
I’ve also been doing some marbling. Not terribly happy with the results as I been having a hard time with my carrageenan.  I don’t know if it’s the heat, the humidity or the carrageenan itself, but it’s been breaking down very quickly.  I was getting five or six days from a batch, but the last batches haven’t lasted more than two or three days.  Frustrating! I haven’t changed anything about the water, paints of the way I work, so I just don’t know.

I did have fun with these!

DSCN4512


Leave a Comment

Filed under bookbinding, Other crafts

Kilns and Torches and Enameling Fun

My granddaughter and I just finished our second year attending the Inter-generational Week at the John C. Campbell Folk School.  Last year we did woodcarving and this year we did enameling.  At its simplest, enameling is the process of heating glass and copper together so that they form a bond and the glass fuses to the copper base.

In this class, we used sheet copper most of the time which could be shaped by repeated heating and cooling.  For most of my work, I stayed with flat forms because I’m hoping to be able to use these pieces in my bookbinding.  Someone said to me that I seem to like rectangles and squares!  Only because my books tend to be that shape.  Here are photos of some of the finished pieces.

We used both torches and kilns to fire the pieces.  The kiln was more predictable, but the torches were more fun!

I’ve added a lot more detail about how we worked, the materials we used and lots more pictures here.  I’m excited to start trying to use these on some books.  I have no idea if it’ll work, but it will be interesting!

On a totally different topic, I had lots of time to think as I was driving home, it took 2 1/2 days! One of the things that struck me, was the way the road has changed.  I’ve driven Route 15 through Pennsylvania on a rather regular basis since the early 1970’s. In the early days most of it was two or three-lane, but now it’s almost completely a divided, four-lane limited access highway.  Some of it still goes over the path of the old road, which may have been over game, trails, Indian paths, logging roads – I haven’t researched it.  That evolution has been very fast.  My image, though, was of archaeologists several thousand years from now, long after the automobile has gone the way of the chariot, painstakingly unearthing, studying and recreating all those multiple layers of roadway.  Even now in towns and cities, when streets are replaced 19th century bricks, logs, rails etc. are found.  Just a thought while driving!

Oh, and by the way, I have lots and lots of HUGE cucumbers.  They’ve turned slightly bitter, so I think they’ll be compost or rabbit food, but the tomatoes are just beginning, so I haven’t missed those.

1 Comment

Filed under Craft design, Other crafts

Not Quite As Planned

My plans for marbling this weekend didn’t quite work out – seems to be a theme going on here.

I did have a great weekend however, even if not as planned.  As I mentioned in my last blog, I was  playing with the ladders and getting a bit frustrated.  I had made the blocks for two ladders, but my first attempt at the ribbons wasn’t right.  I pulled them apart and tried again on one of the ladders and finally had the weaving right, but the ribbons were too loose, some blocks had gotten upside down, and it just wasn’t pretty!

I also had three books that I had started months ago, but had been too busy to get back to them. So I decided instead of creating more paper to join my stash and create more work, I would finish up some things, including mastering the ladders.  So, here are the results!

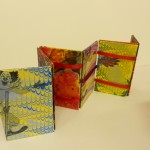
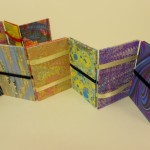
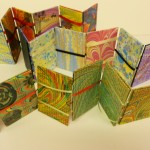
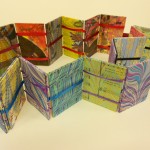
Ladders Ladders9 Ladders8 Ladders6Ladders4Ladders2


I made four ladders this week, The bottom two in the first photo were my successful ones.  One is made from pages of a 1947 book about Bozo the Clown that I marbled.  The other is regular marbled paper.  The top two are from an old copy of “The History of Western Art”. I was really excited about these as they would form a little “book” snapshot of art through the ages.  Unfortunately they were the ones I messed up.  I still like the idea and think I’ll have to marble some more pages and try again.

Ladders10

Here’s a close-up of two of the blocks from the the art book.

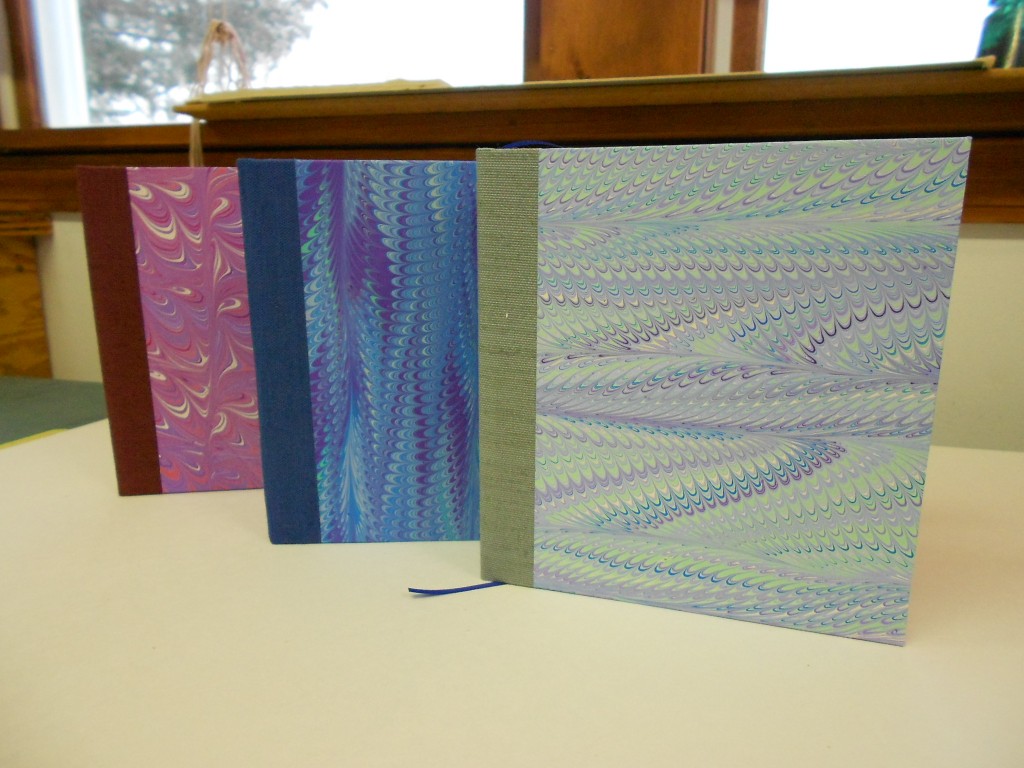
These are the books I finished.  Unlike most batches I make, these are all the same size.  It does make cutting the paper and boards easier, but it’s not as much fun!

JanBookTrio3

I’m very pleased to have finished these and I’ll be putting them up on Etsy within the next week.

Maybe this week, I’ll get started on my new paints and all the marbling ideas that are floating through my head!

Leave a Comment

Filed under bookbinding, Marbled Paper, Other crafts

Wood Carving at the John C. Campbell Folk School

Last week was spent playing with wood and hanging out with my granddaughter,  a combination of two very enjoyable activities.  The John C. Campbell Folk School in North Carolina has an Intergenerational Week every summer when parents or grandparents can share  a class with a child aged 12 to 17.  I’ve been taking classes there for years by myself and my granddaughter was very excited to learn that she could come with me as soon as she was 12.  She chose the wood carving class so we set off to learn how to handle sharp blades without cutting ourselves.  Here is a photographic overview of the class.

The entire class started with the goose so that the instructor could take us through all the different stages of carving.  Once we had finished the goose, we were able to chose the next project from the many blanks that the instructor provided.  I chose a mouse in western red cedar.  My granddaughter chose the cat in redwood.  Both of these woods proved to be a bit of a challenge for beginning carvers, but we were happy with the results.  My third project was my own design.  I put a flower, maybe a daisy or coneflower or black-eyed Susan, on top of an egg-shaped blank, wrapped the flower stem around the egg and put three small ladybugs on the stem.  I’m still playing with it and tweaking the design.  I don’t know exactly how I’ll finish it, but I had fun and learned a lot with the carving.

As our last project, both granddaughter and I chose to make gnome heads. She did a large one and I did a little one.  Both were re-engineered from Santa heads! For both of us, these last projects were a very successful conclusion as they felt as if we had some command of the project rather than having the wood rule.

My puzzle over the next six months is how to incorporate the wood into my books and if I really like carving enough to spend the necessary time and effort.  Stay tuned!

I’ll be back to working on my books and marbled paper soon and may even be taking another class on marbling.

5 Comments

Filed under Craft design, Life, Other crafts

Long Time

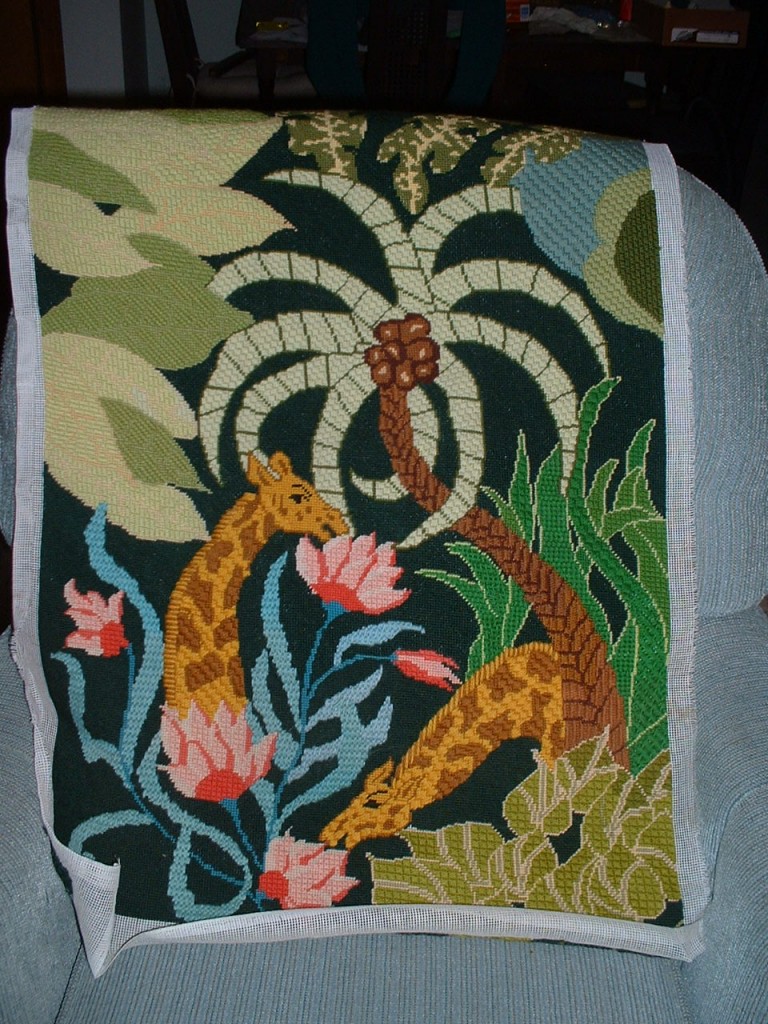
Nothing to do with books or boxes, but yesterday I finally finished a project I had started many, many years ago.  I think it was 1979 in fact.

I found it half-finished sometime last year and decided it was time to get to work on it.  Really didn’t think I’d get it done, but Yeah for me!  Closure is good.  Now the next goal is to stretch and frame it.  Don’t hold your breath.

2 Comments

Filed under Other crafts