Monthly Archives: January 2013

It’s Material

The local Arts Center where I display my books and paper, changes their exhibit about ten times a year. Each exhibit has a theme and artists are invited to submit works centered around the theme. I received the listing for 2013 a few weeks ago and the February exhibit’s theme is “It’s Material”.  I was puzzled how I could make my books reflect the theme.  I was thinking material goods, money, bling, flash – you get the picture.  I finally hit on something and then, after I had started the books, discovered they were featuring textile artists!  Oh, well.  I’m still going with my idea although I have covered books with fabric in the past and may take in those also.

So what was my idea?  Just these.
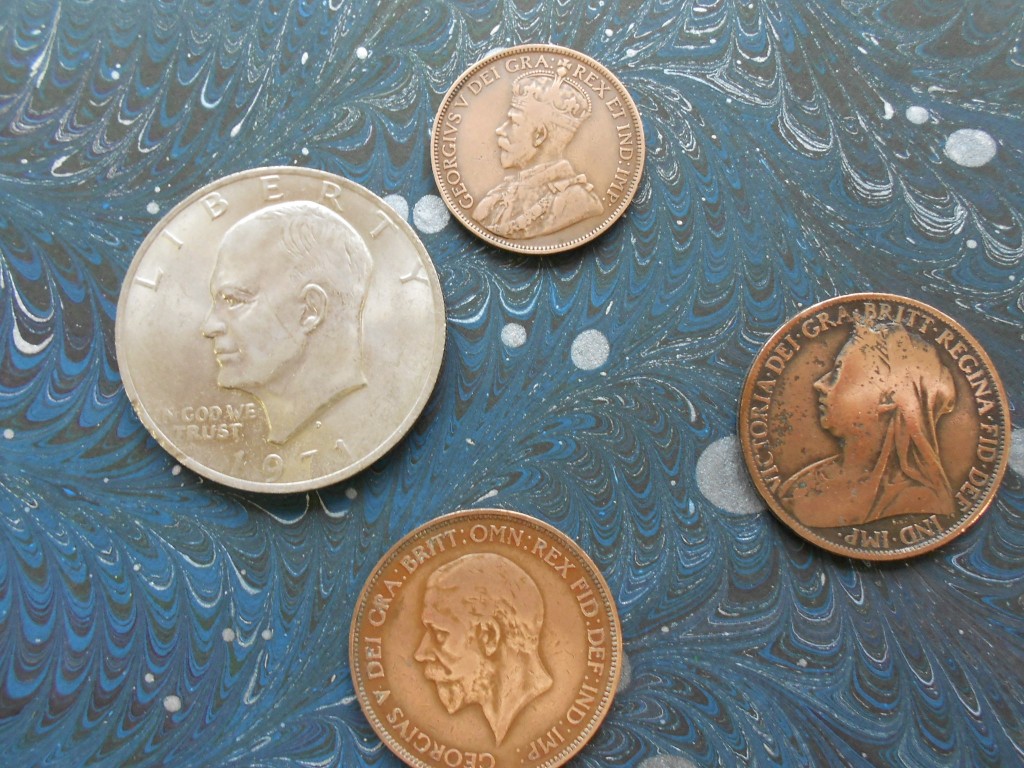
Material coins

I’m a collector (that’s a polite word for pack rat) and when I came across these, they clicked with the February theme.

I generally don’t care for embellishments on book covers.  The cute seashells, the fancy ribbons, or little doodads leave me cold.  Besides, it makes it almost impossible to put the book on a shelf without damaging it or its neighbors. My idea with the coins was to inset them into the cover so they would be flush with the boards. To accomplish this, I excavated circles on the covers about the thickness of the coin.

The Eisenhower dollar was about the same thickness as the Davey board, so I backed those covers with a piece of mat board.  The edge-on shot shows the plied covers.

I then added the spines and marbled paper covers in the usual manner and glued the coins into the depressions.  I should have made them a bit deeper to allow for the thickness of the paper and adhesive, but I’m very pleased with the result.  I adhered the coins with PVA, so I don’t know if they will stay.  So far they seem to be holding well, although I’m sure they could be pried off. 


These books were great fun and I’m happy with the results!  What more could I want?

Maybe to get to overmarbling tomorrow?  Stay tuned, it might just happen!

1 Comment

Filed under bookbinding, Craft design

Not Quite As Planned

My plans for marbling this weekend didn’t quite work out – seems to be a theme going on here.

I did have a great weekend however, even if not as planned.  As I mentioned in my last blog, I was  playing with the ladders and getting a bit frustrated.  I had made the blocks for two ladders, but my first attempt at the ribbons wasn’t right.  I pulled them apart and tried again on one of the ladders and finally had the weaving right, but the ribbons were too loose, some blocks had gotten upside down, and it just wasn’t pretty!

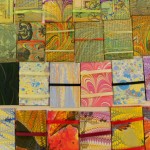
I also had three books that I had started months ago, but had been too busy to get back to them. So I decided instead of creating more paper to join my stash and create more work, I would finish up some things, including mastering the ladders.  So, here are the results!

Ladders Ladders9 Ladders8 Ladders6Ladders4Ladders2


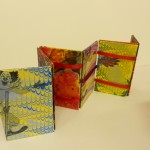
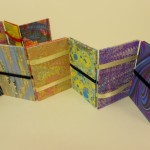
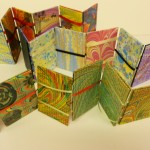
I made four ladders this week, The bottom two in the first photo were my successful ones.  One is made from pages of a 1947 book about Bozo the Clown that I marbled.  The other is regular marbled paper.  The top two are from an old copy of “The History of Western Art”. I was really excited about these as they would form a little “book” snapshot of art through the ages.  Unfortunately they were the ones I messed up.  I still like the idea and think I’ll have to marble some more pages and try again.

Ladders10

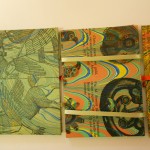
Here’s a close-up of two of the blocks from the the art book.

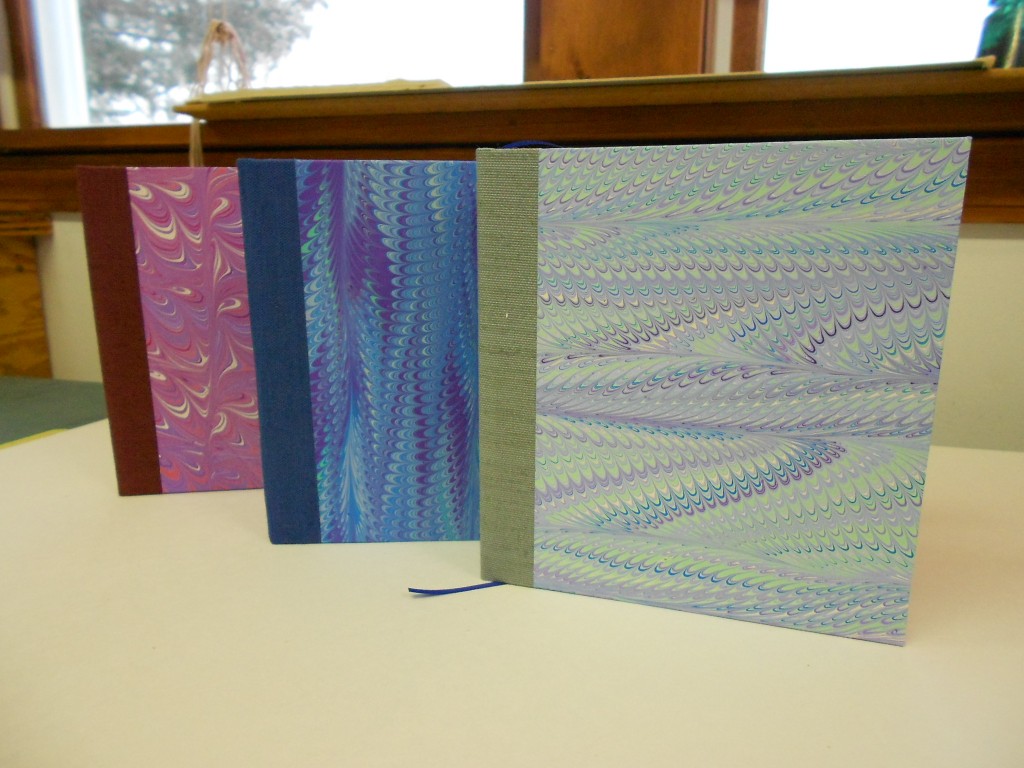
These are the books I finished.  Unlike most batches I make, these are all the same size.  It does make cutting the paper and boards easier, but it’s not as much fun!

JanBookTrio3

I’m very pleased to have finished these and I’ll be putting them up on Etsy within the next week.

Maybe this week, I’ll get started on my new paints and all the marbling ideas that are floating through my head!
Leave a Comment

Filed under bookbinding, Marbled Paper, Other crafts

Quick “show and tell” of my last overmarbling

Why is it that when you really want spectacular results the souffle falls? At least it seems that way.  I was hoping that the few overmarbles I did in the last batch would be good demonstrations of how the technique can work.  Instead they are just some more examples of not-quite-hits.  It happens.   Next time …

Anyway I did promise to show you and here are the results, side by side.

Example 1:
The original paper is on the right, overmarbled on the left.

No alumNo alum - over

The original sheet either was missed in the alum process or was flipped and I tried to print on the wrong side.  Most of the pigment and pattern washed off in the water bath.  You can see a few traces of a nonpareil pattern on the left edge.  The remaining pigments left a pale wash over the paper.  The overmarbling used similar color in a wide, looping pattern that gained some resonance from the under pattern, but nothing outstanding. It’s a pleasant piece, but not what I hoped for.

Example 2:

Washed outWashed - over

This original piece was in pale, almost washed-out greens. This photo makes the piece look worse than it was.  It was nice, just rather wishy-washy.  I thought it might be a good candidate. I over marbled it with yellows, burnt sienna and oranges. Unfotunately, the burnt sienna granulated a bit and didn’t give the strong lines I was expecting. The undercoat gives interesting shadows and reflections, but not the “wow” factor.

Example 3:

PurplePurple - over

This piece was quite successful in bringing a rather namby-pamby piece back to life.  I’d had a problem with the yellow in the first piece pushing all the other colors and then disappearing when printed. For the over coat, I used the same colors in the same stone pattern without the yellow and obtained a very nice colorful piece.  This one is the most interesting to try and trace the under and over patterns. If you focus on the black, almost triangular shape a little to the left and above center in the first piece, you can see the same shape in the middle of a large purple stone in the second.  From there, you can trace many of the black veins and colored stones.

Example 4:

Green Green - over

This was my most successful piece of these four.  At least I think so!  The original piece was nice with a little bit of a ripple going on, but it had some flaws that would have made it hard to use.  For the overmarble, I used similar colors, but made them more intense.  I tired to echo the under pattern, without the ripple.  The ripple shows through and gives a very subtle motion to the piece.  The flaws tend to blend into the new patterns and make the piece very usable,

I’m hoping to start another marbling session this weekend and I’m excited to have just received a shipment of lots of new colors in my new paint.

In the meantime, I’m frustrating myself making some more Jacob’s ladders.  Preparing the blocks is a piece of cake.  Threading the ribbons is a whole different matter!  There always seems to be one that is not right – usually the broken rung is in the middle.  Will post more pictures when (and if) I get them right.  Doesn’t matter, I’m having fun.

Later posts on overmarbling:  Playing  Addendum

2 Comments

Filed under Craft design, Marbled Paper

New Year, New Paint

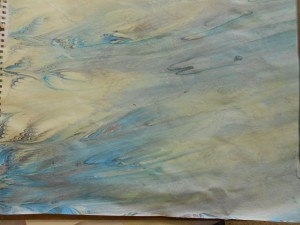
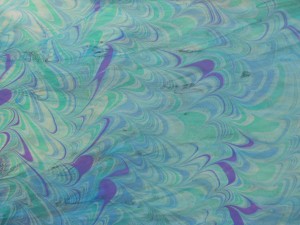
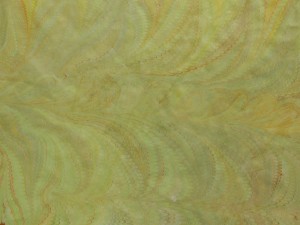
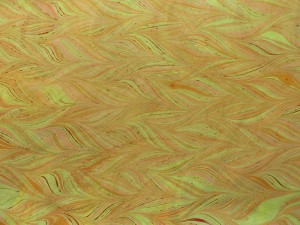
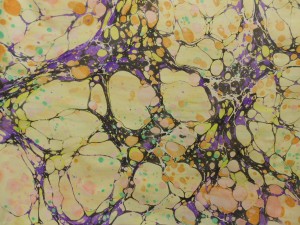
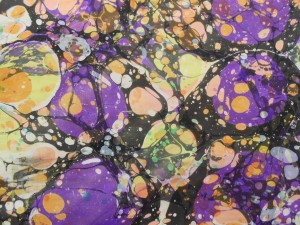
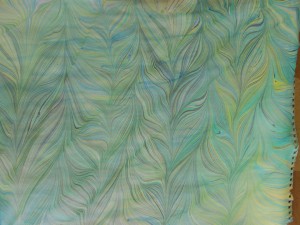
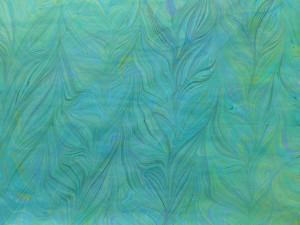
Last fall at the Folk School the class I took in marbling used a different brand of paint than I use.  The instructor gave us the left-overs to take home (thank you, Pat!) but I hadn’t had time to use it.  I find that using a product in a class is very different than using it in my own studio.  Timing is different, paper is different, even the water is different, so I don’t like to make decisions until I’ve had time to play on my own and with my normal supplies.  All I can say is that I love the new stuff!  It’s Golden’s Fluid Acrylics and I am finding them much easier to use than the old and they seem to be sharper and more coherent than the old brand.  Here are some of the papers that I made this week.

I’m thrilled with the black and grey piece.  I have tried mono-tone marbling in the past and haven’t been completely satisfied with the results, but this one works.  I’m hoping it’s the new paints and I foresee trying a batch of mono-tones in my next marbling session.

I also tried some more overmarbling with less than stellar results. I’ll post the before and afters in a few days for your comments.

8 Comments

Filed under Marbled Paper

A Book or a Toy?

It’s been a very busy time since my last blog!  I had a number of calls from local outlets for more inventory – cards, books, towers, note pads –  just everything.  It’s all good, but it does create time pressure on everything else.  I didn’t even have time to take pictures!

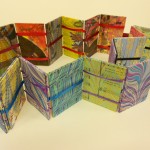
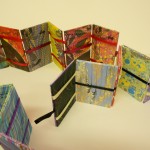
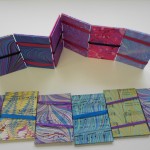
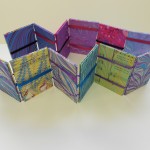
In the middle of all of this, I decided to play with a little “book” I found in a bookbinding manual that is based on the old toy “Jacob’s Ladder.”  You know, the little pieces tied together with cord or ribbon, that clatter down in one direction and then the other.  My version, naturally, uses light-weight board covered with marbled paper.  My first attempt (the prototype) failed miserably when I misread the instructions for the ribbon placements.  The second, (beta)  was strung incorrectly  but I was able to fix it.  My first “real” version is under weights right now.  I’ll see how it goes tomorrow morning.

Here are the prototype and the beta version.

Jacobs2 (1)Jacobs2 (2)Jacobs2 (3)

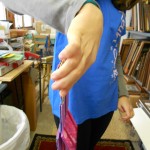
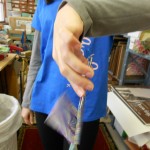
Here’s an attempt at showing the Jacob’s Book in action.

Jacobs7Jacobs5 (1)Jacobs4 (3)Jacobs4 (2)

Click for a real video of the Jacob’sLadder

If I become inspired, I’d like to try making it a real book with a poem, a story or even just words.  Don’t know when I’ll have time.  Soon, I hope.


1 Comment

Filed under Craft design, Marbled Paper