Monthly Archives: November 2013

Corners, Double Boards, and Gothic Bindings

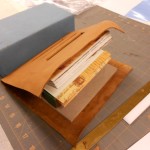
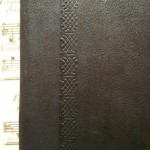
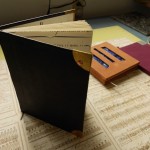
Finally, back to my books from the Folk School.  My first two books are shown here.  I have always said that I don’t work in leather. It’s too fussy, too expensive and too time consuming.  This week I ended up four leather bound books!  The most complicated is a variation on a traditional Gothic structure.  I cheated and used a textblock sewn over tapes rather than lacing in the boards, so it is more like a cased rather than a bound book.

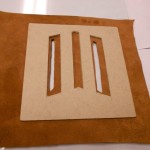
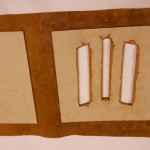
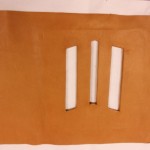
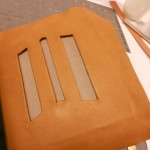
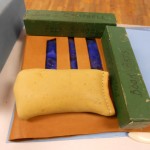
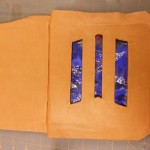
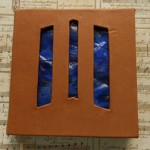
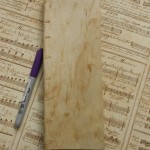
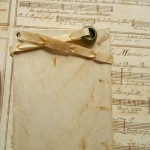
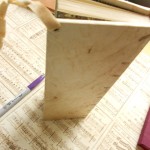
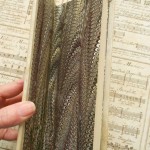
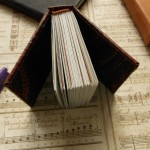
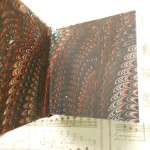
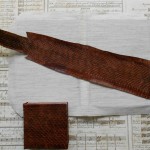
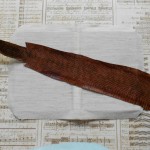
Many important Gothic and Victorian psuedo-Gothic books were made with double boards, allowing many different types of ornamentation. While thinking about what I could do with double boards, the idea of windows kept running through my mind.  I had a piece of very thin copper that I had tried to torch fire. It didn’t come out very well.  It was bumpy and uneven and generally a bit of a mess.  I had no idea if it would just crack when placed between the boards.  I was able to trim the copper to a suitable size, so the first problem was overcome.  Here are some photos of the process.

Fortunately, the enamel hasn’t cracked and the bumpiness gives an interesting texture to the piece.

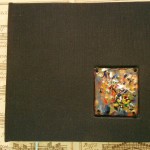
The other book I made with an enameled piece was an easy one.  I used the same technique I had used before with coins.  I cut a recess in the top board, tucking the bookcloth into the recess and glued the piece in place. I used this same technique with a black cloth book after I returned.

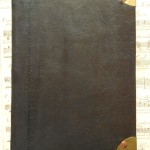
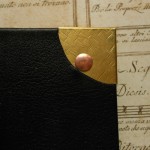
The last technique we used was working with metal – brass, copper, bronze and pewter – as corners, bosses and latches. This was the first time I had ever worked with metal and was a bit of a challenge.  Metal has to be exact.  You can’t nudge it, pinch it or approximate. I’d love to have more time to work with metal and hope I can in the coming year.  For this time I just made some brass corners. Not much for a metal worker, but exciting for me.  There’s a lip that fits around the edges of the boards and then the corner is fastened to the boards with a rivet. I also gave a brass a bit of texture. As a final touch, this book has a line of blind tooling parallel to the spine.

So that finishes all five books I made during my week.  Since I’ve been home, I’ve been finishing up odds and ends, trying to put together stock for the shopping season.

You can always find my books and paper on Etsy via my page or by going to www.Etsy.com/shop/LosingHerMarbles

Leave a Comment

Filed under bookbinding, Craft design

Books, Metal and Magic

It has taken me a long time to get around to this blog about my last week at the Campbell Folk School.  I’m not sure why – the press of catching up, my tiredness from the week or just the difficulty of encapsulating seven very busy and eventful days.

I think I’ll start backwards and show the books I finished during the week first and go into detail later.

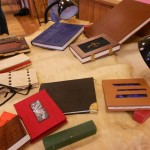
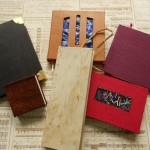
As you can see from the outside of these books, I was playing with lots of different ideas.  What you can’t see, is that the  internal structures on these are quite different.  Unfortunately, I couldn’t find my camera for the first few days, so I have no pictures of some of the books in progress.  I’m hoping some of my classmates will share a few of their pictures.  There were only four students in the class and we were all working on very different projects, but there were some commonalities.

The first book I made was the 12th century account book.  I love the shape and size of the book. It’s only 3 1/2″ wide by 10″ tall.  This type of book was used for accounts and also for reading aloud. Since most of the population was illiterate, recitation and reading aloud were very important social and cultural activities.  I can imagine Chaucer holding a book like this and reading his poetry in the English Court.

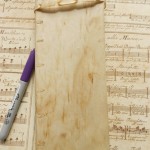
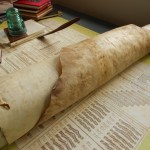
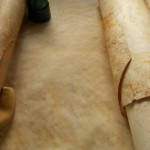
The instructor, Gian Frontini, had made a book like this from vellum. I had found some old rolls of rawhide in my basement and had brought them with me on the chance I could find something to do with them.  The match was perfect! My rawhide had been cured and scraped rather crudely which left some interesting texture and markings on the book.  I used a slightly rough Fabriano paper for the textblock. It was sewn over narrow strips of the cover rawhide which were later laced into the boards.  You can see the lacing in the photos. I made the headbands with embroidery floss, sewing them into the textblock. The book was then finished off anachronistically with some of my marbled paper.  Even though it is not correct for the period of the binding, I felt it was a wonderful match for the organic feel of the book.  Traditionally, all the edges of the book would have been painted, usually red, but I decided not to.  A laced thong of rawhide was added to the back board of the book. The thong helps to keep the book closed and was also used as a “leash” for the book.  I added a small silver bauble to help in grabbing the book.

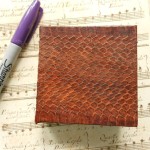
I had also found in my basement ( yes, it is a bit like Aladdin’s cave) a long, narrow roll of snakeskin.  I threw it into my box at the last minute intending to ask Gian if I could use it for something in binding. The answer was yes and I decided to make a very small book.  The snakeskin at it’s broadest was less than 4″ wide, so I settled on a book that’s only 3 inches square. Because it’s so small, I made it thick. Lots of pages with few words on each!  Like the rawhide, the snakeskin had to have Japanese paper pasted to the reverse side to give flexibility and durability to the piece. I sewed this textblock with a running Coptic stitch that was used in many Gothic books.  This stitch is not as stable as sewing over tapes, but it is more appropriate to the materials.  I cheated here on the headbands and use the paste on variety, mainly because I was afraid of running out of time. The spine was not glued down, but left as an open tube.  Again, I used my marbled paper as endpapers – a very snaky match.  I was amazed that I had brought just the right papers with me.  I only brought four or five sheets with no plan of how I would use them.  To find I had two that were such great matches was miraculous.  If you have read any of my blogs, you know how I agonize over finding just the right papers.

Next blog I’ll talk about my metal corners, enameled insets and unfinished business.


1 Comment

Filed under bookbinding, Craft design

Learning to Torch Fire Enamels

As promised, here’s a blog about the quick weekend course on using hand-held torches to fire enamels on copper. Last summer my granddaughter and I had taken a week-long workshop that covered both kiln and torch firing. I had enjoyed that and have already used a few of my pieces in my books, so I was looking forward to being able to learn some new techniques and make more pieces.  I was not disappointed.

For the basic procedures we used, see the page on Enameling.

The trickest problem with torch firing is that the copper can’t have a counter-enamel on the back.  Without a counter, the enamel is more fragile and if it is put on too heavily, will crack or warp easily. I cheated on some pieces and countered them in a kiln.

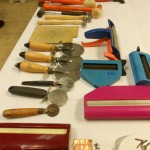
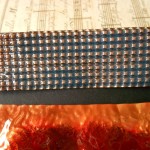
Texture was the first thing we worked on. The copper we were using as a base was rather thin and was easy to texture with crimpers, rollers and corrugaters as well as hammers. I found that putting a heavy texture into the copper made it sturdier and less likely to warp.  Because I need flat pieces for my books, I was very aware of warping.  Some examples:

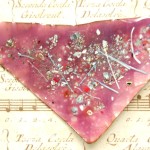
If you want the texture to show, the enamel has to be transparent, not opaque.  On the pinky-rose piece, even with transparent enamels, the underlying texture was lost because of the amount on enamel I put on the right side.  You can see the texture on the reverse. I really enjoyed playing with the various textures and could have spent a lot more time on it.  Unfortunately on the weekend courses you really have only one day of work.  The entire class spent Saturday from 9:00am to 9:00pm torching in spite of cold, wind and dark.  We used the torches outside, so light was a problem.  Unfortunately, I don’t have a picture of the torch table, but there were 6 or 8 torches set up around a table outside.  After putting the enamel on a piece, it had to be carried outside to be fired. One advantage was that it was cold enough to cool the metal quickly afer firing.

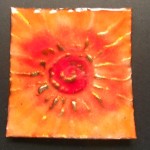
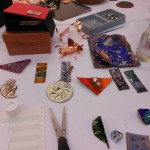
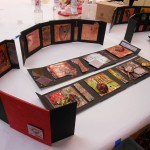
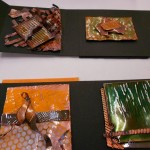
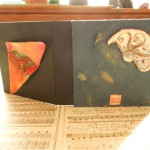
The instructor, Steve Artz, made boxes for all of the students as a way for us to display the pieces of enamelling we completed.  Here are some pictures of the boxes as well as some close-ups of my pieces.

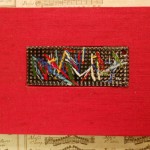
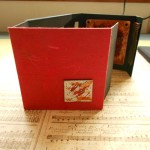
Lastly, here are two completed books. The black one has a piece I made in the summer.  The red book was made with a torch-fired piece in the Book Embellishment workshop, which will be my next blog.

Leave a Comment

Filed under Art, Craft design, Other crafts

Marbling Geography

Last March, I blogged about my love of  marbling maps.  Recently I bought a large old atlas in poor shape which I am in the process of unbinding.  The pages are large, about 10″x 14″ for a single page and 20″ x 14″ for a complete double page.  The uncut page is really a bit too large for my marbling trays, so you can see some funky stuff going on at the edges where there is barely enough room to lay the paper down.  Edges can always be trimmed!

Marbling these pages was great fun as well as a challenge.  The colors printed on a map usually give very interesting and sometimes surprising results. This page is a good example of the huge difference color makes.  These maps are on one piece of paper and marbled as one piece.  The right side is a map of the world’s vegetation, colored in browns and greens with the oceans left white.  The map on the left is Great Britain and Ireland with the land areas colored by political subdivisions and with the oceans and seas in blue.

If I’d separated the pages, it would be hard to believe that they were part of the same piece of paper. Although the marbling pattern and colors are exactly the same, the whole feeling is different.  The map of Great Britain also shows how “mistakes” can add interest to maps. The light streak going up from the bottom left is a hesitation line.  By happy accident, the crosses the compass rose and could be a soft beam of light illuminating the map.

Here are some more maps with happy and not so happy accidents!

When I started marbling this paper, I had some trouble getting a smooth “lay down” due to the paper’s size and stiffness.  Consequently, I caught a bunch of bubbles before I mastered the feel of this paper. As you can see, some of these bubbles ruin the piece, some are hard to find and some can be trimmed off.  Most of the rest of the pages were fine technically with different degrees of artistic merit!
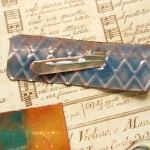
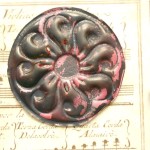
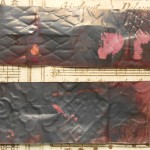
I spent the last ten days at the John C. Campbell Folk School in North Carolina and had a great time enameling and learning about historical book structures and trying my hand at some of them.  As soon as I straighten out my photos, I hope to post a blog about my experiences.


Leave a Comment

Filed under Marbled Paper