Monthly Archives: January 2014

More on Cases

Explaining making cases seems to be taking even longer than actually making them!  We’re getting close to the end. Promise! This blog will be a quickie, just on covering the boards.  It’s one of my favorite parts as it is really the beginning of the end and I wind up with something that really looks like a book.  It also is the stage where my decisions on color, size and paper either come together or just miss.
So here are the graphics:

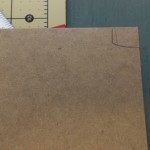
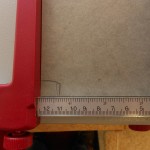
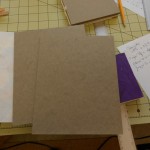
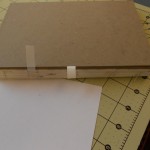
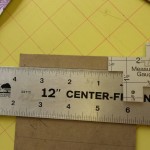
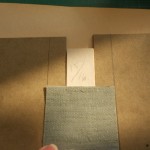
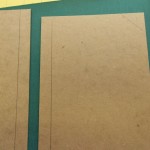
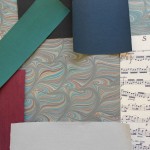
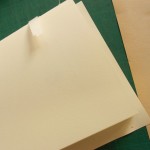
First the cover paper is cut to size leaving about 3/4″ turn-in on three sides. Fourth side will be flush with the spine. Before pasting out the paper, measure the paper against the spine and put a tiny pencil mark at head and tail.  These will be your guides as you place the paper down.  Using these marks as guides, place the dry paper under the board and trim the corners.  I use two pieces of scrap board as a cutting guide.  This gives a turn-in on the corner that is a bit larger than recommended, but it has saved a lot of covers for me!

With everything marked and trimmed, paste out the paper starting from the center.  Always put your adhesive on the paper and not the board. Paper stretches when it comes in contact with any moisture and you want it to stretch before it is on the board.  This way, as the paper dries, it will shrink giving a nice smooth fit.  Paper that has been pasted out will tend to curl or become all loose and floppy so the register marks become very important.  As you place the paper down, the marks will NOT be quite accurate because of the stretching. If you are worried about getting a perfect edge between the paper and spine, you can let the paper ride up over the spine by a tiny amount, not more than 1/32 inch.

When I paste out, I leave a very small dry area at the fore edge turn-in and on the spine edge of the head and tail turn-ins. This allows me to handle the paper from these very small dry areas and not get PVA all over my fingers. It also seems to give me more control over the paper. The bad part of this is that some papers will pucker around any dry area.  As with any technique, try several and use the one that works for you.  I work with many different weight papers for my covers and have found that I have to adapt my techniques to the paper.

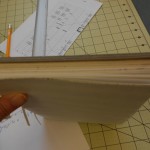
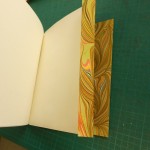
Lay the paper down, starting at the spine edge and gently smooth it down toward the edges. Don’t rub it down hard until you are sure that it is smooth and positioned correctly. Make a fist and use the pinkie side to smooth down the paper. This is the flattest surface you can make with your hands. Bone folders are not recommended in smoothing damp paper. It’s just too easy to press too hard and tear the paper.  I do use them or the back of a fingernail on the edges on the board to get a nice crisp edge. After the front is pasted, flip the board over and turn in the head and tail and finally the fore edge margins.  You may have to add paste if it has dried or if you have used my “dry spot” method. Cover the back board in the same way and you are done!  Ideally you should have a 3/4″ turn-in all around the case.

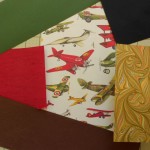
Notes on special cases:  If your cover paper has a figurative design, you’ll want to take care on the cover placement.  See the airplane design in the photos. In cutting the paper, I had to waste a bit of paper to place the red plane where I wanted it. With any designs that have a definite up and down, make sure you cut pieces that are mirror images of each other, not the same and that both are facing in the same direction when on the book.  All over designs are much easier.
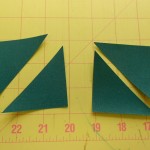
Half-cloth binding: On the binding that has bookcloth on the corners, I marked the board with diagonal lines 1″ in from the top and bottom fore edges. After registering the head and tail, I folded the paper along those lines. The paper was then trimmed along the same lines and pasted down, leaving the board exposed in the corners.  The small triangles of book cloth were pasted onto the board corners, trimmed, folded under and pasted down.

In general when pasting, always put the paste on the material that will stretch the most. Everything, even board and wood will stretch when wet. With some materials it is hardly noticeable.  PVA dries faster than paste which has the advantage that it “grabs” quickly and the disadvantage that re-doing something becomes harder.  Paste is much more forgiving and a cover can be repositioned several times, but it grabs more slowly and you may have to hold something in position for a while.

Next I will put the finishing touches on the textblock and marry the case to the text.

Leave a Comment

Filed under bookbinding

Making the Cases or Covers for the Books, next step

Before the Industrial Revolution, most books were made by sewing the pages or textblock directly onto the covers, which were usually made of wood and then covered with leather or fabric.  Binding books in this manner was always done by hand, one book at a time. With advances in printing, faster ways of covering the pages had to be invented.  The answer was the case-bound book.  A cased book is made in two parts, the textblock and the case. These two are then joined together in different ways.  Almost all modern books, including those with leather covers, are case-bound. To the purist, they shouldn’t be referred to as “bound” at all.  I have made a few bound books, but almost all of mine are actually cased.

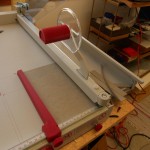
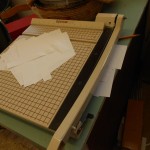
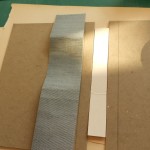
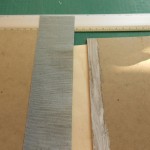
So on to how to do it.  I use Davey Board for my covers and it comes in large sheets, 30″ x 40″ so the first step is to cut it into usable sizes. The arrows on the board indicate the direction of the grain.  I mark the sheet before cutting when it is easy to determine the grain. As the pieces are cut smaller and smaller, it is harder. The grain of the board must always be parallel to the spine of the book. If the grain is crosswise, it can warp and pull against the joints, breaking them. I have three cutters in my studio. The grey fancy one (Ideal) is wonderful for cutting lots of paper to exactly the same size. I do use it with light-weight board, but I probably shouldn’t.  The tan cutter (Boston) doesn’t have a guard so I can use it to cut the big sheets.  It’s just large enough that I can cut halfway down the sheet, flip it and cut the other half.
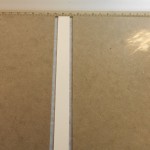
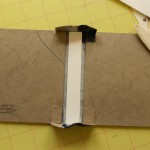
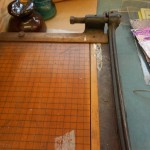
The first cuts I make are just rough cuts. If I need 71/2″ finished board, I’ll cut an 8″ strip.  My last cutter is an ancient Milton Bradley school cutter, probably from the 1940s.  It still makes a beautifully sharp cut that is perfectly square.  It is also the only cutter I have that can cut very small pieces (1″ x 2″) accurately. Both of the other cutters have guards and edges that get in the way of making accurate small cuts. Before starting to cut, I measured the textblocks and since I am doing four books at the same time, write down the height and width of each.  The boards should be cut the same width as the text and 1/4″ taller. After I have rough cut the boards, I make an exactly square cut on one corner and mark it.  All other cuts will be measured from this corner.  The marked corner is always placed against the guard of the cutter, even if this means flipping the board over. This solves the old problem of cutting one side after the other and finding you never have parallel sides.  After cutting the boards, I check them against the text just to be sure.  Yes, I have made complete covers with spine and paper added only to find the measurement was off and the text doesn’t fit. Of course, I could avoid this by making the books all the same size, but that would be boring.

Spine stiffeners are cut from 2-ply museum board.  They are the height of the case by the width of the textblock.  Next step is to cut the bookcloth spine and attach it to the covers. Most of my books are quarter bound, but here I decided to add corners to one book making it half-bound. First I measure and mark off the depth on the spine overlap onto the boards.  It depends on the size of the book, the pattern of the cover and my mood.  Mine range from 1/2″ to 7/8″. I also marked the corners for the half-bound book. The spines are cut 1 1/2″ taller than the boards and the width of the edges plus the width of the textblock plus 1/2″. The spine is glued to each edge and the spine stiffener laid down in the center.  There should be 1/4″ on each side of the stiffener, but for some reason these were a little tight.  I must have been off on one of my measurements.  Sometimes 1/16″ will do it. After the stiffener is glued down, the head and tail cloth is glued.

Next, it’s on to cutting and gluing the covers.

Leave a Comment

Filed under bookbinding

Making the Cases or Covers for the Books, first steps

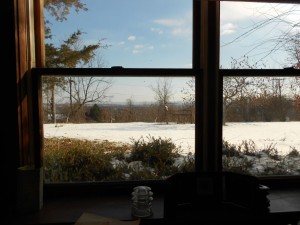
I’ve been back in the Studio playing some more with my books.  It’s been difficult for me to get back down there and I think the weather is partly to blame.  Somehow when it’s -4ºF outside, the basement doesn’t sound very appealing.  My basement is well heated, and has great natural light, but cement floors are not the warmest.  My house is built into the side of a hill so while the back is underground, I have windows all across the front with the sills just above ground level. It does have a wonderful view and I can watch birds and squirrels and sometimes deer and rabbits while I work.  Windows

There are four sets of these double windows across the front of my studio.

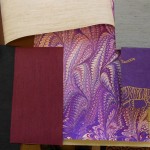
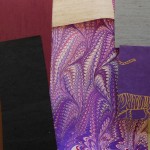
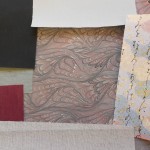
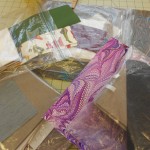
The last design step for the books is choosing the material for the spine.  I usually use an Italian bookcloth, either textured or smooth. Very occasionally I use Kennet cloth or leather.  I like leather, but it requires skill and patience, so I really have to be in the mood for it. Here are pictures of my stash of bookcloth and photos of my testing.  I take a bunch of different colored scraps and place them on the cover papers and endpapers.  One by one I eliminate the poor matches until I’m left with my final choice.  Sometimes it’s easy, sometimes not!

Notice that I carefully put everything, including the bookcloth sample into my plastic bags.  History makes me careful!

This is a short blog, but next onto making the case.

Leave a Comment

Filed under bookbinding

Sewing the Books

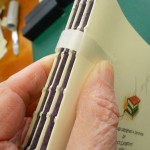
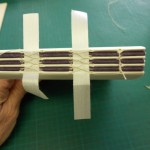
There are many ways of sewing text blocks for bound and cased books.  In fact there may be hundreds.  Linda Blaser wrote an article once documenting the styles she had encountered in her career as a book conservator.  I once had a copy, but can’t find it and haven’t been able to track it down. The method I usually use twists the thread over the tapes rather than leaving it flat. The benefit of this is that the gatherings are pulled tighter together.  This is important for me since I don’t have a proper book press for gluing out the spine, so the extra compression is important.  The problem is that it creates more bulk on the spine which can be unsightly, especially if you are binding with leather. If I am doing a large book that needs three or more tapes, I sometimes alternate the twist with a flat thread.  I had planned to do it on the larger books as a demonstration, but once I started sewing, I forgot!

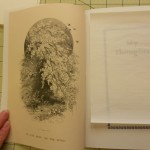
On my four current books, the first thing I had to do was to tip in the frontispieces on the two larger books.  I first trimmed the illustrations to the size of my pages plus about 1/4″ for a tab. The frontis was placed in position and the tab was very gently – I’m dealing with paper that’s about 150 years old – folded around the first gathering. Using PVA as the adhesive, it was then glued to the back of the section.  The only glue was on the tab, not on the engraving itself.  By the way, I tend to use the terms glue, paste and adhere interchangeably although technically they are different.  I only use a reversible PVA in my books.  Well, occasionally I use paste, especially with leather, but that’s a whole ‘nother thing.

Adding the frontispieces.


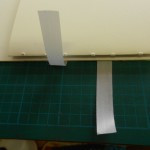
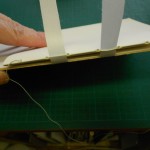
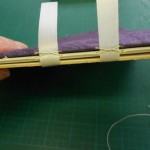
I’ve tried to photograph the entire process of sewing the textblock with descriptive titles from punching holes to finished sewing. I don’t use a cradle for punching as I find them cumbersome and my books are usually only five section books.  These four happen to be a bit larger, but still only have seven sections.  For the same reason, I don’t use a sewing frame, plus my books tend to be different heights.


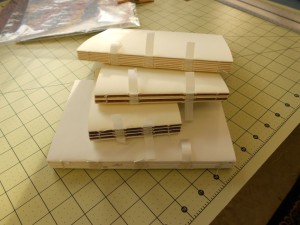
All four text blocks.
TextblocksNext I tipped in the endpapers and trimmed them to size.  An extra 1/4″ is left along the inside fore edge of both endpapers.  This is folded under and glued to the first and last pages of the textblock.
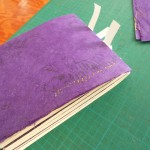
Now it’s on to preparing the spine and covers.

You can see more of how I make my books on previous pages.  Design, Frontispieces, Sewing.

3 Comments

Filed under bookbinding