Yearly Archives: 2016

Garlic Festival and Heat

I haven’t blogged for a couple of months and am feeling that it’s about time!  Doesn’t mean I haven’t been busy, but it’s been very hot and dry and my ability to actually sit down and write is at a low ebb.  My grass is so dry that it just crunches when I go for our morning walk. I’ve been watering the garden and the tomatoes are just coming on, so I see canning in my future.  Cucumbers are a disaster, just not enough water for them.  I met a very tiny baby rabbit in my garden this morning – just the size to hold in one hand and easily pass through my fence.

Enough of that.  Last week I joined Sam Castner at the Fox Run Vineyards’ Garlic Festival. It was a very hot day, but we were fortunate enough to be in the last row of booths by the vineyard. Most of the time there was a breeze coming down the hill. Not a cool breeze, but at least air in motion.  Here are some photos of our site.

The side panels are now installed on the gates and you can see pictures of them on Sam’s Facebook page.  He’s hoping to install the entire gates within the next week.  Can’t wait to see it. You can see how dry and dead the grass is here. It’s been a severe drought for this area. We usually have great weather, but this summer has been brutal.

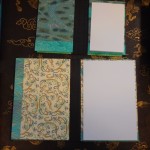
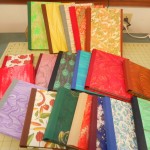
I made a bunch of books and notepads using stainless steel miniatures of Sam’s designs from the huge gates he is making for Fox Run. It was fun to point from the 4″ tree on my book to the 12′ version outside the tent.  Compare the jumping fox below with the one in the header.  Same design, just scaled up.  The wonders of computers and laser cutting.

Please excuse the reflections on the photos, but I had covered everything in Mylar to protect from rain, dust and sticky fingers.

One of my favorites was a large portfolio with a maple tree. I must have looked through 50 papers to find the right one for this background, but it was worth it for the result. This portfolio, along with others,  is for sale on Etsy  and others are at the Arts Center of Yates County.

I also had a lot of my Fox Boxes that I blogged about last winter.

It was a fun time, in spite of the heat and my exhaustion!

Leave a Comment

Filed under Uncategorized

Marbling on Paper: Step by Step

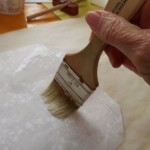
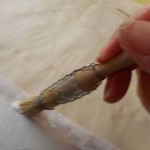
At my Open Studio in April, a friend took numerous photos while I was marbling. I’m posting them without much comment to create step-by-step documentation of the entire process of marbling.

Some of the steps that have been left out are putting alum on the paper, mixing the carrageenan and skimming or cleaning the size. You can find pictures of all of these operations in my previous blogs, especially this one.

6 Comments

Filed under Marbled Paper

Marbling Workshop: Results

In a previous blog, I talked about the marbling workshop on April 22nd.  It was a great success and I was pleased to have participants so excited about marbling.  In fact, everyone came back for an Open Studio session.  In spite of being able to produce a sheet of marbled paper in a 15 minute “make it and take it”,  marbling really does take a few days to begin to be in control. I love it when people enjoy something enough to be willing to put more time into learning the craft.  I also enjoy the Open Studio idea, where I can work with people  without a formal structure. What follows is a lot of photos and brief comments on the workshop. Photos are thanks to Julia Hardy, who became my assistant for this class.

In the few days before the workshop,  I stumbled through a bit of a nightmare of logistics.  In the space of three days, the class went from six participants to five to four, up to six again and then back to four.  Workshops are not like lectures where you can just add a couple of extra chairs.  Marbling stations have to be set up with tools, paint, trays and carrageenan.  Space is tight in my studio and six participants, plus a demonstration table for me was an interesting problem in spatial design.  I had everything set up for six, when I heard there would only be four.  This was just the day before the class and too late to unmake the paints or size.  Plenty of supplies for the following week of marbling!

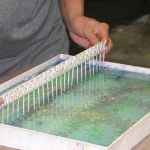
In marbling, there are always alternative ways of doing most everything. I started by demonstrating how to put paint on the carrageenan size with a whisk and by using an eyedropper.  Just to confuse everyone, I also showed how to make the get-gel pattern with a stylus and then with rakes.  Each type of pattern was printed for reference. The class went right to work, preparing the paper, throwing paint, creating marbled patterns and printing them.

Before breaking for lunch, we examined all the wonderful paper that was drying, seeing what worked and where there were problems.  I was very pleased with what was accomplished in just a few hours. By the end of the day, great papers were being produced.

By mid-afternoon we needed a break and looked at different types of patterns, overmarbling and marbling on printed paper. I hope the students were inspired to keep thinking about new ways to look at marbling.

Great class, fun time, all supervised by my assistant, Lucy.

Lucy, marbling supervisor

Lucy, marbling supervisor

Saturday and Sunday were Open Studio days and I marbled along with the students.  Since then, I’ve been trying to use up as much of the paint and carrageenan as possible and have been playing as well as cleaning up.  I can’t believe how long that takes!  My studio is slowly transforming itself back into a book workshop and my marbling space is getting back into its usual configuration.  I’ve already heard from people that want me to have another workshop,  maybe in July or August if my supervisor approves.

6 Comments

Filed under Uncategorized

Marbling in Red and Orange for Spring?

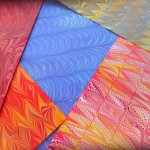
I haven’t done any marbling in a long time, not since last October and I was getting the itch.  I’m teaching a workshop in marbling later this month (April 22nd) and thought I’d better do some to make sure everything is working. There has also been a history of lots of mess-ups after a dry spell.  Fortunately, that wasn’t the case this time.  In fact, I really got into the groove and pulled a lot of great pieces.

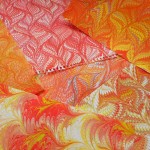
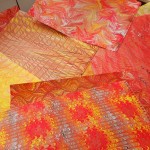
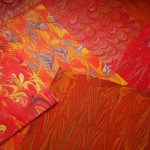
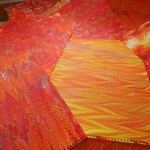
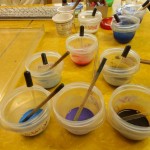
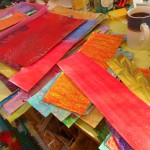
Before starting, I was thinking of spring, spring colors, soft pastels, greens, yellows and in general all those lovely Easter egg colors.  Didn’t work out that way.  In the morning as I started preparing the paint, I first pulled out some yellows, but then I grabbed a red. One of the few colors I’ve had success in mixing is orange, so I made a couple of oranges from the reds and yellows. I added the standards – black, white, brown, copper – to the array of paints and decided I had enough colors to start.  Maybe I’d add the makings of pastels later.  After seeing the first sheet of paper come alive with vibrant reds, yellows and oranges, I couldn’t stop.  I just kept throwing the same six or seven colors over and over again in a wide range of combinations and patterns.

On the second day, I added some greens to the paint choices but I still did a lot with the reds, oranges and yellows. I did one of my minimalist marblings with Nickel Azo Yellow, Zinc White and Van Dyke Brown. The white and brown were only dropped once, but the yellow was dropped numerous times.  That’s the second paper in the first photo.

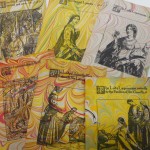
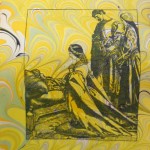
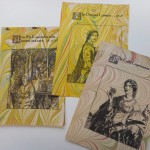
And, of course, I had to play with a bunch of paper. First are some illustrations from a severely water-damaged book of Arthurian legends.

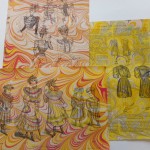
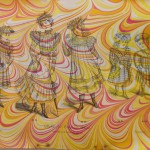
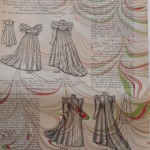
Then some illustrations from a fashion magazine from 1898.  I find the children’s clothing fascinating.  To imagine a six-year old wearing a dress with a train every day is really difficult for me as are the wasp waists on the adults!

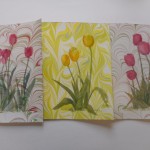
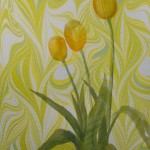
Lastly, I found a pile of sketches my mother had done of tulips but had never really finished.  Had to marble them, of course and so ended up with some spring after all.  Think I’ll keep and frame the yellow one.

One the last three sets of photos, I dropped about half as much paint as usual, used a lot of white, added some clear and made a loose, lacy pattern.  I think that combination worked well.  What do you think?  I may try this technique when I start marbling maps again.

Don’t forget, marbling workshop coming up. You can register by calling the Arts Center of Yates County at 315-536-8226 or contact them through their website, http://artscenteryatescounty.org/


Happy Spring and Happy Marbling!

Leave a Comment

Filed under Marbled Paper

Marbling Workshop on April 22, 2016

I will be teaching a basic, one-day workshop in marbling on paper on Friday, April 22nd from 9 am to 3 pm at my studio. I’ve had a few requests for this, so am finally getting my act together. I hope you’ll join us in the fun.  This is a great opportunity to dabble in a new art form, refresh your skills and produce wonderful papers to use in collages, on greeting cards, or other paper arts.

The workshop will include:

the preparation of paper with alum
preparation of acrylic paint for marbling
preparing the carrageenan or size
getting the paint to float on the size
manipulating the paint (the FUN part)
basic marbling patterns (stone, get-gel, nonpareil, plus more if time permits)
laying down paper to transfer the paint
washing and drying paper
time permitting, I’ll also demonstrate how to make low-cost marbling tools

Everyone will have bunches of beautiful paper to take home, even after just one day.  For those who become enamored with the art, want to try just one more or learn more patterns, I will have “Open Studio” days after the workshop.  On these days, you can come back and continue marbling and creating beautiful papers.  You can even try out some “over-marbling” with papers produced on Friday.  There won’t be any formal instruction, but I’ll be there to answer questions, provide help and offer suggestions. These open studio days will continue until the carrageenan or the paints give up.

This workshop is being offered through the Arts Center of Yates County.  Here is their course description:

Paper Marbling with Nancy Langford                                            Friday, April 22nd      9 am – 3 pm               Losing Her Marbles Studio
Learn the basics of creating amazing designs through marbling – an ancient method of creating designs by floating inks or paints on an aqueous solution and then transferring the design to paper, cloth or other media.  This workshop will work on preparing paper and acrylic paints for marbling, creating basic patterns and transferring that design to paper.  No previous experience necessary!  Nancy will also have open studio hours over the weekend to enable students to continue to practice and create.

Please call 315-536-8226 to register or send an email to artscenter@ycac.org

$48 members, $60 not-yet-members for Friday workshop  + $25 materials / studio fee per day 

For further information please contact Nancy using the form below.

Leave a Comment

Filed under Uncategorized

Book Restoration Class or the Three Nancys

Week before last I was back at the John Campbell Folk School for yet another book class. I usually try not to travel in February because of the weather, especially since I have to go through the mountains of Pennsylvania and West Virginia before I get to the snow-free areas.  This year was special. When the temperature hit 50* in February and I still hadn’t had to have my driveway plowed, I started giving the trip serious consideration. I obsessed over the long-range forecasts and when they showed clear days on both weekends that I would be on the road, I called the School and signed up.  Very glad I did. It was a great class and just the break I needed.

The class was Book Restoration taught by Gian Frontini, a master in book restoration.  I have a few books that are valuable enough that I’ve been reluctant to attempt repairs without expert guidance and this was my opportunity.  Since it was a very last minute decision, I just piled lots of wounded books, a heap of bookbinding supplies and my tools in the car and took off.  Fortunately, my gamble paid off and it was a clear, easy drive in both directions.

The three books I wanted to concentrate on had similar structural problems with detached covers and some minor damage to the spine. In all of them, the sewing was sound.  The first  was a book of heraldry printed in 1619. As with most paper from that era, it was in good shape. 17th century paper was made mostly from linen rags and so is much better quality than later paper which included other fibers, and eventually wood pulp. Here’s a visual look at the process.

A restoration like this is painstaking work, but the results are really worth the time and effort. The first step was taking the old leather spine off of the book.  In this case there was no reason for saving any of it and I was unable to lift any large pieces anyway.  Once I was down to the paper of the textblock, rebuilding could begin.  Multiple layers of thin tissue paper were glued onto the spine. Then, in a move reminiscent of Paul Newman digging the hole in “Cool Hand Luke”, the tissue was sanded off until the spine became smooth.  Heavy threads were sewn through the textblock and twisted into new cords. Muslin was added to the spine with extra “wings” to add strength to the new hinges. Once the textblock was ready, the old boards had to be opened along the spine edge to receive the new leather spine. This was probably my most difficult part. The leather is fragile – after all it is 400 years old – and must be carefully lifted from the old board for a width sufficient to hold the new spine. Careful, tedious work. Not my forte!  The new leather was pared and carefully inserted between the old leather and the old board, the endcaps were turned in and it started to look like a book again. Last step was to add the endpapers, paste them down and put the book into the press. As a small finishing touch, I added a tiny bit of tooling to the spine, just an outline next to the cords.

Next book up was an early 19th century copy of Scott’s “Lord of the Isles”.  This book has a half-calf binding with leather on the spine and corners and a marbled paper cover, very similar in appearance to a lot of the blank books I make.  There are problems and solutions similar to the Brooke, but with some twists.

This book has marbled endpapers with matching marbling on the edges of the textblock.  Unlike the Brooke book, I wanted to preserve the endpapers, which meant I had to ease the paper off of the edges of the boards and lift it just a bit at the spine edge. The paper was pretty sturdy, but I still managed to tear it in a few places.  On the other hand, the leather was very fragile, much more so than on the Brooke which was 200 years older.  The spine on this book had some decorative elements that I would have liked to have saved for the new spine, but they are so crumbly, I’m not sure I can use them at all.  The textblock is almost finished, just have to add muslin. I have to cut and pare the leather for the new spine and attach it. The last step will be to fiddle with the endpapers so they appear to be one piece again.  Not too sure about that step.  I may have to ask for help on that.

The last of the priority books was a stamp album that belonged to my Great-grandfather when he was a boy.  Unlike the other books, this book is covered with cloth rather than leather. The book’s structure is also different. The first two are flexible bindings where the textblock was sewn directly onto the boards.  The album is a cased binding, which means the covers and the textblock were made separately and then married together.

Unlike the other books, I had to make repairs on the textblock before I could start working on the structure. First thing was to create an extra section from the loose front pages. I could have just tipped them in, but since there were six loose pages, it was stronger to join sets of pages with Japanese paper and fold them into a small section that I could sew into the textblock. At the same time, I repaired some edges, tears and gently unfolded the crumpled corner. Once the pages were in shape, new cords were made in the same way as the previous books.  I was able to line and sand the spine, but that was as far as I went with that project. I now need to create a new spine with bookcloth,  attach it to the old boards, add a hollow tube to the textblock and case in the book.  It shouldn’t take more than half a day to finish this book.

In some odd minutes I had, I also bound two small books I had had as a child that had lost all vestiges of covers.

As I said, very productive and instructive week. Learned some new techniques and am becoming more confident in the old ones.

The book cradle I am using in the photos was purchased from Jim Poelstra at http://affordablebindingequipment.com/ and I love it!

Oh, and as to the three Nancys  … Yes, there were five women in the class and three were named Nancy!


2 Comments

Filed under bookbinding

Another batch of miniature and almost miniature books

I’ve really been enjoyed making these very small books and here’s another batch that I started before Thanksgiving.  I had to put them aside while working on the “Two by Ten” project, but once that was finished, it was back to the books.

The first three are traditional sewn bindings, exactly like my regular size books, sewn over tapes with endbands and ribbon markers. “Purple Prose” is slightly different.  The paper is a heavily textured, stiff paper by Strathmore that won’t bend around the Davey board without cracking. I didn’t want to do a standard limp binding, so I made a hybrid with board supporting the covers, but with the covers sticking out beyond the boards and not wrapping around them. I pasted down the endpapers to finish it off.  The last miniature was a full-bound leather book. That one was sewn around heavy cords rather than tapes to give the raised band look on the spine. I used a beautifully soft piece of leather and I love the feel of this one.

The last book was inspired by Valentine’s Day and is 4″ x 6″ and too big to be considered a miniature. Prefect size to slip into a pocket and carry with you for writing or sketching.

These books will probably go into my shop on Etsy soon.

In January, I’ve been working on new inventory for the local gallery and sorting through my inventory trying to plan the next year.  Looking through piles of paper – both mine and commercially printed – is always inspiring and I usually plan way more than I can possibly do!   I haven’t been feeling like marbling recently, but one of these days, I’ll have to knuckle down and pull out the trays.  Like so many things, once I get started, I love doing it.  It’s the getting started that’s hard!  No idea what projects I’ll start next, but that’s the nice part of being retired and one’s own boss.


Leave a Comment

Filed under bookbinding

Ten by Two: making a lot of gift notepads

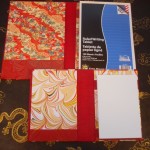
Just before Thanksgiving I received a request to make some notepads for a customer to use as gifts.  She wanted ten sets of notepad covers containing a medium-size and small-size in coordinating colors. I have been making these notepads is four sizes from portfolio for an 8.5″ x 12″ pad to a mini, memo sized (1.5″ x 4″) pad. You can see all sizes here.  This request was challenging just because of the number of items, but the time frame made it even more complicated as I was planning a two-week trip to my son’s at Thanksgiving!

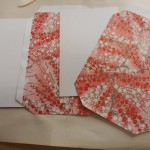
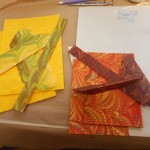
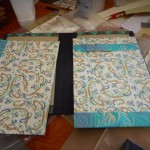
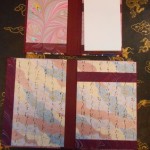
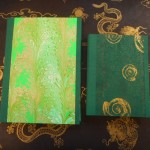
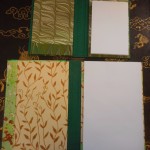
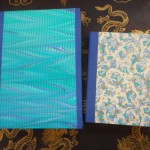
I rarely work on more than four or five pieces at a time just because parts tend to wander and get mixed up.  At least this time all the basic pieces would be the same size, but keeping tracking of forty different papers was a challenge!  Before leaving for vacation I was able to cut all the Davey board covers (outside) and mat board pieces (inside) and cover the inside panels.  This blog will go through many of the steps I took on this project with illustrations when I remembered the camera.

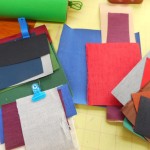
First step, and the most fun and frustrating, was choosing all the papers to be used.  The customer wanted each set to be coordinated and I didn’t want any to use the same papers.  Fortunately, the largest size I was making was for a 6″ x 9″ pad and that gave me more choices of paper.  When I make the portfolio size (8.5″x 12″) I’m very limited as the inside needs two pieces of paper that are roughly 8″ wide by 13″ tall. Since most of my hand-marbled paper is 14″x 17″, it’s tight and the sheet has to be perfect.  I don’t have any photos, but you can imagine me sorting through stacks of paper trying to find four that went together.  I was generally looking for two printed and two marbled.  To keep all my selection straight, I clipped all the matching sheets together with notes on the backs with a number 1 through 20, whether it was large or small and inside or outside.  This is much more organized than I usually am, but with 40 pieces of paper staring at me, I really needed it.  Cutting the boards took a whole day, but at least they were the same size, so didn’t have to be marked.

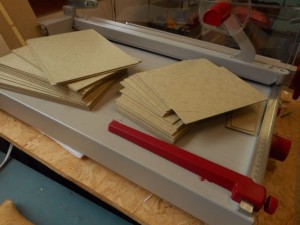
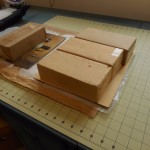
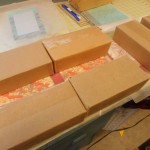
Stacks of cut Davey board for covers

Stacks of cut Davey board for covers

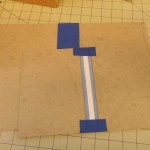
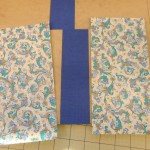
I decided to make the inside panels first so cut all that paper first before starting gluing out anything.  Once the papers were cut, I started the gluing out process using the mat board I’d already cut.

At this point I was off for Thanksgiving.  I tried to think how I could take some of the work with me, but it was just too complicated. When I came home, I had two weeks to finish everything.  I immediately started on the outside covers.  I had already cut the boards and chosen the paper, so first task was to pick the bookcloth.  This was when I realized that I’d found the element that would tie the sets together. Each set would have matching spines and I’d use each bookcloth on only one set. The bookcloth is next to all four papers, so the choice had to work with all.  By this time all four inside panels were in ten zipper bags and clipped to the larger outside papers. As I chose the bookcloth, a small piece was slipped into the bags.  Sounds easy, but I was swapping pieces in and out as I found better matches.  At times it seemed like total chaos.

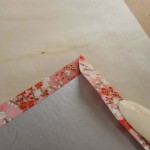
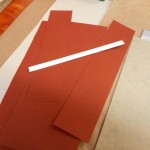
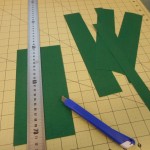
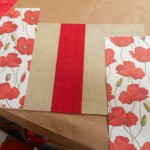
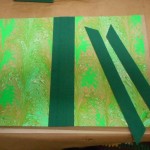
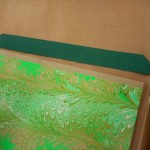
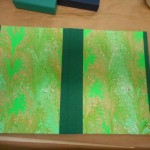
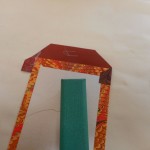
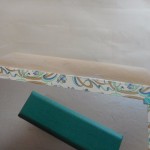
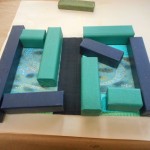
All the spines were were attached to the boards a strip was glued into the center of the spine to stiffen it. Next step was to cut all the outside cover papers to size and glue them onto the covers. To finish the covers, I glued narrow strips of bookcloth to the outside edges of the boards.  This isn’t necessary, but I feel it makes a longer wearing edge than the paper alone and I want these notepads to be used and to last.

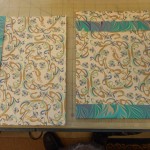
Next, adding the insides to the outsides, right? Not quite. The writing pad has to be held in place. I use a strap of heavy paper or cardstock to secure the pad and a foot pocket to keep it in place on the right side. On the left side, I make a pocket either on the side or bottom to hold a few extra sheets of paper. Placement of the pocket depends on the design of the paper, the size of the paper and my mood.  First step, as usual, is matching a heavy paper to the pieces already made. The paper is then cut and folded individually, matching the exact size and shape of its covers.

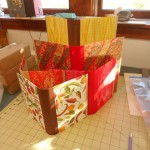
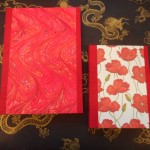
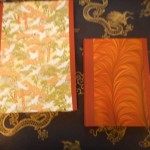
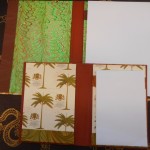
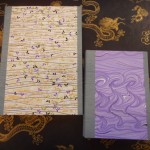
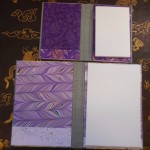
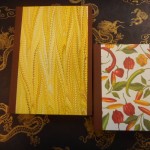
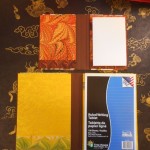
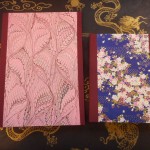
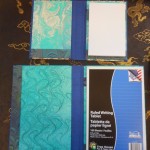
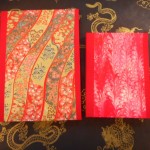
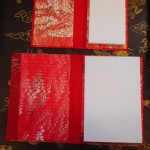
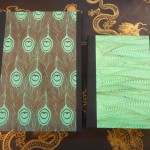
Completed notepads! All finished and delivered on time.

This entire project was really fun, although frustrating at times. It was a challenge to find just the right papers, but in the end I’m very pleased with the results.

I always have notebooks and portfolios for sale on Etsy. If you need different colors or amounts than are available, just send a message: 

or leave a comment here.

1 Comment

Filed under Notebooks