There Are Days Like This

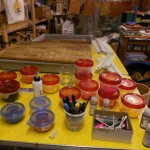
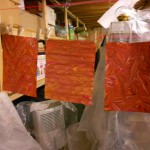
Two weeks ago it warmed up enough for me to contemplate descending into my basement, standing on a cement floor and putting my hands into water.  In other words, to do some marbling. I made my carrageenan the night before, set up all the trays, paints and paraphernalia, alummed my paper and dove in. I was planning on doing some large monochromatic sheets, like I had done last year with smaller pieces. Yellow and red were the colors I chose and planned to mix orange. Orange is the only secondary color that I have had consistently good results mixing for marbling.  Those were the plans, anyway!
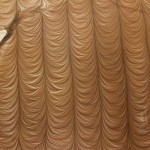
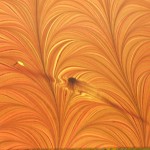
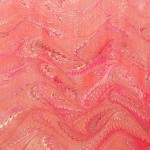
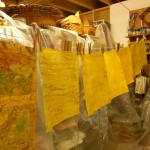
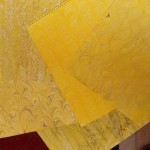
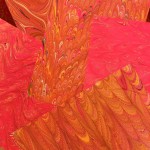
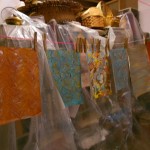
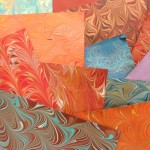
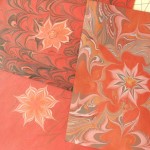
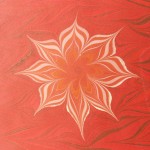
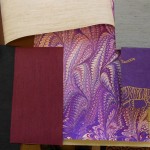
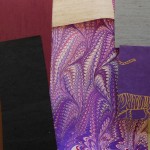
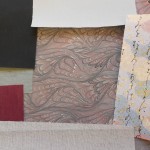
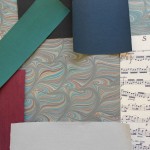
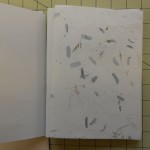
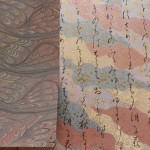
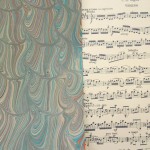
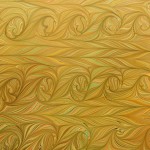
The first sheet I pulled had some line problems, the second caught a big air bubble, the third developed alum striping — and on and on it went.  I know it had been a long time since I had marbled, but this was ridiculous. Of the eight or ten sheets I pulled that first day, only one or two were good.  On top of that, I wasn’t really happy with the color combinations.  The second day was a bit better, but still way too many sheets that had major flaws so on the third day I threw in the towel on my plans, moved to a smaller tray with smaller paper and grabbed the metallic paints and colored paper.  A background color can disguise a lot of problems!  Things started going more smoothly and I began connecting to the marbling, but I was still frustrated.  What I need right now are large perfect sheets, not more small ones. At the end of the session, I started playing.  Maybe that’s where I should have started.  Here are some pictures of the good, the bad and the ugly!

It’s turned really cold (0* to 10* above) again, so I’ll have to wait for another attempt.  Here’s hoping I’ll be right in the grove and pulling perfect sheets every time!

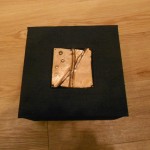
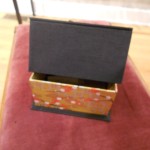
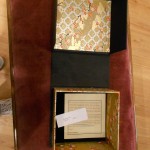
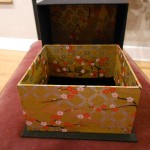
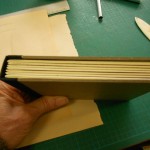
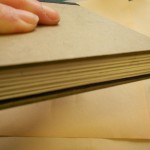
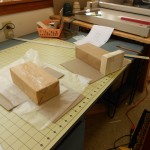
In the meantime, I’ve been playing with some boxes.  They are based on the clamshell box used for rare books and for archival storage. This is the first one I’ve finished.  I’ve inlaid one of the pieces I enameled last year on the cover. The inside is a four-sided box (book boxes only have three sides) lined with black velvet.

I’m planning a lot more of these as I have quite a few enameled pieces and other treasures for the covers.  I just hope people like them!

Leave a Comment

Filed under Boxes and Towers, Craft design, Marbled Paper

Finishing the Four Books That Were Started So Long Ago!

It usually doesn’t take me this long to finish my books. Really!  The story of these books started with the tiger blog. I’ve had many interruptions that have interfered with the flow, including one very exciting development that will be ready to be unveiled, uh,  soon.  I also gave myself a present of some super bookbinding equipment that you’ll see in the photos. I bought a finishing press and a plough from Jim at Affordable Binding Equipment.  For non-book people, a plough is a tool with a very sharp blade that is used to trim the edges of the textblock, giving an almost polished edges to the text.  They are very expensive and most non-professional binders don’t have them, instead using hand-torn, deckle or other rough edges. I rather like the rough edges as they give a hand-made feeling to the book. You can get perfect edges at your local office supply store!  That said, I enjoy having the ability now to do either with ease. Both the press and the plough are beautifully made and a joy to use.  I’m almost reluctant to use them for fear of scratches and dents.

First step was to try out the plough and cut some edges.

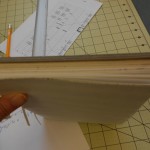
Ploughs usually have a straight, not circular, blade, but I found this design works well and is very comfortable to hold.  I was a bit concerned since my hands are small.  The person who recommended it to me was well over 6′ tall so I would guess that anyone would find this easy to use. Texts should be ploughed before the covers are measured to ensure an accurate fit.  I had already made the covers before I bought the plough, but I just couldn’t resist trying it out.

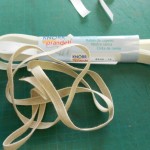
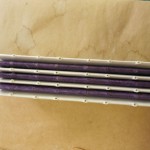
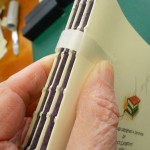
Next steps are to finished off the text block spine with ribbon marker (register), endbands, and mull or muslin. Then line out with paper and add a hollow tube.  With books as thin as mine usually are, some of these steps could be left out, but I usually add them all to ensure ultra-strong joints.

Now the textblock is finally finished and just needs to be married to the cover.

The textblock is carefully aligned with the cover and a piece of scrap paper is placed under the endpaper to protect the book. The endpaper is pasted out with PVA (No, it’s not Elmer’s although it looks like it!).  The waste paper is discarded, replaced with wax paper and the cover is gently closed. At this point everyone wants to open the cover to see what it looks like.  Do not do it! It’s a guaranteed way to wrinkle the endpaper. A piece of blotting paper is slipped under the cover, the book is flipped over and the other endpaper pasted down. The books is then put under weight and left to dry. It should not be opened until everything is totally dry. I usually leave my books overnight.

Finished books

If you still want to see more, please go to my page on Designing a Book and follow the links.

I will probably be putting these books up for sale on Etsy within the next few weeks.

Losing Her Marbles on Etsy

Leave a Comment

Filed under bookbinding

More on Cases

Explaining making cases seems to be taking even longer than actually making them!  We’re getting close to the end. Promise! This blog will be a quickie, just on covering the boards.  It’s one of my favorite parts as it is really the beginning of the end and I wind up with something that really looks like a book.  It also is the stage where my decisions on color, size and paper either come together or just miss.
So here are the graphics:

First the cover paper is cut to size leaving about 3/4″ turn-in on three sides. Fourth side will be flush with the spine. Before pasting out the paper, measure the paper against the spine and put a tiny pencil mark at head and tail.  These will be your guides as you place the paper down.  Using these marks as guides, place the dry paper under the board and trim the corners.  I use two pieces of scrap board as a cutting guide.  This gives a turn-in on the corner that is a bit larger than recommended, but it has saved a lot of covers for me!

With everything marked and trimmed, paste out the paper starting from the center.  Always put your adhesive on the paper and not the board. Paper stretches when it comes in contact with any moisture and you want it to stretch before it is on the board.  This way, as the paper dries, it will shrink giving a nice smooth fit.  Paper that has been pasted out will tend to curl or become all loose and floppy so the register marks become very important.  As you place the paper down, the marks will NOT be quite accurate because of the stretching. If you are worried about getting a perfect edge between the paper and spine, you can let the paper ride up over the spine by a tiny amount, not more than 1/32 inch.

When I paste out, I leave a very small dry area at the fore edge turn-in and on the spine edge of the head and tail turn-ins. This allows me to handle the paper from these very small dry areas and not get PVA all over my fingers. It also seems to give me more control over the paper. The bad part of this is that some papers will pucker around any dry area.  As with any technique, try several and use the one that works for you.  I work with many different weight papers for my covers and have found that I have to adapt my techniques to the paper.

Lay the paper down, starting at the spine edge and gently smooth it down toward the edges. Don’t rub it down hard until you are sure that it is smooth and positioned correctly. Make a fist and use the pinkie side to smooth down the paper. This is the flattest surface you can make with your hands. Bone folders are not recommended in smoothing damp paper. It’s just too easy to press too hard and tear the paper.  I do use them or the back of a fingernail on the edges on the board to get a nice crisp edge. After the front is pasted, flip the board over and turn in the head and tail and finally the fore edge margins.  You may have to add paste if it has dried or if you have used my “dry spot” method. Cover the back board in the same way and you are done!  Ideally you should have a 3/4″ turn-in all around the case.

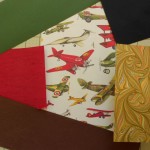
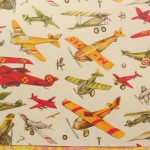
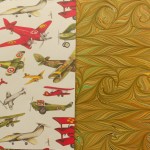
Notes on special cases:  If your cover paper has a figurative design, you’ll want to take care on the cover placement.  See the airplane design in the photos. In cutting the paper, I had to waste a bit of paper to place the red plane where I wanted it. With any designs that have a definite up and down, make sure you cut pieces that are mirror images of each other, not the same and that both are facing in the same direction when on the book.  All over designs are much easier.
Half-cloth binding: On the binding that has bookcloth on the corners, I marked the board with diagonal lines 1″ in from the top and bottom fore edges. After registering the head and tail, I folded the paper along those lines. The paper was then trimmed along the same lines and pasted down, leaving the board exposed in the corners.  The small triangles of book cloth were pasted onto the board corners, trimmed, folded under and pasted down.

In general when pasting, always put the paste on the material that will stretch the most. Everything, even board and wood will stretch when wet. With some materials it is hardly noticeable.  PVA dries faster than paste which has the advantage that it “grabs” quickly and the disadvantage that re-doing something becomes harder.  Paste is much more forgiving and a cover can be repositioned several times, but it grabs more slowly and you may have to hold something in position for a while.

Next I will put the finishing touches on the textblock and marry the case to the text.

Leave a Comment

Filed under bookbinding

Making the Cases or Covers for the Books, next step

Before the Industrial Revolution, most books were made by sewing the pages or textblock directly onto the covers, which were usually made of wood and then covered with leather or fabric.  Binding books in this manner was always done by hand, one book at a time. With advances in printing, faster ways of covering the pages had to be invented.  The answer was the case-bound book.  A cased book is made in two parts, the textblock and the case. These two are then joined together in different ways.  Almost all modern books, including those with leather covers, are case-bound. To the purist, they shouldn’t be referred to as “bound” at all.  I have made a few bound books, but almost all of mine are actually cased.

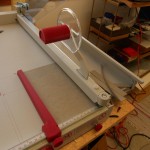
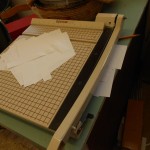
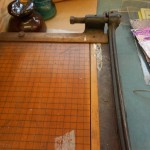
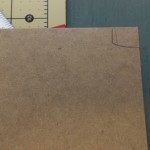
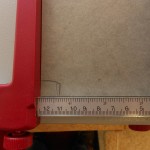
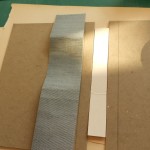
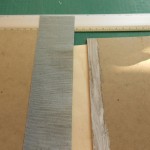
So on to how to do it.  I use Davey Board for my covers and it comes in large sheets, 30″ x 40″ so the first step is to cut it into usable sizes. The arrows on the board indicate the direction of the grain.  I mark the sheet before cutting when it is easy to determine the grain. As the pieces are cut smaller and smaller, it is harder. The grain of the board must always be parallel to the spine of the book. If the grain is crosswise, it can warp and pull against the joints, breaking them. I have three cutters in my studio. The grey fancy one (Ideal) is wonderful for cutting lots of paper to exactly the same size. I do use it with light-weight board, but I probably shouldn’t.  The tan cutter (Boston) doesn’t have a guard so I can use it to cut the big sheets.  It’s just large enough that I can cut halfway down the sheet, flip it and cut the other half.

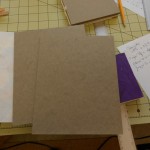
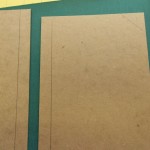
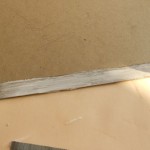
The first cuts I make are just rough cuts. If I need 71/2″ finished board, I’ll cut an 8″ strip.  My last cutter is an ancient Milton Bradley school cutter, probably from the 1940s.  It still makes a beautifully sharp cut that is perfectly square.  It is also the only cutter I have that can cut very small pieces (1″ x 2″) accurately. Both of the other cutters have guards and edges that get in the way of making accurate small cuts. Before starting to cut, I measured the textblocks and since I am doing four books at the same time, write down the height and width of each.  The boards should be cut the same width as the text and 1/4″ taller. After I have rough cut the boards, I make an exactly square cut on one corner and mark it.  All other cuts will be measured from this corner.  The marked corner is always placed against the guard of the cutter, even if this means flipping the board over. This solves the old problem of cutting one side after the other and finding you never have parallel sides.  After cutting the boards, I check them against the text just to be sure.  Yes, I have made complete covers with spine and paper added only to find the measurement was off and the text doesn’t fit. Of course, I could avoid this by making the books all the same size, but that would be boring.

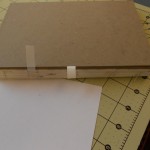
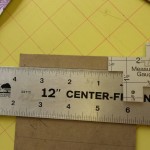
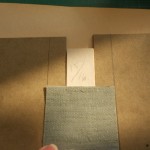
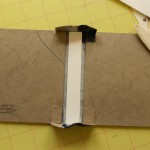
Spine stiffeners are cut from 2-ply museum board.  They are the height of the case by the width of the textblock.  Next step is to cut the bookcloth spine and attach it to the covers. Most of my books are quarter bound, but here I decided to add corners to one book making it half-bound. First I measure and mark off the depth on the spine overlap onto the boards.  It depends on the size of the book, the pattern of the cover and my mood.  Mine range from 1/2″ to 7/8″. I also marked the corners for the half-bound book. The spines are cut 1 1/2″ taller than the boards and the width of the edges plus the width of the textblock plus 1/2″. The spine is glued to each edge and the spine stiffener laid down in the center.  There should be 1/4″ on each side of the stiffener, but for some reason these were a little tight.  I must have been off on one of my measurements.  Sometimes 1/16″ will do it. After the stiffener is glued down, the head and tail cloth is glued.

Next, it’s on to cutting and gluing the covers.

Leave a Comment

Filed under bookbinding

Making the Cases or Covers for the Books, first steps

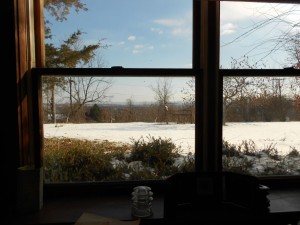
I’ve been back in the Studio playing some more with my books.  It’s been difficult for me to get back down there and I think the weather is partly to blame.  Somehow when it’s -4ºF outside, the basement doesn’t sound very appealing.  My basement is well heated, and has great natural light, but cement floors are not the warmest.  My house is built into the side of a hill so while the back is underground, I have windows all across the front with the sills just above ground level. It does have a wonderful view and I can watch birds and squirrels and sometimes deer and rabbits while I work.  Windows

There are four sets of these double windows across the front of my studio.

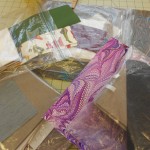
The last design step for the books is choosing the material for the spine.  I usually use an Italian bookcloth, either textured or smooth. Very occasionally I use Kennet cloth or leather.  I like leather, but it requires skill and patience, so I really have to be in the mood for it. Here are pictures of my stash of bookcloth and photos of my testing.  I take a bunch of different colored scraps and place them on the cover papers and endpapers.  One by one I eliminate the poor matches until I’m left with my final choice.  Sometimes it’s easy, sometimes not!

Notice that I carefully put everything, including the bookcloth sample into my plastic bags.  History makes me careful!

This is a short blog, but next onto making the case.

Leave a Comment

Filed under bookbinding

Sewing the Books

There are many ways of sewing text blocks for bound and cased books.  In fact there may be hundreds.  Linda Blaser wrote an article once documenting the styles she had encountered in her career as a book conservator.  I once had a copy, but can’t find it and haven’t been able to track it down. The method I usually use twists the thread over the tapes rather than leaving it flat. The benefit of this is that the gatherings are pulled tighter together.  This is important for me since I don’t have a proper book press for gluing out the spine, so the extra compression is important.  The problem is that it creates more bulk on the spine which can be unsightly, especially if you are binding with leather. If I am doing a large book that needs three or more tapes, I sometimes alternate the twist with a flat thread.  I had planned to do it on the larger books as a demonstration, but once I started sewing, I forgot!

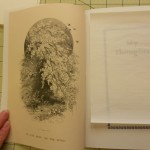
On my four current books, the first thing I had to do was to tip in the frontispieces on the two larger books.  I first trimmed the illustrations to the size of my pages plus about 1/4″ for a tab. The frontis was placed in position and the tab was very gently – I’m dealing with paper that’s about 150 years old – folded around the first gathering. Using PVA as the adhesive, it was then glued to the back of the section.  The only glue was on the tab, not on the engraving itself.  By the way, I tend to use the terms glue, paste and adhere interchangeably although technically they are different.  I only use a reversible PVA in my books.  Well, occasionally I use paste, especially with leather, but that’s a whole ‘nother thing.

Adding the frontispieces.


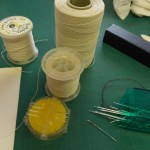
I’ve tried to photograph the entire process of sewing the textblock with descriptive titles from punching holes to finished sewing. I don’t use a cradle for punching as I find them cumbersome and my books are usually only five section books.  These four happen to be a bit larger, but still only have seven sections.  For the same reason, I don’t use a sewing frame, plus my books tend to be different heights.


All four text blocks.
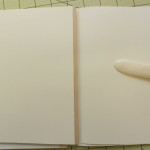
TextblocksNext I tipped in the endpapers and trimmed them to size.  An extra 1/4″ is left along the inside fore edge of both endpapers.  This is folded under and glued to the first and last pages of the textblock.
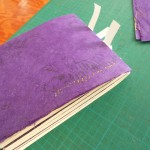
Now it’s on to preparing the spine and covers.

You can see more of how I make my books on previous pages.  Design, Frontispieces, Sewing.

3 Comments

Filed under bookbinding

Making Note Cards

Interruptions are constant for me, usually from myself.  My latest book project was interrupted when I noticed my stock of note cards was getting low.  So I decided to make some more before finishing the books.  I have lots of marbled card stock on hand from marbling sessions over the past years. I can make two cards from a perfect 8 1/2″ x 11″  sheet or  only one card if there are imperfections in the marbling.  I have also marbled lots of cards that my Mother printed from her artwork.  The cards with line drawings are especially nice with the marbling.

The first step is to cut the card stock into 5 1/2″x 8″ pieces,  These will make 5 1/2″ x 4″ notes that fit into A2 envelopes. The cards are folded in half and printed with the Losing Her Marbles logo on the back. I then take various colored writing paper for the insides.  The inside pieces are cut slightly smaller that the card stock.  These make a better writing surface for the cards, especially for the darker card stock.  At first I tried gluing the inside paper to the card stock, but I found that it didn’t work well.  I tried doing a simple pamphlet stitch and it is just right. Of course, by the time I’m finished, I’ve put much more time and effort into making the note cards than I can ever recoup, but I do enjoy it.


Leave a Comment

Filed under Craft design, Marbled Paper

Books, Step by Step

Sometimes I make books in almost a production mode, working on them every day till they are done.  Other times, I do it in fits and starts, leaving them half started for a while and coming back to them after many interruptions.  The last four books that I wrote about appear to fall into the latter class!  I did the design work, choosing papers and then put them aside.
This week, I went back to them for the next step – choosing paper for the text block and deciding on the size and shape of the book.  I didn’t do anything special with the papers this time.  I’m using my standard Strathmore and Canson drawing papers. I like the weight and feel of them.  I would love it if I could get them in colors, but the colored sheets tend to be heavier as well as much more expensive. I do use Pastel paper occasionally, but it has a definite “tooth” and is not right for some of my books.  I also like the Strathmore “Toned Tan” and “Toned Grey” for my earthier creations and have used a lot of that in the long-stitch books.
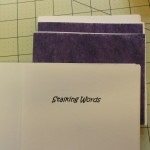
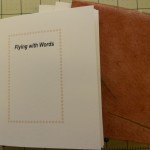
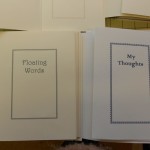
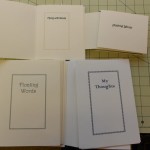
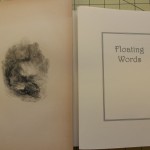
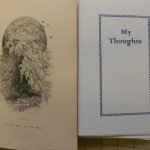
Back to the current four.  After cutting the text paper, I print a title page, verso and colophon.  Most blank books don’t have titles, but I like adding them.  I think it makes them more like real books. My titles range from the pedestrian My Journal, to the whymiscal Wish on a Fish. They tend to reflect the color, Purple Prose, or content, Purring Thoughts, of the book’s cover.  These titles were more of the pedestrian variety. Here the pages have been cut and folded and the titles printed.

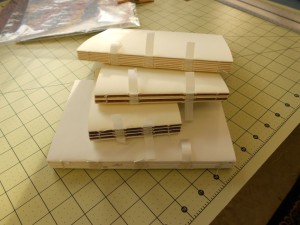
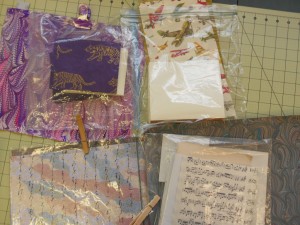
The two larger books are almost the same size. The smaller one was cut to fit the tiger endpapers and the medium sized one was determined by the cover design. The pages are folded and gathered into sections or gatherings, ready to be punched and sewn.  I like to add an extra ornamental page of light weight paper around the even sections, just to add a little something special. Here are the papers I chose for the larger books.

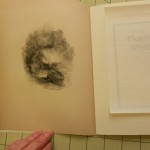
I also added frontispieces to the two larger books.  These are illustrations that were taken from two different books from 1840-1850.  The books were badly damaged and had fallen apart, but I was able to rescue some of the engravings.  The illustrations are not copies, they are the real thing.  As you can see in the photo, they need to be trimmed down and tipped in.  I’ll do this by leaving a narrow edge that will fold around the back of the title page.  The flap will be glued in, but it will also be sewn into the first gathering, making it an integral part of the book.  Sometimes, when the paper is too brittle to fold or is smaller than the book, I just tip it in opposite the title.

My next steps will be to attach the frontispieces and sew all of the textblocks.  In the meantime, I have learned to put all parts of each book into a separate plastic bag!  Before I did this consistently, I would switch papers mid-stream and discover I had to cut paper all over again to match the new configurations!Bagged2

The reason I didn’t move on to sewing the textblocks was that I was sidetracked by note cards, which will be my next blog.  I hope to get to it soon.

I have written at length about all the processes in making a book on other pages on this site, starting here.


Leave a Comment

Filed under bookbinding, Craft design

Tigers by Design

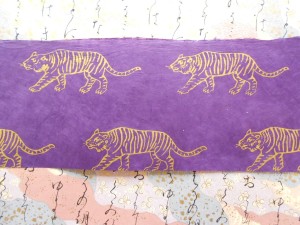
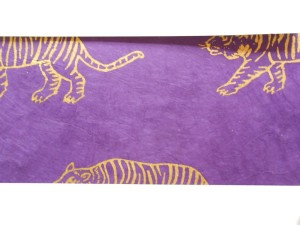
Last blog I mentioned wanting to do a book cover from some tiger patterned paper that I had.  Here’s the paper:DSCN5377It’s a long, narrow piece and I was thinking about making a very small book with just one or two tigers on the cover. As soon as I started to think about size, I realized it would never work.  Even a small book needs at least 1/2 inch turn-in on both top and bottom.  This is what the cover would look like after a normal 3/4 inch turn-in. DSCN5378 Not really what I wanted.  I can use it for endpapers, so I revamped my thinking and started looking for paper to use as covers. I found a piece of my marbled paper that goes quite well with the purple, so even though it’s not at all what I’d planned, I’m happy with the combination.
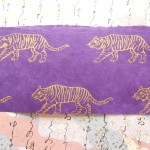
Since it’s easier to do several books at a time, I had to go on a hunt for more papers that I could become excited about.  As I sifted through stacks of paper, I came up with the following pairings.  For a change, I found good matches quite quickly.  Only the airplanes gave me a hard time, but I like the final choice.

It feels a bit strange to reverse the normal place of cover papers and marbled paper.  I like to emphasize my marbling and give it pride of place and covers use less paper than the endpapers, so I can use pieces that are too small to be inside.

I don’t know what size these books will be.  I’m thinking of trying some larger sizes for the gray-toned papers.  The largest size I make on a regular basis are 7 1/2″ x 5″, so maybe I’ll try 8″ or 8 1/2″.  I can’t do anything taller than that because of the size of my printer.  It depends also on the size of the text paper.  The sheets I start with are roughly 18″x 24″, direction short, making great 6″x 6″ pages.  I’m tired of square books though.  I frequently change my mind once faced with the text paper and having to study the cover paper to see exactly which pattern would fall on the front center.  All over patterns are so much easier than larger, poster type papers.

I may even start cutting tomorrow, I may not though!  I’m sitting watching the snow fall – very gently, but it is getting deeper.  I’m glad I don’t have to go anywhere farther than my studio!

Leave a Comment

Filed under bookbinding, Craft design, Marbled Paper

How Does One Recharge?

Ever since I came back from the Folk School and my exciting classes there described in my previous blogs, I’ve been trying to get started again.  Not very successfully!  I put the finishing touches on a few books right away, but my snakeskin book languishes on my work table, untouched.  I go into my studio every day, look at the leather, look at the enameled pieces and end up sorting some marbled paper or rearranging stuff.  I spend some time there and then go upstairs to play Civilization or Solitaire on the computer.  Not much accomplished.

One thing I have done is to buy some large bins so I can sort my papers.  I had them in drawers and boxes and had to go through everything to find what I needed.  Having them in smaller groups by type and size should make life a bit easier. Now I just have to decide where to put everything!

Today was the first time that I have been inspired. While sorting the printed papers I found a long, narrow strip of purple Lokta printed with gold tigers.  It really called to be made into a book.  Maybe there’s hope for me!

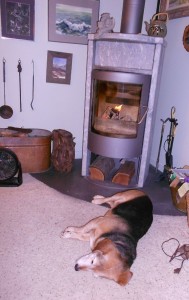
In the meantime, this is what I seem to be doing most of the time.

Lucy with fire

Leave a Comment

Filed under etc., Life