Corners, Double Boards, and Gothic Bindings

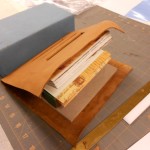
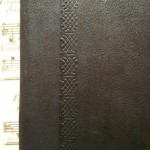
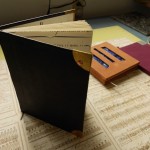
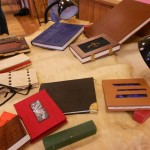
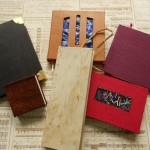
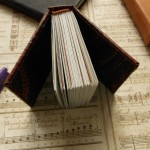
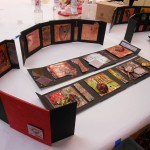
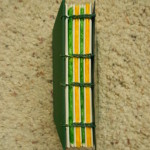
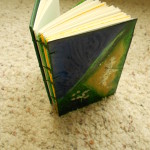
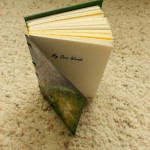
Finally, back to my books from the Folk School.  My first two books are shown here.  I have always said that I don’t work in leather. It’s too fussy, too expensive and too time consuming.  This week I ended up four leather bound books!  The most complicated is a variation on a traditional Gothic structure.  I cheated and used a textblock sewn over tapes rather than lacing in the boards, so it is more like a cased rather than a bound book.

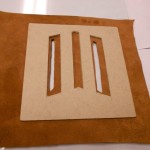
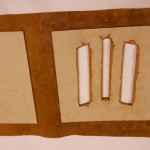
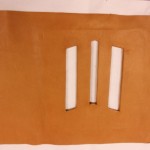
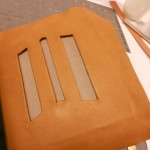
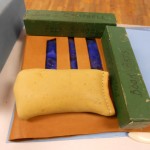
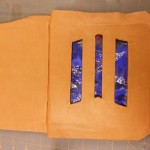
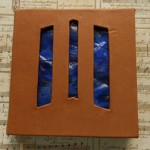
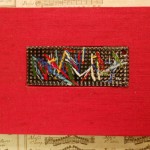
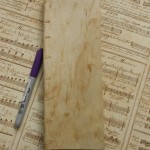
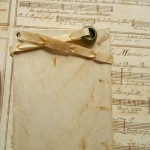
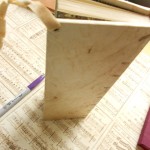
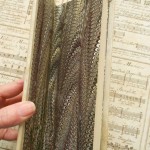
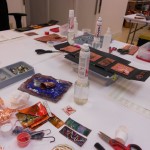
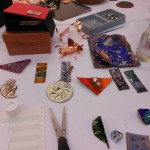
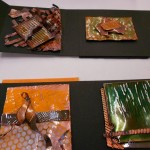
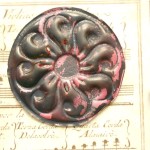
Many important Gothic and Victorian psuedo-Gothic books were made with double boards, allowing many different types of ornamentation. While thinking about what I could do with double boards, the idea of windows kept running through my mind.  I had a piece of very thin copper that I had tried to torch fire. It didn’t come out very well.  It was bumpy and uneven and generally a bit of a mess.  I had no idea if it would just crack when placed between the boards.  I was able to trim the copper to a suitable size, so the first problem was overcome.  Here are some photos of the process.

Fortunately, the enamel hasn’t cracked and the bumpiness gives an interesting texture to the piece.

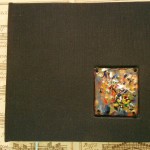
The other book I made with an enameled piece was an easy one.  I used the same technique I had used before with coins.  I cut a recess in the top board, tucking the bookcloth into the recess and glued the piece in place. I used this same technique with a black cloth book after I returned.

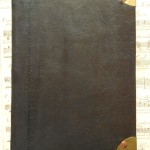
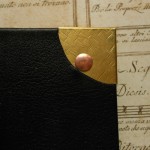
The last technique we used was working with metal – brass, copper, bronze and pewter – as corners, bosses and latches. This was the first time I had ever worked with metal and was a bit of a challenge.  Metal has to be exact.  You can’t nudge it, pinch it or approximate. I’d love to have more time to work with metal and hope I can in the coming year.  For this time I just made some brass corners. Not much for a metal worker, but exciting for me.  There’s a lip that fits around the edges of the boards and then the corner is fastened to the boards with a rivet. I also gave a brass a bit of texture. As a final touch, this book has a line of blind tooling parallel to the spine.

So that finishes all five books I made during my week.  Since I’ve been home, I’ve been finishing up odds and ends, trying to put together stock for the shopping season.

You can always find my books and paper on Etsy via my page or by going to www.Etsy.com/shop/LosingHerMarbles

Leave a Comment

Filed under bookbinding, Craft design

Books, Metal and Magic

It has taken me a long time to get around to this blog about my last week at the Campbell Folk School.  I’m not sure why – the press of catching up, my tiredness from the week or just the difficulty of encapsulating seven very busy and eventful days.

I think I’ll start backwards and show the books I finished during the week first and go into detail later.

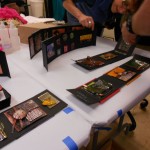
As you can see from the outside of these books, I was playing with lots of different ideas.  What you can’t see, is that the  internal structures on these are quite different.  Unfortunately, I couldn’t find my camera for the first few days, so I have no pictures of some of the books in progress.  I’m hoping some of my classmates will share a few of their pictures.  There were only four students in the class and we were all working on very different projects, but there were some commonalities.

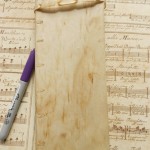
The first book I made was the 12th century account book.  I love the shape and size of the book. It’s only 3 1/2″ wide by 10″ tall.  This type of book was used for accounts and also for reading aloud. Since most of the population was illiterate, recitation and reading aloud were very important social and cultural activities.  I can imagine Chaucer holding a book like this and reading his poetry in the English Court.

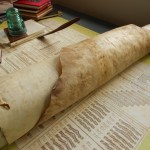
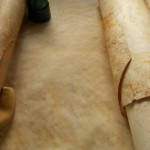
The instructor, Gian Frontini, had made a book like this from vellum. I had found some old rolls of rawhide in my basement and had brought them with me on the chance I could find something to do with them.  The match was perfect! My rawhide had been cured and scraped rather crudely which left some interesting texture and markings on the book.  I used a slightly rough Fabriano paper for the textblock. It was sewn over narrow strips of the cover rawhide which were later laced into the boards.  You can see the lacing in the photos. I made the headbands with embroidery floss, sewing them into the textblock. The book was then finished off anachronistically with some of my marbled paper.  Even though it is not correct for the period of the binding, I felt it was a wonderful match for the organic feel of the book.  Traditionally, all the edges of the book would have been painted, usually red, but I decided not to.  A laced thong of rawhide was added to the back board of the book. The thong helps to keep the book closed and was also used as a “leash” for the book.  I added a small silver bauble to help in grabbing the book.

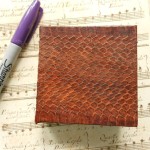
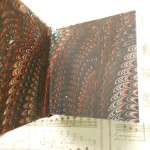
I had also found in my basement ( yes, it is a bit like Aladdin’s cave) a long, narrow roll of snakeskin.  I threw it into my box at the last minute intending to ask Gian if I could use it for something in binding. The answer was yes and I decided to make a very small book.  The snakeskin at it’s broadest was less than 4″ wide, so I settled on a book that’s only 3 inches square. Because it’s so small, I made it thick. Lots of pages with few words on each!  Like the rawhide, the snakeskin had to have Japanese paper pasted to the reverse side to give flexibility and durability to the piece. I sewed this textblock with a running Coptic stitch that was used in many Gothic books.  This stitch is not as stable as sewing over tapes, but it is more appropriate to the materials.  I cheated here on the headbands and use the paste on variety, mainly because I was afraid of running out of time. The spine was not glued down, but left as an open tube.  Again, I used my marbled paper as endpapers – a very snaky match.  I was amazed that I had brought just the right papers with me.  I only brought four or five sheets with no plan of how I would use them.  To find I had two that were such great matches was miraculous.  If you have read any of my blogs, you know how I agonize over finding just the right papers.

Next blog I’ll talk about my metal corners, enameled insets and unfinished business.


1 Comment

Filed under bookbinding, Craft design

Learning to Torch Fire Enamels

As promised, here’s a blog about the quick weekend course on using hand-held torches to fire enamels on copper. Last summer my granddaughter and I had taken a week-long workshop that covered both kiln and torch firing. I had enjoyed that and have already used a few of my pieces in my books, so I was looking forward to being able to learn some new techniques and make more pieces.  I was not disappointed.

For the basic procedures we used, see the page on Enameling.

The trickest problem with torch firing is that the copper can’t have a counter-enamel on the back.  Without a counter, the enamel is more fragile and if it is put on too heavily, will crack or warp easily. I cheated on some pieces and countered them in a kiln.

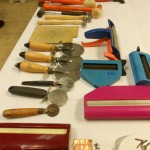
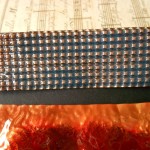
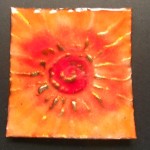
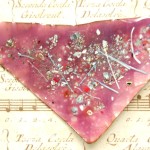
Texture was the first thing we worked on. The copper we were using as a base was rather thin and was easy to texture with crimpers, rollers and corrugaters as well as hammers. I found that putting a heavy texture into the copper made it sturdier and less likely to warp.  Because I need flat pieces for my books, I was very aware of warping.  Some examples:

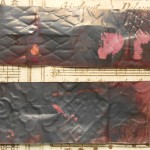
If you want the texture to show, the enamel has to be transparent, not opaque.  On the pinky-rose piece, even with transparent enamels, the underlying texture was lost because of the amount on enamel I put on the right side.  You can see the texture on the reverse. I really enjoyed playing with the various textures and could have spent a lot more time on it.  Unfortunately on the weekend courses you really have only one day of work.  The entire class spent Saturday from 9:00am to 9:00pm torching in spite of cold, wind and dark.  We used the torches outside, so light was a problem.  Unfortunately, I don’t have a picture of the torch table, but there were 6 or 8 torches set up around a table outside.  After putting the enamel on a piece, it had to be carried outside to be fired. One advantage was that it was cold enough to cool the metal quickly afer firing.

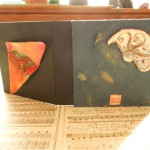
The instructor, Steve Artz, made boxes for all of the students as a way for us to display the pieces of enamelling we completed.  Here are some pictures of the boxes as well as some close-ups of my pieces.

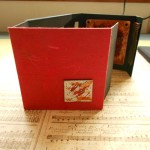
Lastly, here are two completed books. The black one has a piece I made in the summer.  The red book was made with a torch-fired piece in the Book Embellishment workshop, which will be my next blog.

Leave a Comment

Filed under Art, Craft design, Other crafts

Marbling Geography

Last March, I blogged about my love of  marbling maps.  Recently I bought a large old atlas in poor shape which I am in the process of unbinding.  The pages are large, about 10″x 14″ for a single page and 20″ x 14″ for a complete double page.  The uncut page is really a bit too large for my marbling trays, so you can see some funky stuff going on at the edges where there is barely enough room to lay the paper down.  Edges can always be trimmed!

Marbling these pages was great fun as well as a challenge.  The colors printed on a map usually give very interesting and sometimes surprising results. This page is a good example of the huge difference color makes.  These maps are on one piece of paper and marbled as one piece.  The right side is a map of the world’s vegetation, colored in browns and greens with the oceans left white.  The map on the left is Great Britain and Ireland with the land areas colored by political subdivisions and with the oceans and seas in blue.

If I’d separated the pages, it would be hard to believe that they were part of the same piece of paper. Although the marbling pattern and colors are exactly the same, the whole feeling is different.  The map of Great Britain also shows how “mistakes” can add interest to maps. The light streak going up from the bottom left is a hesitation line.  By happy accident, the crosses the compass rose and could be a soft beam of light illuminating the map.

Here are some more maps with happy and not so happy accidents!

When I started marbling this paper, I had some trouble getting a smooth “lay down” due to the paper’s size and stiffness.  Consequently, I caught a bunch of bubbles before I mastered the feel of this paper. As you can see, some of these bubbles ruin the piece, some are hard to find and some can be trimmed off.  Most of the rest of the pages were fine technically with different degrees of artistic merit!
I spent the last ten days at the John C. Campbell Folk School in North Carolina and had a great time enameling and learning about historical book structures and trying my hand at some of them.  As soon as I straighten out my photos, I hope to post a blog about my experiences.


Leave a Comment

Filed under Marbled Paper

Metallics Revisited

Last February I blogged about using metallic paints. Since then I’ve played with them a bit, but a few weeks ago I decided to do some more playing and experimenting. I’m finally getting around to writing my promised blog. This time I didn’t waste any effort on white paper and only used dark colored backgrounds.  Most of the paper had deep rich tones to set off the metallic. The only metallics I used this time were gold, copper and pearl.

Here are some of the results:

Here’s what I’ve learned.  The metallics need to be dropped near the end of the sequence to have the biggest impact. The more they are manipulated, the more they tend to fall apart, but dropping them last can lead to globs that are too large. Next-to-last seems to be a good place for them.  Some, like pearl, can be dropped earlier as it “stretches” without granulating.  Metallics show up more if dropped with colors that have a high contrast, for example dropping gold with purple, rather than yellow.

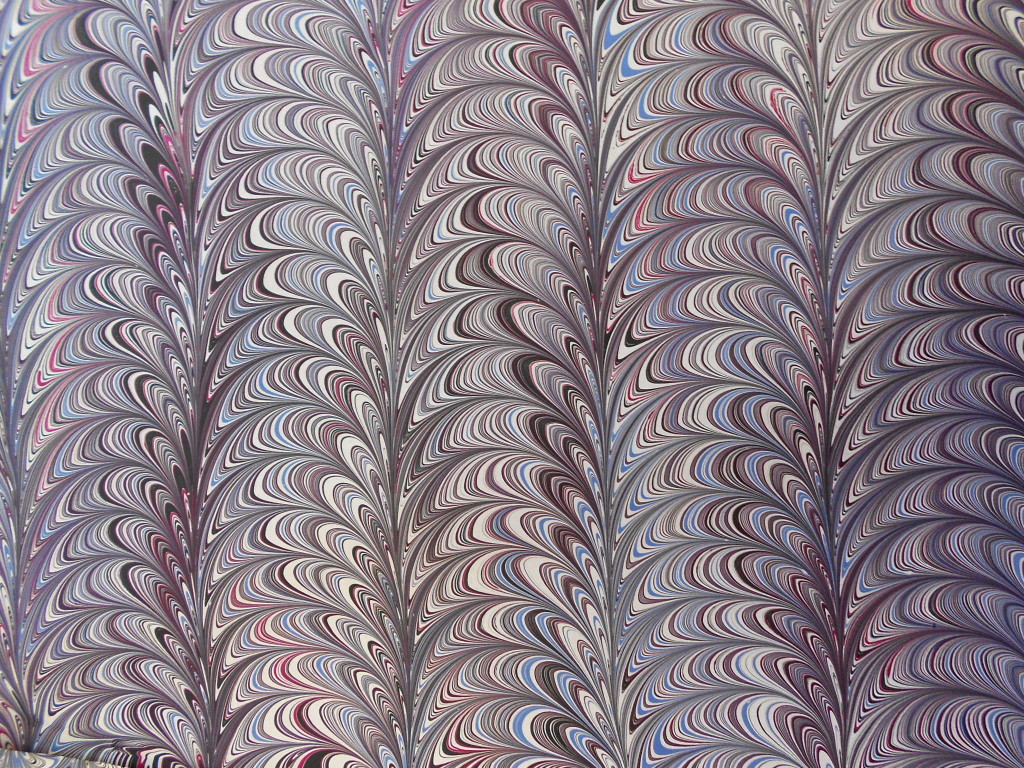
I love making marbling patterns that are very intricate and fine-lined.  This doesn’t work as well with metallics. They seem to need larger areas to turn from orange to copper or grey to silver.  I don’t particularly like a lot of shininess in my work, but I do like just a hint of something, like the hidden sparkle of a bit of mica hidden in a dull stone rather than the brilliance of a cut diamond. In the past I used Golden color called “Micaeous Iron Oxide” which does just that.

Here’s an example

Large Black

Large Black

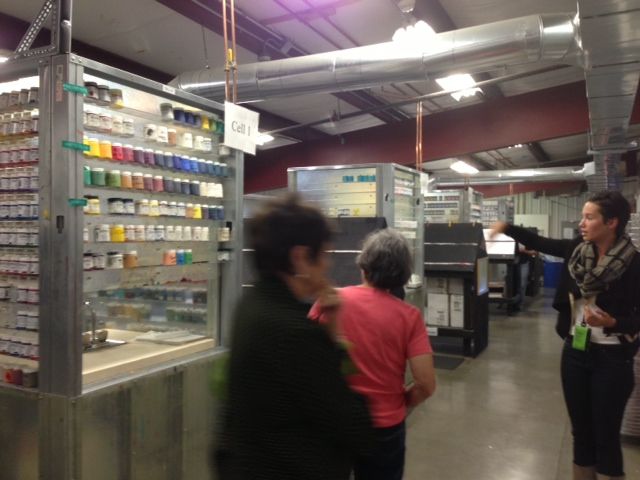
All of the paints I’ve been using recently are Golden fluid acrylics.  I really like the intensity of color they provide.  Just this past week I visited the Golden factory which is located in a very rural part of upstate New York. The trip was organized by the Penn Yan Art Guild and there were six artists who participated.  The history of Golden is very interesting, having been a family company and is now owned by its employees.  We were given a tour by Emma Golden, granddaughter of the company’s founder.

Emma Golden

This is the area where all of Golden’s color cards are hand painted. Employees walk up and down the black easels painting one color on dozens of cards at a time.

Golden barn

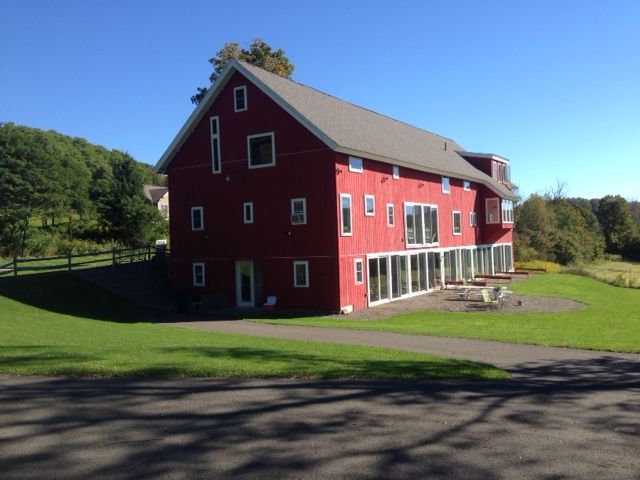
This is an old barn that has been remodeled into housing and studio space for the Golden Foundation‘s Artist program. It’s a beautiful location.

Leave a Comment

Filed under Art, Marbled Paper

Sam’s Sculptures on Park Avenue

Well, I guess they are really Albert Paley‘s, but to me they’ll always be Sam’s.

Earlier this week, I made a very quick trip to see the sculptures.  There are thirteen of them placed in the islands on Park Avenue in New York City from E.67th St. to E 52nd. Here are some quick snaps of all of them.

They all had plaques with more information that could be scanned, but I don’t have a smart phone and Carol didn’t have the correct app, so all we could read was the title! One time I really regretted not being in the 21st century. If it isn’t obvious from the pictures, these are all huge. I think the tallest is three stories high.

My two favorites were these two:

In a small picture, it is impossible to show how the sculptures related to the buildings around them. There were often subtle echoes of lines or colors or harmonies of the nearby buildings.  In one gorgeous coincidence, a yellow cab and a blue van were stopped at the light in front of the “Yellow Tree” shown above. This was definitely the type of installation I would like to be able revisit in a more leisurely manner. I’m jealous of New Yorkers.

It was a fun trip and I even managed to squeeze in a very hasty trip to The Strand (One of NYC’s largest used book stores) and one of my favorite paper shops – NY Central Art Supply.

Back to the real world next time – a case bound dos à dos, more marbling and another enameled book!

Leave a Comment

Filed under Art, Life

Aqua, Teal and Turquoise

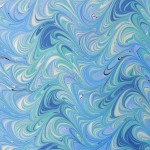
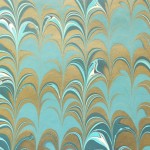
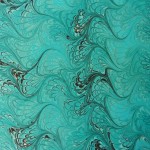
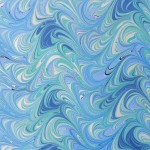
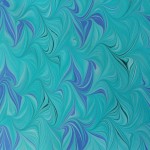
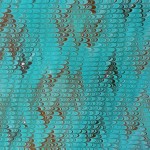
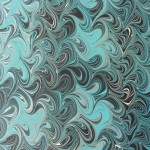
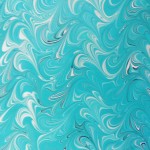
In my last marbling session, I had a lot of fun working with the turquoise family of colors.  I had four shades to play with, making a lot of interesting combinations.  Here’s a quick look at some of them.

I even added them to some of the metallic pieces.

I promise I’ll do the metallic blog soon.  I learned a lot about different effects they can produce.

Leave a Comment

Filed under Marbled Paper

What To Do When the Paper Doesn’t Fit

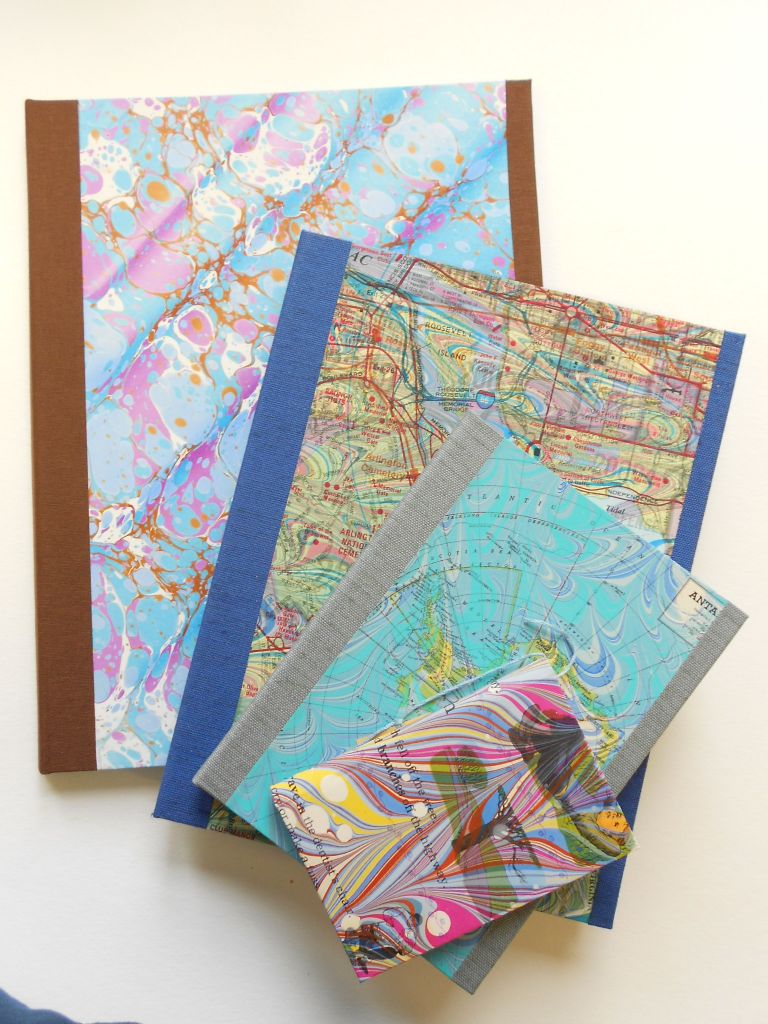
I recently marbled some maps that I really wanted to use as covers for my portfolios.  Unfortunately, they were just the wrong size.  Too short for the large size that fits an 8½” x 11″ writing pad and making them for a 4″ x 6″ pad would lose too much of the map.  I thought about either patching two together or framing them for the large portfolio, but just didn’t like that solution.  They would be perfect for a 7″ x 10″ pad.  Problem is, no one seems to make that size pad.  I could have them specially made but that would be expensive and replacements would be a nuisance for the customer. So I did the next best thing, used a 6″ x 9″ pad and made the holder a little bigger than it needed to be.

Now I have notepad covers that range from the small memo size to the full 8½” x 11″. Here are samples of the full range.

Four Sizes of Writing Pad Covers

Four Sizes of Writing Pad Covers

Here are the two new covers I just made.

The blue cover has old street maps of Washington, DC and the red cover are pages from a vintage children’s book about the seasons.  Both were hand-marbled by me.

More photos of the four sizes.

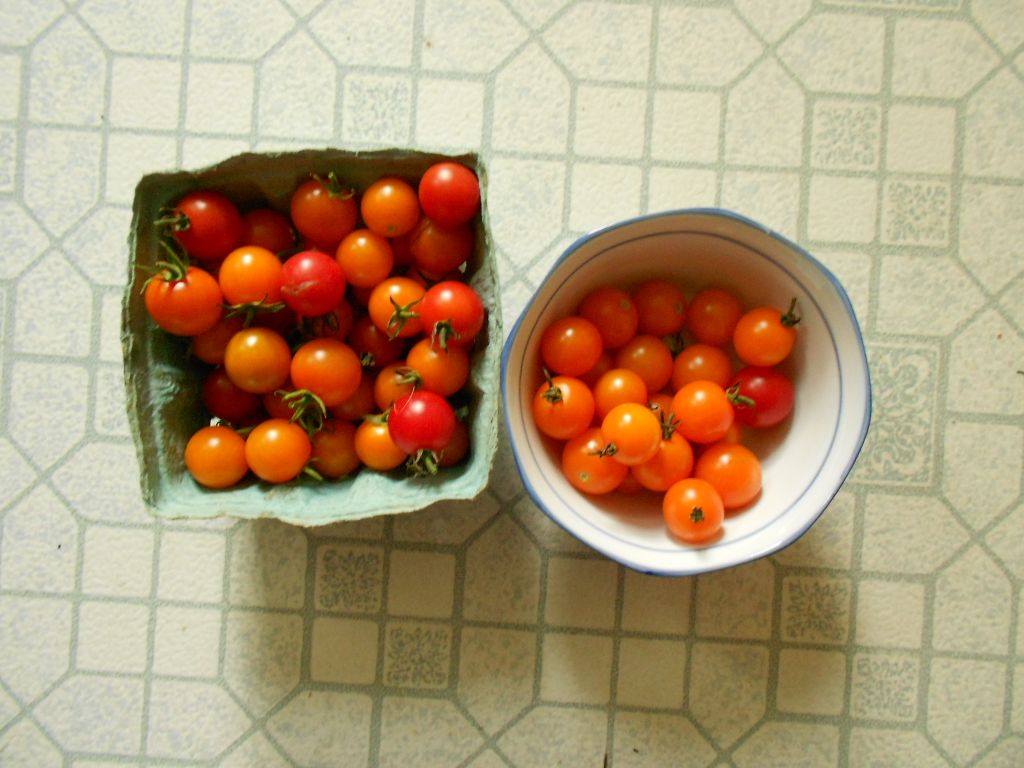
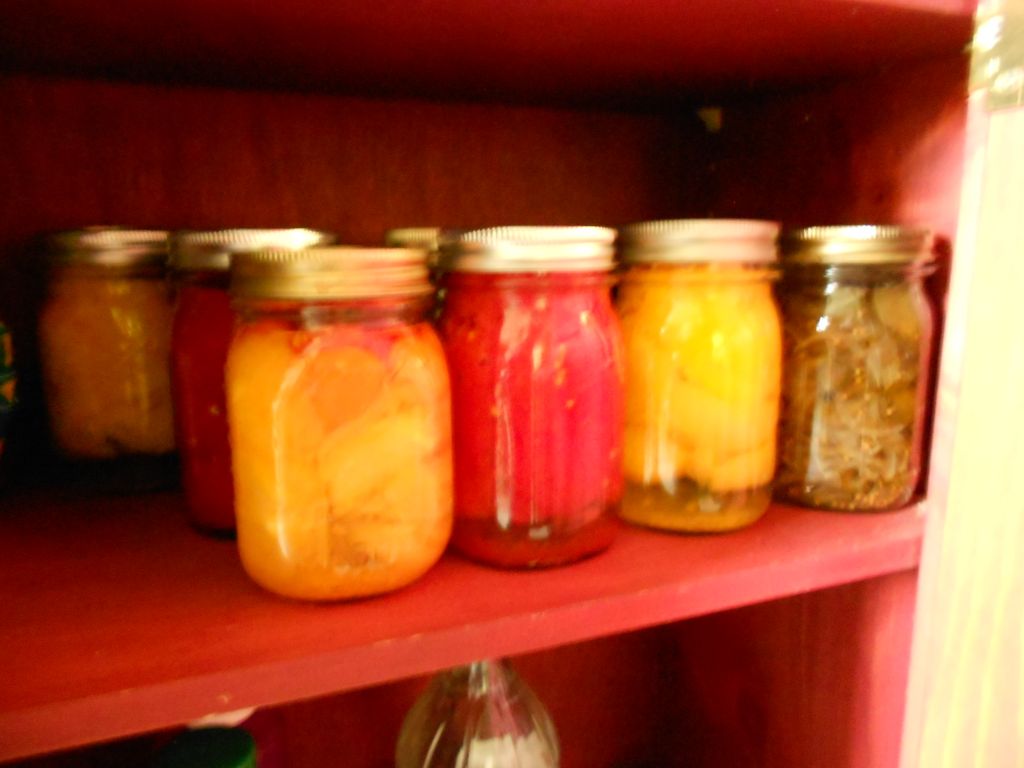
Last week I spent a lot of time marbling and I hope to get a blog up about my adventures with metallic marbling up soon.  I also canned the last of my pickles and the first of my tomatoes for this year!  The cherry tomato crop is still going strong with the return of hot weather and I hate to see them going to waste. I don’t hate it enough to try to skin them for canning though!

Cherry Tomatoes, red and gold

Cherry Tomatoes, red and gold

Tomatoes & Pickles

Tomatoes & Pickles

But most important of all, last week brought a new member of the family.

Back

She’s an eight-year old Beagle/Basset mix I adopted from a local shelter and she’s loving that I have lots of rabbits on my property.


1 Comment

Filed under Life, Notebooks

My First Enameled Book

Some weeks ago I took a class on enameling and was very excited to get working on some projects.  As usual, life intervened, but I have finished my first book.  Here it is!

Now I can’t decide whether to keep it or sell it.  One one hand, it may be the only enameled book cover I ever make as the rest of the pieces are smaller inserts.  On the other hand I really don’t need another blank book.  What to do?

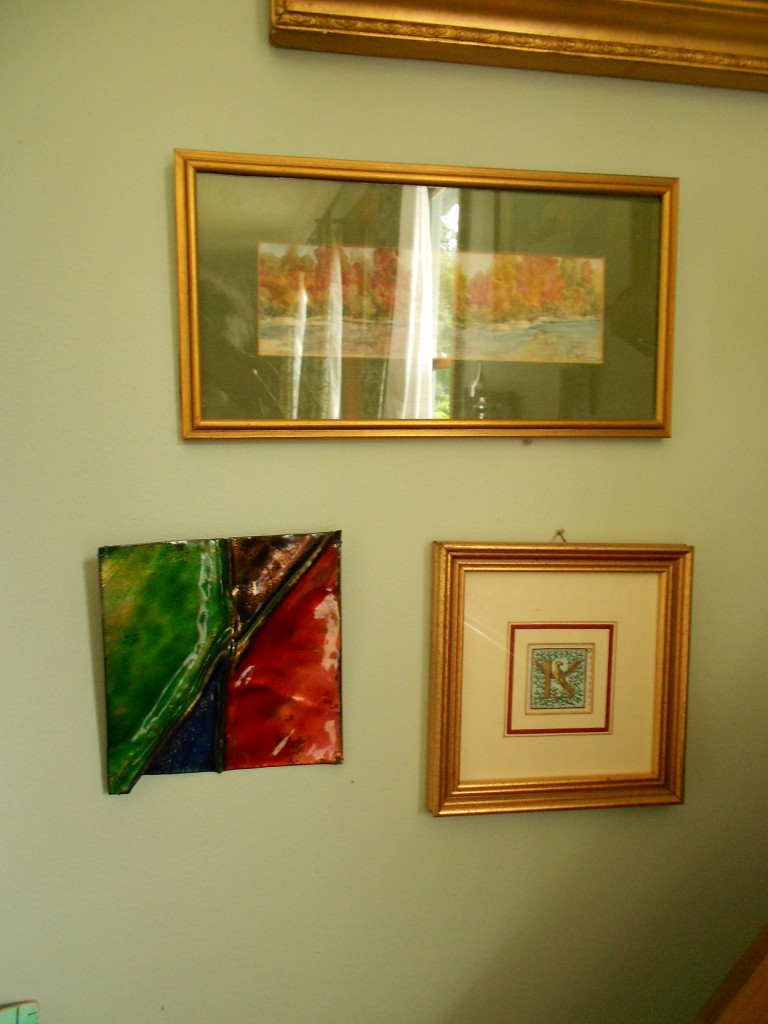
I also decided just to hang my biggest enameled piece. I found out then how fragile the enamel is. Just trying to thread a cord through the holes in the piece, I cracked some of the enamel.  Not catastrophic, but you can see fracture lines in the enamel. You can just see them in the upper left corner when the photo in enlarged.  If I had a kiln, I could just re-fire it.

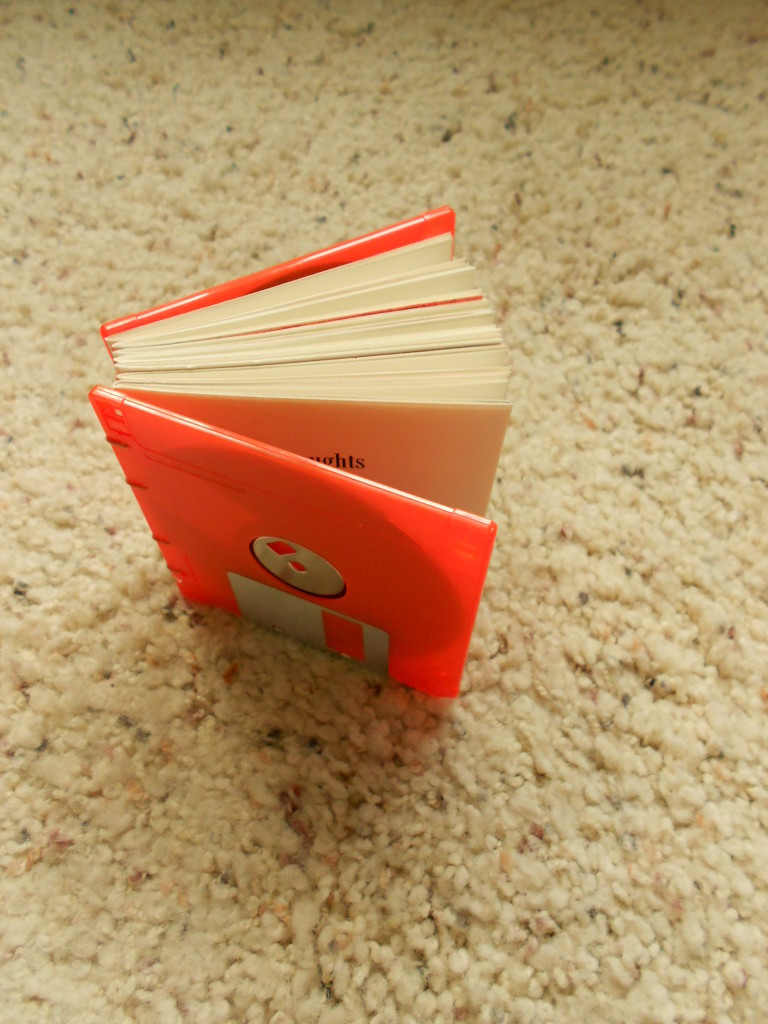
DSCN4479At the same time I was making the enameled book. I made another of the diskette books.  They are such fun! DSCN4518

I don’t really care for Coptic bindings.  They are not nearly as stable as a cased or bound book and they don’t protect the textblock as well, but they are a lot faster to make and are cute. I’ll probably keep them in my repertoire for fun, quick projects.

I’ve also been doing some marbling. Not terribly happy with the results as I been having a hard time with my carrageenan.  I don’t know if it’s the heat, the humidity or the carrageenan itself, but it’s been breaking down very quickly.  I was getting five or six days from a batch, but the last batches haven’t lasted more than two or three days.  Frustrating! I haven’t changed anything about the water, paints of the way I work, so I just don’t know.

I did have fun with these!

DSCN4512


Leave a Comment

Filed under bookbinding, Other crafts

Catching Up

It’s been a while since I’ve posted so this blog is about catching up with friends, books, marbling and gardens.  After my return from the Folk School class, I had a huge crop of slightly over-ripe cucumbers.  I still have about two dozens pints of pickles from last year, but I just couldn’t let all of those beauties go to waste.  I made another dozen or so pints and vowed to have pickles on the table for every meal next year.  I decided that that was enough and I would NOT do anymore.  So far, I’ve held to it and have only picked cucumbers for eating.  Don’t know if I’ll hold out though!

We’ve had a stretch of cooler weather and while I love it, the tomatoes don’t.  The red cherry tomatoes just aren’t getting ripe. The orange ones (Sungold) are almost ripe, but not in the profusion they should be.  The full size are slowly ripening, but if we don’t have some hot sun, I might not have enough to can this year. Harvest from two days, minus the cucumbers!

Last week I had a delightful visit from a friend I’ve known for over 20 years.  We had rather lost contact for a while besides the annual birthday greetings and it was great to see him again.  It’s amazing how one can flow back into relationships with a friend one hasn’t seen in years and yet with other people it is hard to sync up even seeing them once a week.  People are strange and fascinating beings.  My friend had read about my marbling class and wanted to learn how to do it, so we spent a day playing with it!

Lots of fun, but I didn’t get much real work done.  After he left, I went back to the trays, but the carrageenan just wasn’t doing its job.  Not sure if it was the temperature, high humidity, my water or just random contamination.  Very frustrating!

Amid all this, my dehumidifier conked out.  My studio is in the basement so its very important that it stays dry, especially the area where I store my paper. I ordered a super heavy-duty model, but it took over a week for it to arrive.  More frustration.  To cap it all off, my hot water heater died. That replacement was fast and efficient, but not before I had to deal with a lot of water on the floor.  Not the time to be without my dehumidifier!

All is well at the moment and I hope to have pictures of some new creations soon.  I have listed my diskette books on Etsy, so I have a start!  More paper will be coming soon.

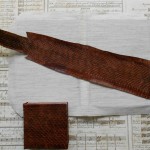
In another catch up, I talked a while ago about buying recycled odds and ends at a place in Durham, NC.  One of the pieces I bought was a broken slab of marble (not sure if it’s real or fake).  I’ve been using it as a base on which to pare leather and it is just the right size.  I’m thrilled with it! It’s hard to see in the picture, but the marble makes a smooth, hard surface to cut against while paring.  The edges of the leather need to be pared down to the thickness of a sheet of paper.  I’m not very skilled at it and it takes a lot of knife work to get them smooth even and the right thickness.

I hope to do some more marbling next week and hoping it’ll be more productive than last! In the meantime, lots of books to finish and hoping no more appliances die!

Leave a Comment

Filed under Life