Cold Amid the Soft Covers

I promised a blog about my soft-cover books, but first a rant.  Why it is so freaking cold in mid-April?  Wet, cold, gloomy and just the pits!  I suppose I should be happy there are no snow storms or tornadoes, but it’s all about me and I’m COLD!  I have heard there is a magic line about 100 miles south of me where it is warm and spring-like and cherry blossoms are blooming, but not here, not now and that’s not good.  Enough of this already.

On to the books.  I will confess, I have a conflicted relationship with soft cover books.  They can be very diverse, imaginative and fun to make, but they aren’t “real” books.  In my more traditional moments, I equate them with paperbacks and “crappy crafts” as being very disposable, not something one keeps. On the other hand, they are fun and usually easy to make.

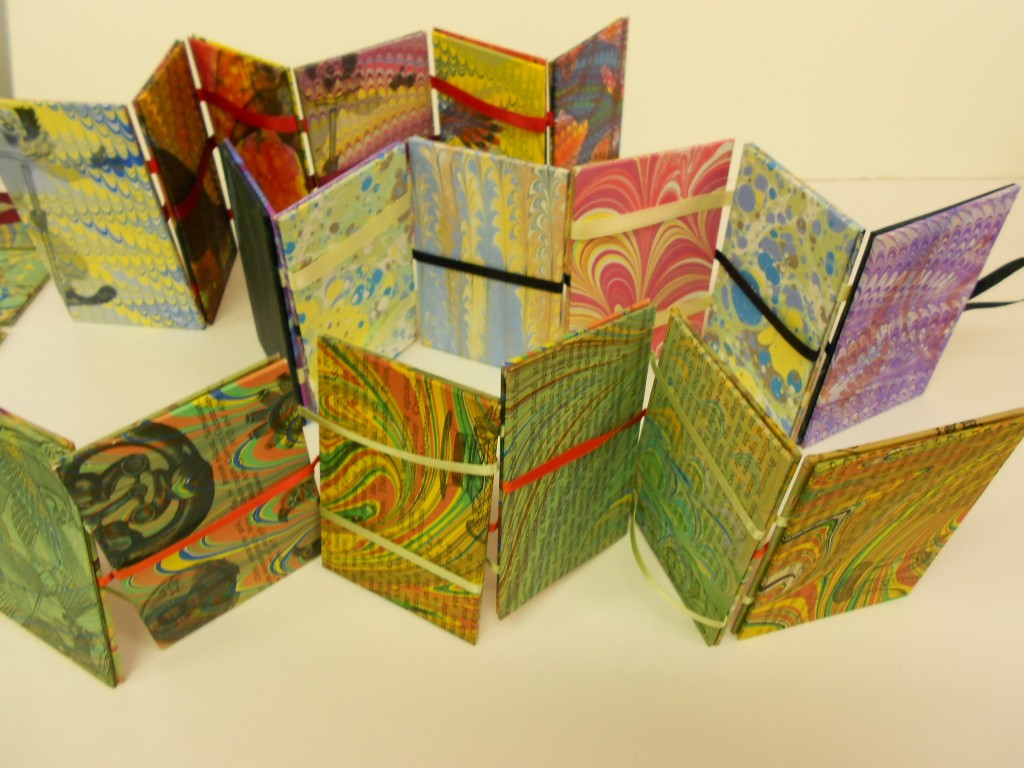
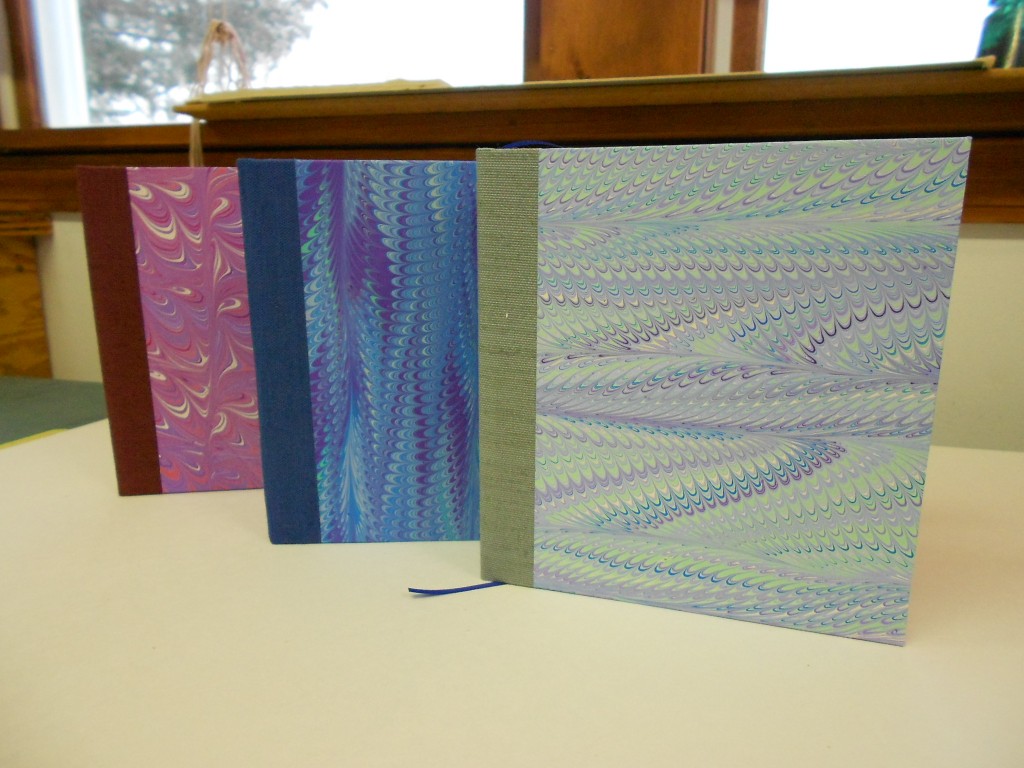
When I was on my recent vacation, I bought the materials to make a few when I tried of the ladder games. Naturally, I choose a type of softcover book that is rather traditional in shape. It has the added advantage of having a relatively stable spine.  Many soft cover books have little stability and the spines can twist and wiggle. This book has a nice long-stitch spine and tabs that wrap both front and back which creates a double thickness on the spine.  Once I finished my  first prototype, I began to see some great possibilities for using some of my heavier marbled paper.

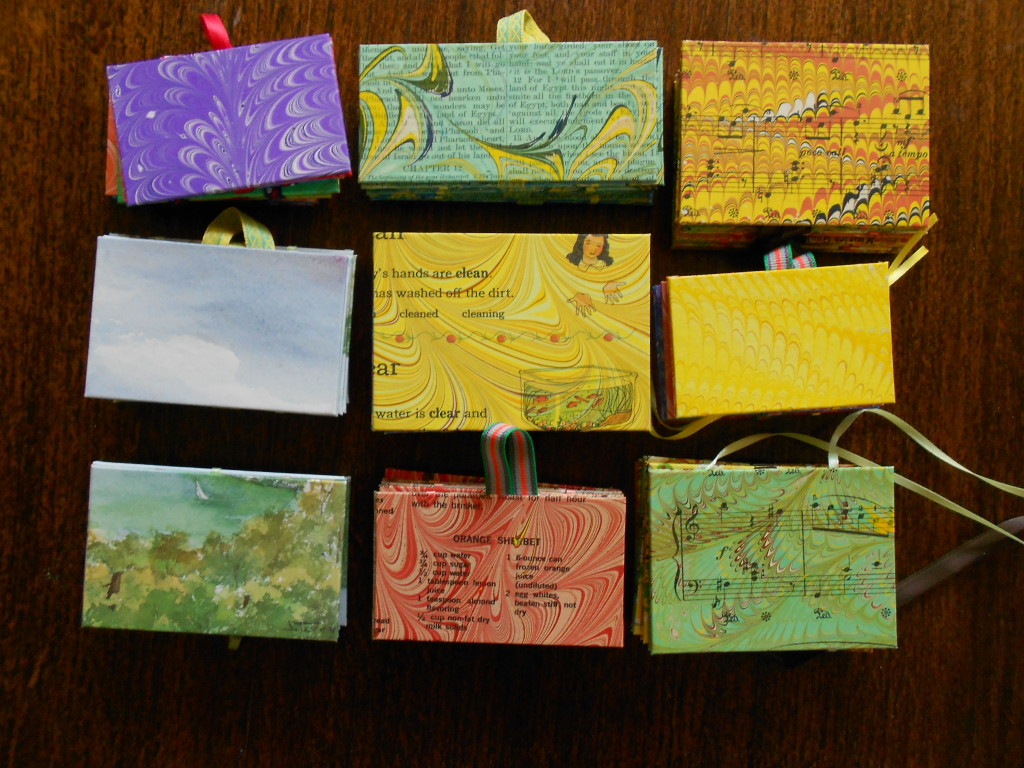
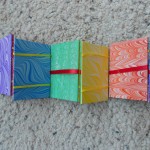
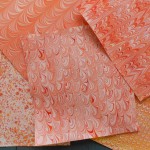
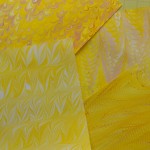
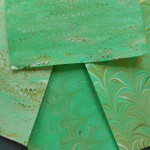
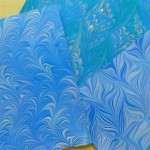
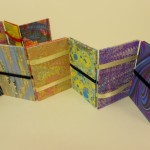
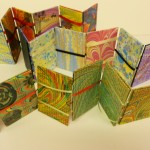
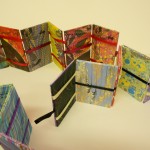
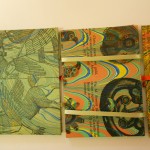
Here’s a look at the first one I made (the second isn’t finished yet) and four that I made with my marbled paper once I came home.

The front and back covers are cut at the same time with the tabs interlaced. Works great if you are using the same paper for both, but since I was using my marbled paper for one side, it left an extra set.  There isn’t an individual picture, but in the group you can see that I made a second book from the green textured paper, but with a black marbled piece for the cover.

As usual, some of these books will be available on Etsy.


3 Comments

Filed under bookbinding, Life, Marbled Paper

Making a Jacob’s Ladder Book

Several people have asked me how to make the Jaccob’s Ladders. I’ll try to explain a bit, but it’s really too complicated to describe just in words. I used the instructions in Making Handmade Books: 100+ Bindings by Alisa Golden. It’s available through Amazon.com or other booksellers.

Here’s my brief explanation.

The “steps” of the ladder are made from “sandwiches” of two  boards. I covered my boards with my marbled paper. The sandwiches are joined together by ribbons and that’s the tricky part. The ribbons weave in and out of the sandwiches and are glued on the inside but not on the outside.  The weaving is not straight down the ladder as the ribbons must loop around the step so that the ladder can move.  If you open the ladder slowly, you can see that the ribbons form an X  between the steps, with the outside ribbons staying parallel to each other and the center ribbon “X-ing” them.

In Golden’s book, she lays out the process in 28 steps with diagrams.  Even with that help, it took me several tries to get the weaving completely correct. Once figured out it is a lot of fun!

Good luck and happy gluing!

Ladders6


Click below for a short video of a Jacob’s Ladder in motion.

Jacob’sLadder


1 Comment

Filed under bookbinding, Craft design

In Production Mode

For the last two weeks I’ve been on vacation, visiting my family.  The first week I was house and pet sitting while they had a spring break vacation.  Even though I had my laptop with me, I knew  I would be bored with just a dog and a cat for company for a whole week.  Before I left home, I was busy choosing papers and ribbons and then cutting the paper and board for a bunch of new Jacob’s Ladders.  I’m very glad I did! Along with reading several books and the twice daily dog walking, the ladders kept me very busy.  I commandeered a table in the kitchen that had good lighting, much to the dismay of the cat who thought she owned that spot. Every morning I played with my ladders.

Here’s the proof:

TexasGroupI’m getting much better at not making mistakes on the ribbons — or at least, I know how to fix them when I go over instead of under!

I had great fun in choosing the papers before I started.  I have music, recipes, art prints and even the Bible. Here are some close-ups of some of the “steps”.

I have another music ladder completed except for the last step.  I miscounted the number of boards. About half of these ladders will be for sale on Etsy.

I also visited the local art supply store, just to see.  Of course I bought a bit of paper to play with.  I made, or rather started some soft-cover books with long stitch bindings.  I’ll save those for my next blog!  I still am owning a blog on the process of masking marbling.  I hope to get to that soon.


2 Comments

Filed under Boxes and Towers, Craft design, Marbled Paper

Maps of the Mind, Marbled, of course

Maps are some of my favorite recycled papers to marble.  I try to use colors that complement the areas of the map – browns and rust for desserts, blues and greens over the oceans – as well as harmonize with any printed colors.  As with much in marbling, you can plan a lot, but the paints seem to have a will of their own in the end and that’s the element I find so fascinating.  The little drop of white that centers itself right over a town or the purple swirl that almost follows a coastline  or the yellow streak of marbling that happens to disappear on top of a printed red and magically appear again to lead to a river or mountain is always a surprise.

Here are a few maps I’ve marbled in the past.

In my last marbling session I did a bunch of pages from an atlas.  Because of the way books are made, when disbound the pages are not consecutive, so I had gazetteer pages facing map pages.  I had originally planned to use both pages for ladders,  but I like the maps so much that I don’t want to cut them up.  Here are some of the pages.

I’ve used my marbled maps in numerous projects: books, towers, portfolios, almost everything I make, I’ve tried it with maps.

The map covered towers have been very popular, especially when I use local maps.  Eventually I will map some map ladders, but right now I’m “laddered-out” as you will see in my next blog!

1 Comment

Filed under Craft design, Marbled Paper

Shimmer & Shine

One aspect of marbling that haven’t explored much is the use of metallic paints.  I had tried some in the past with rather mediocre success and just hadn’t worked with them again.  During the class at the Campbell Folk School this fall,  I had some very successful pieces with metallic paints.

These two pieces show the use of metallics. In my last marbling session, I decided to explore their use a bit more, trying to match metallics with colors and just seeing how they reacted with other colors.

One of the first things I verified was that metallics just don’t show up well on white paper.  They tend to just look like a flat brown, orange or grey.  The colors I was playing with were gold, copper, bronze and silver.  Here are three white cards that had gold and copper on them.

As you can see, it’s hard to tell where the metallic is.  In contrast to this, here are some of the pieces I made with metallic paints using colored card stock.

The papers used for these pieces were black, royal blue, red, and purple. The gold and coppers are much clearer.  The amount of shininess depends entirely upon the amount of paint dropped.  On some of these there is way too much.  One problem that arises with metallic paint is that it granulates very quickly and has to be constantly stirred – without making bubbles!  This paint had the added problem that it was old and even more prone to coming out of suspension.  Fine for experimenting, but not the best.  That is why there are so many little “bits” of paint in the designs. These are especially noticeable on the fine lines of the get-gels.  On the purple stone piece, I decided to join rather than fight, so I left it at the stone stage without trying to do any drawing out.

I think I’ll continue working with metallic paint, in moderation.  I like the clear crisp colors a bit better, but it does have a place in my marbling palette.

1 Comment

Filed under Craft design, Marbled Paper

More Ladders

I was so pleased that I finally have the ribbons straightened out that I made a bunch more of the Ladders.  I’m especially enjoying using pages from vintage books.  The way the paper is cut, I rarely have complete paragraphs or even sentences.  It is a mind stretcher to “read” some of them.  They are not really just random words, but more like dream thoughts that never get quite completed.  I’ve cut a bunch more from cookbooks, Shakespeare and even the Bible.  I’m looking forward to putting them together.

In the meantime here are the ones I’ve finished.

All of these are for sale on Etsy.  In other news, I’m still cleaning up from my last marbling session. Marbling is fun, but it does make a mess!

I’m still sorting out the papers and trying to decide which papers to use and which to sell. That’s always a fun enterprise.  More on those papers later … I hope!

1 Comment

Filed under Craft design, Marbled Paper

Rainbow Update

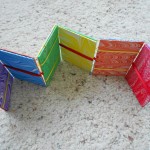
Just a quickie to show you what I’ve done with some of my “rainbow” paper. Yes, I know that the rainbow really has seven colors, not six.  These are actually the primary and secondary colors on a color wheel, but rainbow sounds better.  Anyway, here is my newest plaything.

I’ve already cut the paper for a second one and have been marbling a lot of interesting vintage paper to make more.  Now that I’ve finally gotten the ribbons working, it’s fun.  I admit, I still have the 28 step instructions right in front of me every time!


Leave a Comment

Filed under Craft design, Marbled Paper

Monochromatic Rainbow

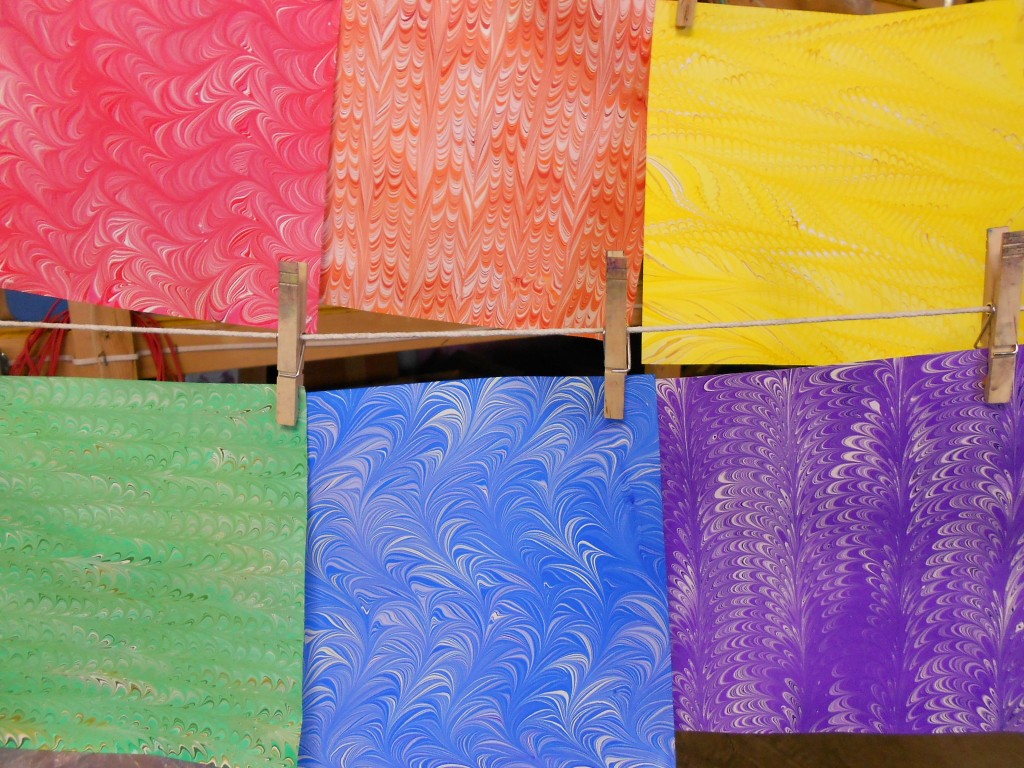
I suppose that’s actually an oxymoron, but it describes the marbling I did this weekend!  I was so impressed by the “shades of grey” piece I did at the beginning of January, that I decided to expand the repertoire. Now I have monochromatic pieces of all the primary and secondary colors; red, orange, yellow, green, blue and purple.  All I need now is to figure out how to use them!

Here’s one of each on the line.

Rainbow3

and a quick gallery of them all:

There are four sheets of each color except the blue.  I really like the fresh, clean look of these.  I plan to do more this week, but I also have other ideas. Today I also did some marbling using masks to cover portions of the paper so they don’t have paint.  They can either be left plain or overmarbled.  I hope to have those results for you by the end of this week.

Sometimes there are too many ideas for the time I have.  Decisions, decisions, decisions. As much as I love having piles of paper around, it does help if I can actually sell some or make something from them to sell.  At least it gives me money to buy more supplies.


1 Comment

Filed under Craft design, Marbled Paper

It’s Material

The local Arts Center where I display my books and paper, changes their exhibit about ten times a year. Each exhibit has a theme and artists are invited to submit works centered around the theme. I received the listing for 2013 a few weeks ago and the February exhibit’s theme is “It’s Material”.  I was puzzled how I could make my books reflect the theme.  I was thinking material goods, money, bling, flash – you get the picture.  I finally hit on something and then, after I had started the books, discovered they were featuring textile artists!  Oh, well.  I’m still going with my idea although I have covered books with fabric in the past and may take in those also.

So what was my idea?  Just these.

Material coins

I’m a collector (that’s a polite word for pack rat) and when I came across these, they clicked with the February theme.

I generally don’t care for embellishments on book covers.  The cute seashells, the fancy ribbons, or little doodads leave me cold.  Besides, it makes it almost impossible to put the book on a shelf without damaging it or its neighbors. My idea with the coins was to inset them into the cover so they would be flush with the boards. To accomplish this, I excavated circles on the covers about the thickness of the coin.

The Eisenhower dollar was about the same thickness as the Davey board, so I backed those covers with a piece of mat board.  The edge-on shot shows the plied covers.

I then added the spines and marbled paper covers in the usual manner and glued the coins into the depressions.  I should have made them a bit deeper to allow for the thickness of the paper and adhesive, but I’m very pleased with the result.  I adhered the coins with PVA, so I don’t know if they will stay.  So far they seem to be holding well, although I’m sure they could be pried off. 


These books were great fun and I’m happy with the results!  What more could I want?

Maybe to get to overmarbling tomorrow?  Stay tuned, it might just happen!

1 Comment

Filed under bookbinding, Craft design

Not Quite As Planned

My plans for marbling this weekend didn’t quite work out – seems to be a theme going on here.
I did have a great weekend however, even if not as planned.  As I mentioned in my last blog, I was  playing with the ladders and getting a bit frustrated.  I had made the blocks for two ladders, but my first attempt at the ribbons wasn’t right.  I pulled them apart and tried again on one of the ladders and finally had the weaving right, but the ribbons were too loose, some blocks had gotten upside down, and it just wasn’t pretty!

I also had three books that I had started months ago, but had been too busy to get back to them. So I decided instead of creating more paper to join my stash and create more work, I would finish up some things, including mastering the ladders.  So, here are the results!

Ladders Ladders9 Ladders8 Ladders6Ladders4Ladders2


I made four ladders this week, The bottom two in the first photo were my successful ones.  One is made from pages of a 1947 book about Bozo the Clown that I marbled.  The other is regular marbled paper.  The top two are from an old copy of “The History of Western Art”. I was really excited about these as they would form a little “book” snapshot of art through the ages.  Unfortunately they were the ones I messed up.  I still like the idea and think I’ll have to marble some more pages and try again.

Ladders10

Here’s a close-up of two of the blocks from the the art book.

These are the books I finished.  Unlike most batches I make, these are all the same size.  It does make cutting the paper and boards easier, but it’s not as much fun!

JanBookTrio3

I’m very pleased to have finished these and I’ll be putting them up on Etsy within the next week.

Maybe this week, I’ll get started on my new paints and all the marbling ideas that are floating through my head!

Leave a Comment

Filed under bookbinding, Marbled Paper, Other crafts