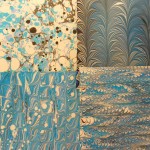
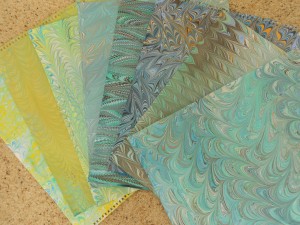
Why is it that when you really want spectacular results the souffle falls? At least it seems that way. I was hoping that the few overmarbles I did in the last batch would be good demonstrations of how the technique can work. Instead they are just some more examples of not-quite-hits. It happens. Next time …
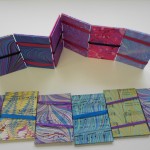
Anyway I did promise to show you and here are the results, side by side.
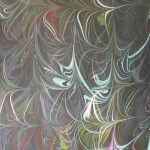
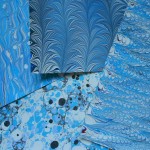
Example 1:
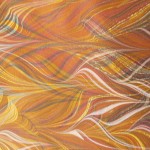
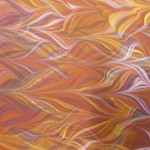
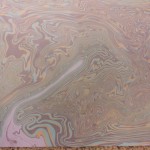
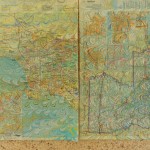
The original paper is on the right, overmarbled on the left.
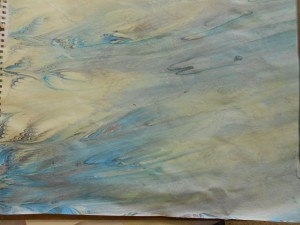
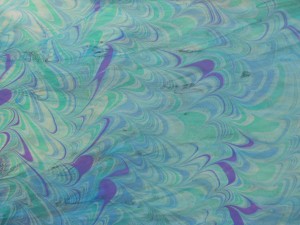
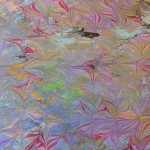
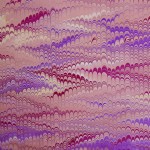
The original sheet either was missed in the alum process or was flipped and I tried to print on the wrong side. Most of the pigment and pattern washed off in the water bath. You can see a few traces of a nonpareil pattern on the left edge. The remaining pigments left a pale wash over the paper. The overmarbling used similar color in a wide, looping pattern that gained some resonance from the under pattern, but nothing outstanding. It’s a pleasant piece, but not what I hoped for.
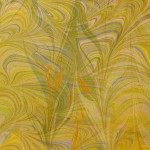
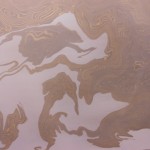
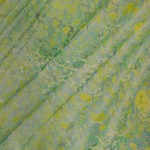
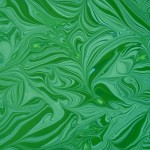
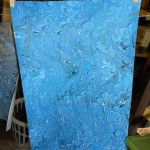
Example 2:
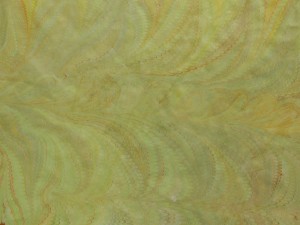
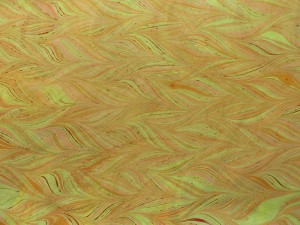
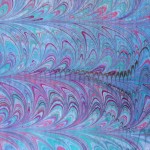
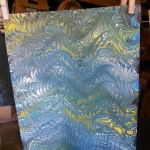
This original piece was in pale, almost washed-out greens. This photo makes the piece look worse than it was. It was nice, just rather wishy-washy. I thought it might be a good candidate. I over marbled it with yellows, burnt sienna and oranges. Unfotunately, the burnt sienna granulated a bit and didn’t give the strong lines I was expecting. The undercoat gives interesting shadows and reflections, but not the “wow” factor.
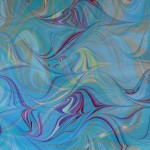
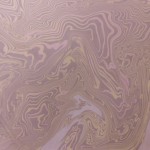
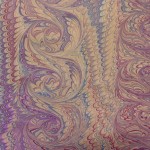
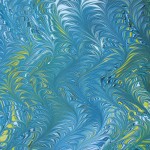
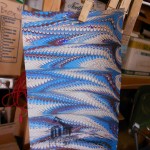
Example 3:
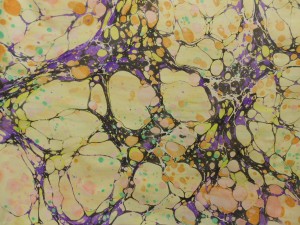
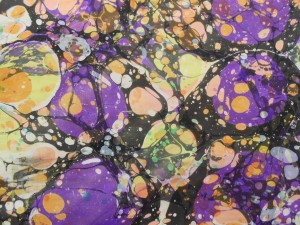
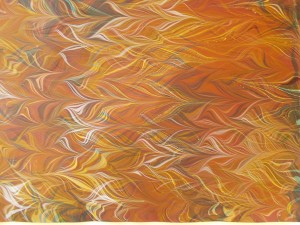
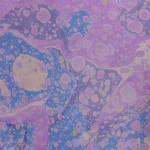
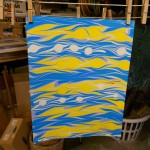
This piece was quite successful in bringing a rather namby-pamby piece back to life. I’d had a problem with the yellow in the first piece pushing all the other colors and then disappearing when printed. For the over coat, I used the same colors in the same stone pattern without the yellow and obtained a very nice colorful piece. This one is the most interesting to try and trace the under and over patterns. If you focus on the black, almost triangular shape a little to the left and above center in the first piece, you can see the same shape in the middle of a large purple stone in the second. From there, you can trace many of the black veins and colored stones.
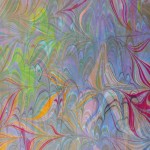
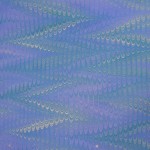
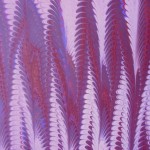
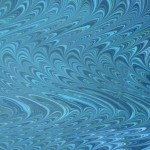
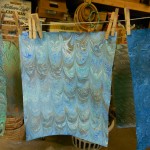
Example 4:
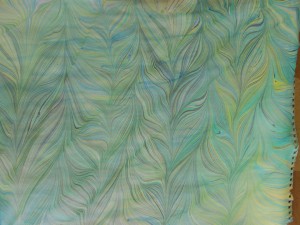
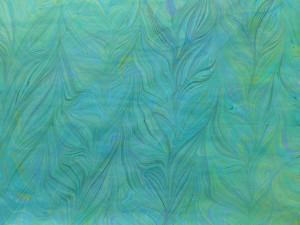
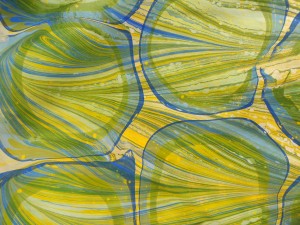
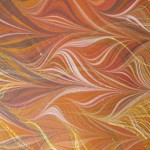
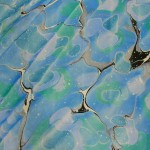
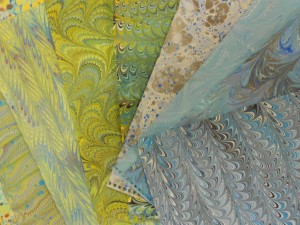
This was my most successful piece of these four. At least I think so! The original piece was nice with a little bit of a ripple going on, but it had some flaws that would have made it hard to use. For the overmarble, I used similar colors, but made them more intense. I tired to echo the under pattern, without the ripple. The ripple shows through and gives a very subtle motion to the piece. The flaws tend to blend into the new patterns and make the piece very usable,
I’m hoping to start another marbling session this weekend and I’m excited to have just received a shipment of lots of new colors in my new paint.
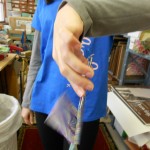
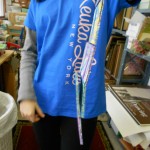
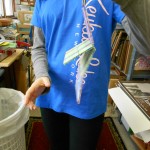
In the meantime, I’m frustrating myself making some more Jacob’s ladders. Preparing the blocks is a piece of cake. Threading the ribbons is a whole different matter! There always seems to be one that is not right – usually the broken rung is in the middle. Will post more pictures when (and if) I get them right. Doesn’t matter, I’m having fun.


