Tag Archives: hand-bound

Making the Cases or Covers for the Books, next step

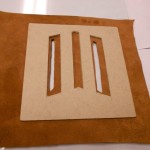
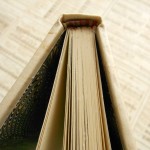
Before the Industrial Revolution, most books were made by sewing the pages or textblock directly onto the covers, which were usually made of wood and then covered with leather or fabric.  Binding books in this manner was always done by hand, one book at a time. With advances in printing, faster ways of covering the pages had to be invented.  The answer was the case-bound book.  A cased book is made in two parts, the textblock and the case. These two are then joined together in different ways.  Almost all modern books, including those with leather covers, are case-bound. To the purist, they shouldn’t be referred to as “bound” at all.  I have made a few bound books, but almost all of mine are actually cased.

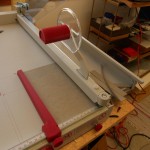
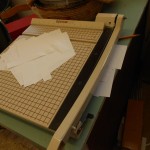
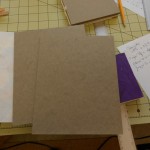
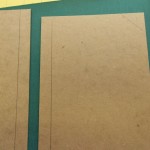
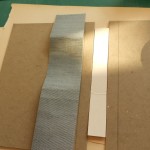
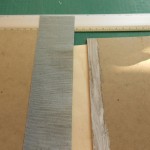
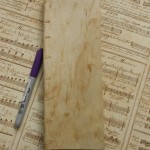
So on to how to do it.  I use Davey Board for my covers and it comes in large sheets, 30″ x 40″ so the first step is to cut it into usable sizes. The arrows on the board indicate the direction of the grain.  I mark the sheet before cutting when it is easy to determine the grain. As the pieces are cut smaller and smaller, it is harder. The grain of the board must always be parallel to the spine of the book. If the grain is crosswise, it can warp and pull against the joints, breaking them. I have three cutters in my studio. The grey fancy one (Ideal) is wonderful for cutting lots of paper to exactly the same size. I do use it with light-weight board, but I probably shouldn’t.  The tan cutter (Boston) doesn’t have a guard so I can use it to cut the big sheets.  It’s just large enough that I can cut halfway down the sheet, flip it and cut the other half.

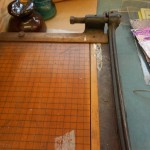
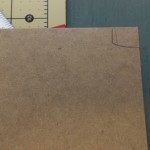
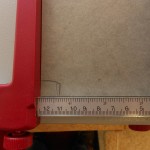
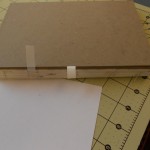
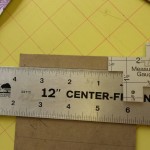
The first cuts I make are just rough cuts. If I need 71/2″ finished board, I’ll cut an 8″ strip.  My last cutter is an ancient Milton Bradley school cutter, probably from the 1940s.  It still makes a beautifully sharp cut that is perfectly square.  It is also the only cutter I have that can cut very small pieces (1″ x 2″) accurately. Both of the other cutters have guards and edges that get in the way of making accurate small cuts. Before starting to cut, I measured the textblocks and since I am doing four books at the same time, write down the height and width of each.  The boards should be cut the same width as the text and 1/4″ taller. After I have rough cut the boards, I make an exactly square cut on one corner and mark it.  All other cuts will be measured from this corner.  The marked corner is always placed against the guard of the cutter, even if this means flipping the board over. This solves the old problem of cutting one side after the other and finding you never have parallel sides.  After cutting the boards, I check them against the text just to be sure.  Yes, I have made complete covers with spine and paper added only to find the measurement was off and the text doesn’t fit. Of course, I could avoid this by making the books all the same size, but that would be boring.

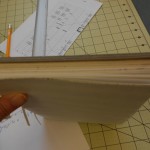
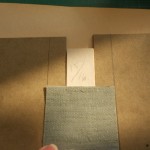
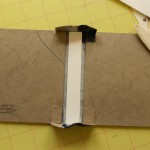
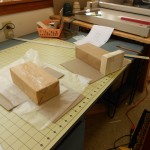
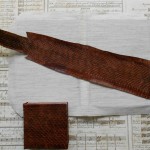
Spine stiffeners are cut from 2-ply museum board.  They are the height of the case by the width of the textblock.  Next step is to cut the bookcloth spine and attach it to the covers. Most of my books are quarter bound, but here I decided to add corners to one book making it half-bound. First I measure and mark off the depth on the spine overlap onto the boards.  It depends on the size of the book, the pattern of the cover and my mood.  Mine range from 1/2″ to 7/8″. I also marked the corners for the half-bound book. The spines are cut 1 1/2″ taller than the boards and the width of the edges plus the width of the textblock plus 1/2″. The spine is glued to each edge and the spine stiffener laid down in the center.  There should be 1/4″ on each side of the stiffener, but for some reason these were a little tight.  I must have been off on one of my measurements.  Sometimes 1/16″ will do it. After the stiffener is glued down, the head and tail cloth is glued.

Next, it’s on to cutting and gluing the covers.

Leave a Comment

Filed under bookbinding

Making the Cases or Covers for the Books, first steps

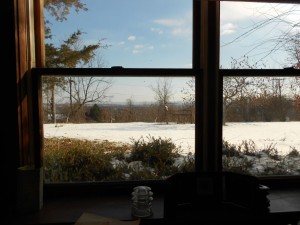
I’ve been back in the Studio playing some more with my books.  It’s been difficult for me to get back down there and I think the weather is partly to blame.  Somehow when it’s -4ºF outside, the basement doesn’t sound very appealing.  My basement is well heated, and has great natural light, but cement floors are not the warmest.  My house is built into the side of a hill so while the back is underground, I have windows all across the front with the sills just above ground level. It does have a wonderful view and I can watch birds and squirrels and sometimes deer and rabbits while I work.  Windows

There are four sets of these double windows across the front of my studio.

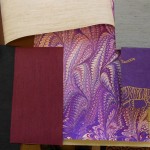
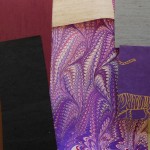
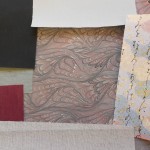
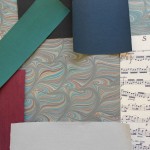
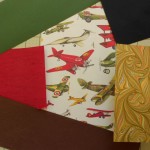
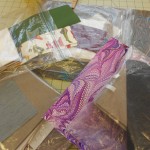
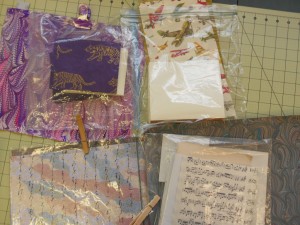
The last design step for the books is choosing the material for the spine.  I usually use an Italian bookcloth, either textured or smooth. Very occasionally I use Kennet cloth or leather.  I like leather, but it requires skill and patience, so I really have to be in the mood for it. Here are pictures of my stash of bookcloth and photos of my testing.  I take a bunch of different colored scraps and place them on the cover papers and endpapers.  One by one I eliminate the poor matches until I’m left with my final choice.  Sometimes it’s easy, sometimes not!

Notice that I carefully put everything, including the bookcloth sample into my plastic bags.  History makes me careful!

This is a short blog, but next onto making the case.

Leave a Comment

Filed under bookbinding

Books, Step by Step

Sometimes I make books in almost a production mode, working on them every day till they are done.  Other times, I do it in fits and starts, leaving them half started for a while and coming back to them after many interruptions.  The last four books that I wrote about appear to fall into the latter class!  I did the design work, choosing papers and then put them aside.
This week, I went back to them for the next step – choosing paper for the text block and deciding on the size and shape of the book.  I didn’t do anything special with the papers this time.  I’m using my standard Strathmore and Canson drawing papers. I like the weight and feel of them.  I would love it if I could get them in colors, but the colored sheets tend to be heavier as well as much more expensive. I do use Pastel paper occasionally, but it has a definite “tooth” and is not right for some of my books.  I also like the Strathmore “Toned Tan” and “Toned Grey” for my earthier creations and have used a lot of that in the long-stitch books.
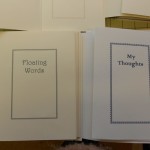
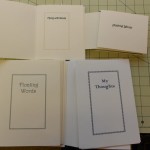
Back to the current four.  After cutting the text paper, I print a title page, verso and colophon.  Most blank books don’t have titles, but I like adding them.  I think it makes them more like real books. My titles range from the pedestrian My Journal, to the whymiscal Wish on a Fish. They tend to reflect the color, Purple Prose, or content, Purring Thoughts, of the book’s cover.  These titles were more of the pedestrian variety. Here the pages have been cut and folded and the titles printed.

The two larger books are almost the same size. The smaller one was cut to fit the tiger endpapers and the medium sized one was determined by the cover design. The pages are folded and gathered into sections or gatherings, ready to be punched and sewn.  I like to add an extra ornamental page of light weight paper around the even sections, just to add a little something special. Here are the papers I chose for the larger books.

I also added frontispieces to the two larger books.  These are illustrations that were taken from two different books from 1840-1850.  The books were badly damaged and had fallen apart, but I was able to rescue some of the engravings.  The illustrations are not copies, they are the real thing.  As you can see in the photo, they need to be trimmed down and tipped in.  I’ll do this by leaving a narrow edge that will fold around the back of the title page.  The flap will be glued in, but it will also be sewn into the first gathering, making it an integral part of the book.  Sometimes, when the paper is too brittle to fold or is smaller than the book, I just tip it in opposite the title.

My next steps will be to attach the frontispieces and sew all of the textblocks.  In the meantime, I have learned to put all parts of each book into a separate plastic bag!  Before I did this consistently, I would switch papers mid-stream and discover I had to cut paper all over again to match the new configurations!Bagged2

The reason I didn’t move on to sewing the textblocks was that I was sidetracked by note cards, which will be my next blog.  I hope to get to it soon.

I have written at length about all the processes in making a book on other pages on this site, starting here.


Leave a Comment

Filed under bookbinding, Craft design

Corners, Double Boards, and Gothic Bindings

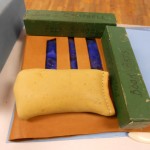
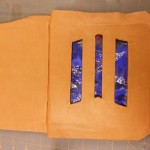
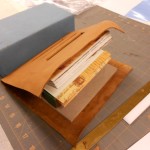
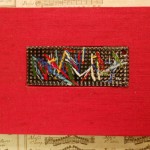
Finally, back to my books from the Folk School.  My first two books are shown here.  I have always said that I don’t work in leather. It’s too fussy, too expensive and too time consuming.  This week I ended up four leather bound books!  The most complicated is a variation on a traditional Gothic structure.  I cheated and used a textblock sewn over tapes rather than lacing in the boards, so it is more like a cased rather than a bound book.

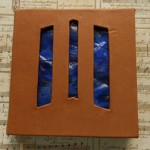
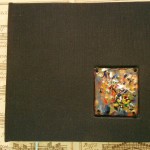
Many important Gothic and Victorian psuedo-Gothic books were made with double boards, allowing many different types of ornamentation. While thinking about what I could do with double boards, the idea of windows kept running through my mind.  I had a piece of very thin copper that I had tried to torch fire. It didn’t come out very well.  It was bumpy and uneven and generally a bit of a mess.  I had no idea if it would just crack when placed between the boards.  I was able to trim the copper to a suitable size, so the first problem was overcome.  Here are some photos of the process.

Fortunately, the enamel hasn’t cracked and the bumpiness gives an interesting texture to the piece.

The other book I made with an enameled piece was an easy one.  I used the same technique I had used before with coins.  I cut a recess in the top board, tucking the bookcloth into the recess and glued the piece in place. I used this same technique with a black cloth book after I returned.

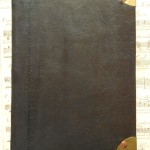
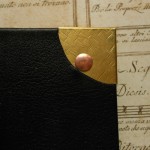
The last technique we used was working with metal – brass, copper, bronze and pewter – as corners, bosses and latches. This was the first time I had ever worked with metal and was a bit of a challenge.  Metal has to be exact.  You can’t nudge it, pinch it or approximate. I’d love to have more time to work with metal and hope I can in the coming year.  For this time I just made some brass corners. Not much for a metal worker, but exciting for me.  There’s a lip that fits around the edges of the boards and then the corner is fastened to the boards with a rivet. I also gave a brass a bit of texture. As a final touch, this book has a line of blind tooling parallel to the spine.

So that finishes all five books I made during my week.  Since I’ve been home, I’ve been finishing up odds and ends, trying to put together stock for the shopping season.

You can always find my books and paper on Etsy via my page or by going to www.Etsy.com/shop/LosingHerMarbles

Leave a Comment

Filed under bookbinding, Craft design

Books, Metal and Magic

It has taken me a long time to get around to this blog about my last week at the Campbell Folk School.  I’m not sure why – the press of catching up, my tiredness from the week or just the difficulty of encapsulating seven very busy and eventful days.

I think I’ll start backwards and show the books I finished during the week first and go into detail later.

As you can see from the outside of these books, I was playing with lots of different ideas.  What you can’t see, is that the  internal structures on these are quite different.  Unfortunately, I couldn’t find my camera for the first few days, so I have no pictures of some of the books in progress.  I’m hoping some of my classmates will share a few of their pictures.  There were only four students in the class and we were all working on very different projects, but there were some commonalities.

The first book I made was the 12th century account book.  I love the shape and size of the book. It’s only 3 1/2″ wide by 10″ tall.  This type of book was used for accounts and also for reading aloud. Since most of the population was illiterate, recitation and reading aloud were very important social and cultural activities.  I can imagine Chaucer holding a book like this and reading his poetry in the English Court.

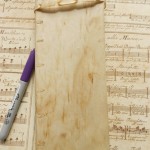
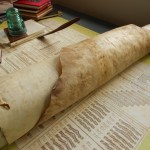
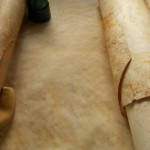
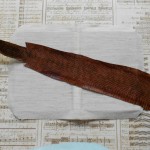
The instructor, Gian Frontini, had made a book like this from vellum. I had found some old rolls of rawhide in my basement and had brought them with me on the chance I could find something to do with them.  The match was perfect! My rawhide had been cured and scraped rather crudely which left some interesting texture and markings on the book.  I used a slightly rough Fabriano paper for the textblock. It was sewn over narrow strips of the cover rawhide which were later laced into the boards.  You can see the lacing in the photos. I made the headbands with embroidery floss, sewing them into the textblock. The book was then finished off anachronistically with some of my marbled paper.  Even though it is not correct for the period of the binding, I felt it was a wonderful match for the organic feel of the book.  Traditionally, all the edges of the book would have been painted, usually red, but I decided not to.  A laced thong of rawhide was added to the back board of the book. The thong helps to keep the book closed and was also used as a “leash” for the book.  I added a small silver bauble to help in grabbing the book.

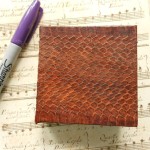
I had also found in my basement ( yes, it is a bit like Aladdin’s cave) a long, narrow roll of snakeskin.  I threw it into my box at the last minute intending to ask Gian if I could use it for something in binding. The answer was yes and I decided to make a very small book.  The snakeskin at it’s broadest was less than 4″ wide, so I settled on a book that’s only 3 inches square. Because it’s so small, I made it thick. Lots of pages with few words on each!  Like the rawhide, the snakeskin had to have Japanese paper pasted to the reverse side to give flexibility and durability to the piece. I sewed this textblock with a running Coptic stitch that was used in many Gothic books.  This stitch is not as stable as sewing over tapes, but it is more appropriate to the materials.  I cheated here on the headbands and use the paste on variety, mainly because I was afraid of running out of time. The spine was not glued down, but left as an open tube.  Again, I used my marbled paper as endpapers – a very snaky match.  I was amazed that I had brought just the right papers with me.  I only brought four or five sheets with no plan of how I would use them.  To find I had two that were such great matches was miraculous.  If you have read any of my blogs, you know how I agonize over finding just the right papers.

Next blog I’ll talk about my metal corners, enameled insets and unfinished business.


1 Comment

Filed under bookbinding, Craft design

Books on a Theme: Face to Face

As soon as I finished the Marbling Class, I changed my focus to the next exhibit being hung by my local gallery. The theme is Face to Face and the drop-off day for artwork was this past Monday.  Not much time!  I already had a few of the soft-cover books I had made in North Carolina, but I didn’t really have much that spoke to the theme. I had been thinking about a Dos à Dos book.  Back to back is almost like face to face.  I also was eager to play with some of my “scraps” to upcycle.

Here is what I came up with and was able to finish last week.

June "Face to Face" books

June “Face to Face” books

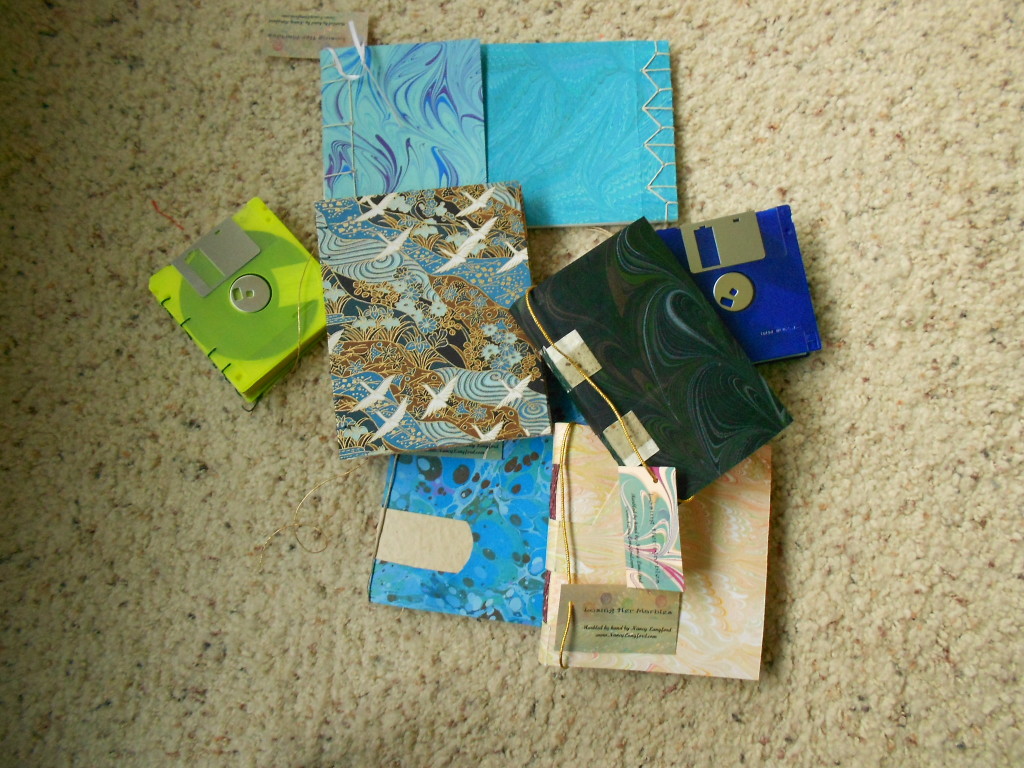
The upcycled (fancy way of saying recycled) diskettes were great fun and I had the perfect paper for the yellow one. They are bound with a simple Coptic stitch.

The Dos à dos took a little more thought. I couldn’t decide quit how to cover the middle board.  I could cover it completely with one paper and use the same paper for the front and back covers, but that seemed boring.  I decided I definitely wanted a different, but coordinated, front and back. As I was going through my paper, I found I had three different versions of crane patterns in the Chiyogami.  Problem solved!  I used the blue crane for the front, the white crane for the back and the tan crane for the center board.  Again, I used a simple Coptic stitch binding for the spines.  I was even able to play with the color of the waxed thread: blue for the front and red for the back.  I enjoyed making this and can see myself exploring this format again.

I’m sorry that I didn’t take a better picture of the center board.  Maybe I can drop by the Gallery and take one.

After finishing the crane book, I kept thinking about how to make two books facing each other.  I had seen something like that done in a stab stitch binding, but couldn’t locate it. So I started playing and came up with this.

I started with a piece of mat board I had marbled in blues. I then added two different sized textblocks, one to each end of the board with simple stab stitch patterns.  The covers of the textblocks overlap, but the pages don’t.  Since you usually write with the spine on the left, I made the two books upside down to each other.

As a last hurrah, I took the case for a single floppy disk and put two tiny stab stitched books in it with a tiny pencil. Unfortunately, I forgot to take any pictures, but if I do get down to the gallery, I’ll take some and post them!

Added on 6/15:  Some poor quality pictures of “Just in Case.”

All-in-all, a very busy and productive and FUN week!

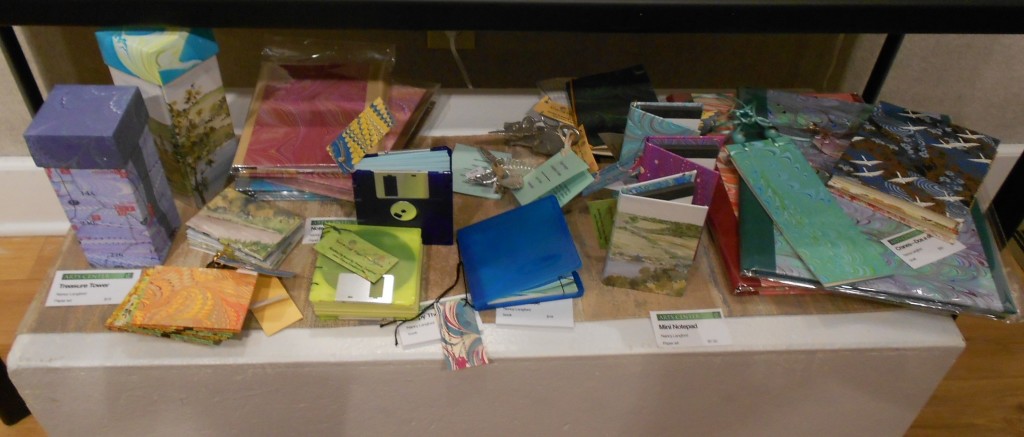
A last picture of my items on display at the gallery; just a bit crowded.

DSCN3749

Leave a Comment

Filed under bookbinding

Home Again to the Garden

I’ve been on vacation the last two weeks and have come home in one of the loveliest times of the year. The fruit trees and lilacs are all in bloom, the grass was knee high and the nurseries packed with people buying plants.  It’s a bit early to start the garden, but after a long winter the urge to go outdoors and play in the dirt is very strong. Here’s some of what was waiting for me when I arrived home.

I’ve gotten a lot of the grass mowed, but not around the edges!

I had started preparing the garden before my trip and gave it another digging after I returned.  Now’s it’s all ready to fence and do a final grooming before planting.

While I was on vacation, I was playing with my books – of course.  I really like the format of the new soft cover book.  I had cut a bunch of paper for text and covers before I left on vacation as I knew I would have a lot of free time to play.  Here’s the result of my play.  They aren’t quite finished as there is some final gluing and trimming to do.

I had a lot of fun with these books.  First in matching up my marbled paper with a complementary piece of heavy stock, then choosing the thread and playing with the long-stitch pattern and finally deciding on the shape of the slots for the front and back tabs.  Only one of these books has the front and back of the same paper.  I’m looking forward to finishing these up … soon.

Next on my agenda is a marbling class that I’ll be teaching for the local arts center.  It should be a lot of fun. I’m planning on just covering the basics and having the participants have fun experimenting with colors, papers and anything else I can think of.

2 Comments

Filed under bookbinding, Life

It’s Material

The local Arts Center where I display my books and paper, changes their exhibit about ten times a year. Each exhibit has a theme and artists are invited to submit works centered around the theme. I received the listing for 2013 a few weeks ago and the February exhibit’s theme is “It’s Material”.  I was puzzled how I could make my books reflect the theme.  I was thinking material goods, money, bling, flash – you get the picture.  I finally hit on something and then, after I had started the books, discovered they were featuring textile artists!  Oh, well.  I’m still going with my idea although I have covered books with fabric in the past and may take in those also.

So what was my idea?  Just these.

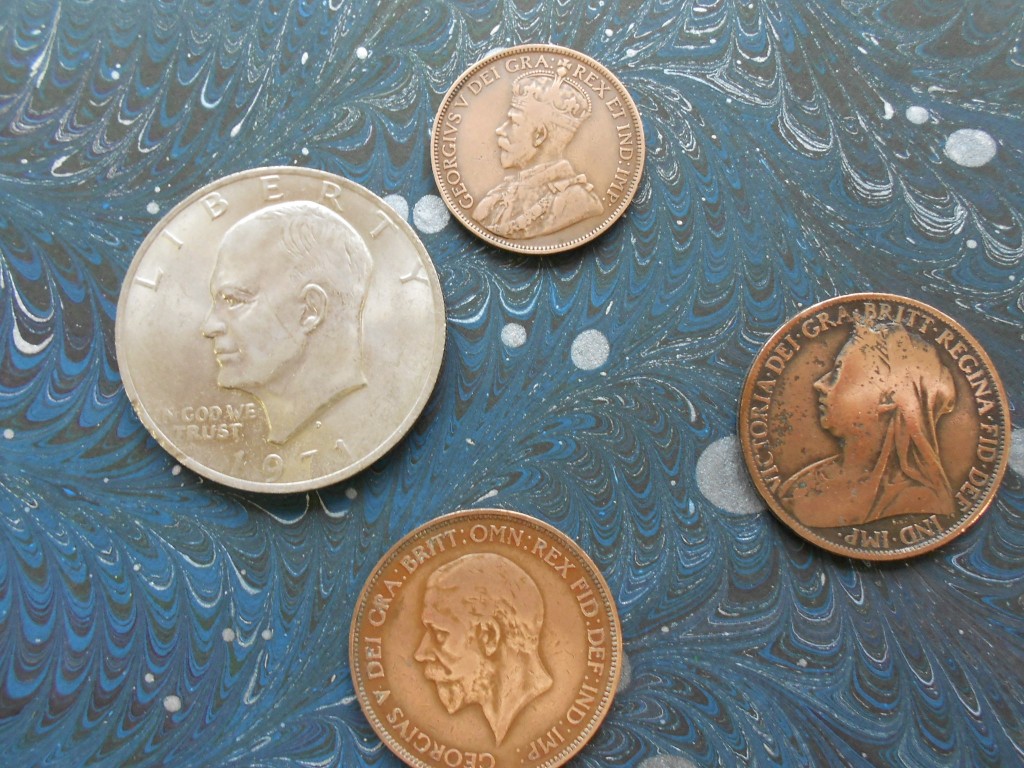
Material coins

I’m a collector (that’s a polite word for pack rat) and when I came across these, they clicked with the February theme.

I generally don’t care for embellishments on book covers.  The cute seashells, the fancy ribbons, or little doodads leave me cold.  Besides, it makes it almost impossible to put the book on a shelf without damaging it or its neighbors. My idea with the coins was to inset them into the cover so they would be flush with the boards. To accomplish this, I excavated circles on the covers about the thickness of the coin.
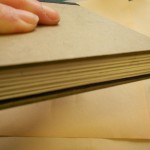
The Eisenhower dollar was about the same thickness as the Davey board, so I backed those covers with a piece of mat board.  The edge-on shot shows the plied covers.
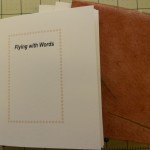
I then added the spines and marbled paper covers in the usual manner and glued the coins into the depressions.  I should have made them a bit deeper to allow for the thickness of the paper and adhesive, but I’m very pleased with the result.  I adhered the coins with PVA, so I don’t know if they will stay.  So far they seem to be holding well, although I’m sure they could be pried off. 
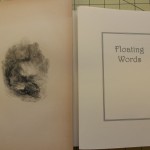
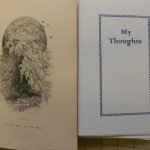
 

These books were great fun and I’m happy with the results!  What more could I want?

Maybe to get to overmarbling tomorrow?  Stay tuned, it might just happen!

1 Comment

Filed under bookbinding, Craft design

Where Did That Week Go?

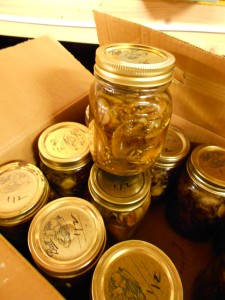
Busy, busy week. Not sure quite what happened, but I know that the painters finally came to start work on my porch, my company left and I finally mowed the grass.  To update the trifecta, first the pickles did get canned, another 12 pints. 

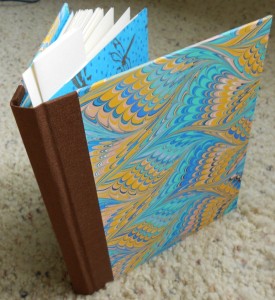
I finished one book as a sample for a potential customer.

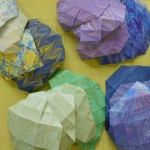
The final bit was making more Treasure Towers with maps on the outside.  They are close to being finished, with just folding the interior boxes and gluing them to the outside.  Keeping the two blue/purple towers separated with their proper papers was a challenge, but I think I have them right.  It really wouldn’t make too much difference as their colors are very similar, but when I put a lot of effort into choosing just the right piece of paper, I hate it when I mess them up at the last minute.  That’s one reason I never work on more than four items at once.  There’s just way too much chance for papers getting switched.

Here are the towers and the paper cut and folded for the boxes.

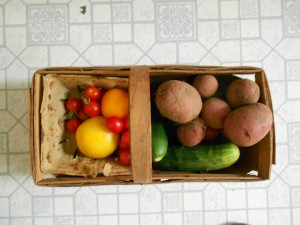
On a totally different note, I’ve started harvesting potatoes from my garden.  There’s nothing better than a freshly dug potato!  Here’s the harvest for today.
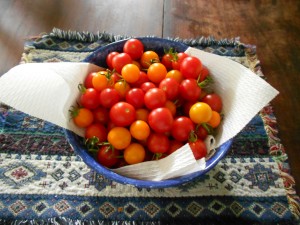
The cherry tomatoes are overflowing.  I may have to figure out how to can them!

1 Comment

Filed under bookbinding, Boxes and Towers, Life

Going for a Trifecta

This week is starting with a bang: papers chosen and started for four Towers with maps on the outside, papers matched for four books and the textblocks cut and folded, plus another gallon of cukes salted in the fridge.  Let’s see what gets finished and what waits for next week!

The cucumbers are just about over.  We haven’t had much rain in the past two weeks and they are getting smaller and smaller.  On the other hand, the cherry tomatoes are going like gang busters!  So sweet and juicy, nothing like the ones in the grocery store.  I may even try to can some, just to have a memory of summer next February when the snow has piled up and I’m almost house-bound.

I’ll take some pictures of the towers and books as they begin to come together.

Leave a Comment

Filed under bookbinding, Boxes and Towers, Life