Tag Archives: how to

Playing with Overmarbling

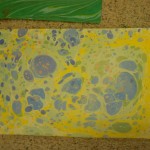
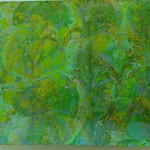
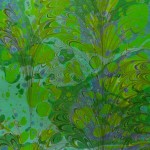
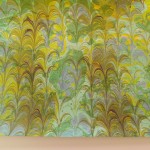
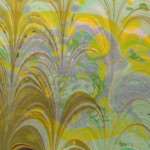
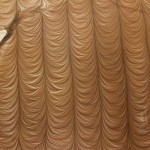
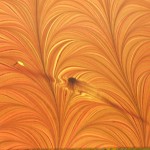
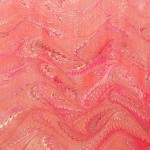
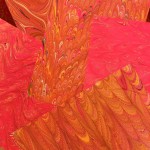
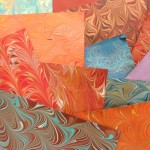
A few weeks ago, I had a marbling session that wasn’t going very well, not really badly, but I just wasn’t thrilled with anything. So, I decided just to have some fun by pulling out some old pieces and seeing if I could make anything out of them. Some were decent, but boring, others  had flaws and a few were disasters that I’m not sure why I even kept! One of my favorite things about marbling is that I never know exactly what a piece will look like when I lift it from the tray.  Will it have a bubble? Will it have a hesitation line? Will it be perfect? Will the colors match what I wanted?

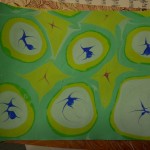
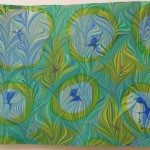
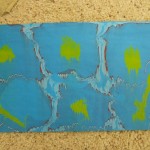
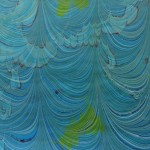
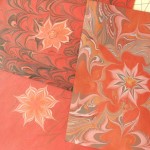
When I overmarble, putting one layer of marbling on top of another, all bets are off.  I can never tell exactly how the two patterns or the two sets of colors will react with each other.  Rarely, I have something amazing, sometimes it’s dreadful, but it’s always interesting.

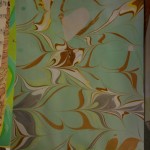
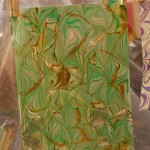
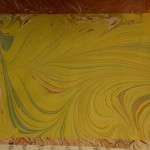
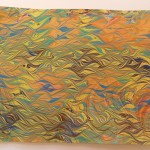
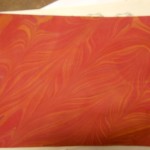
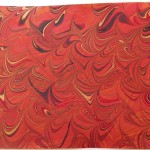
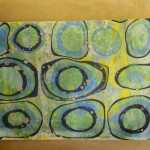
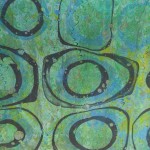
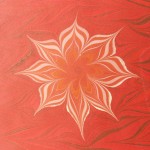
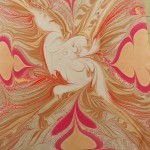
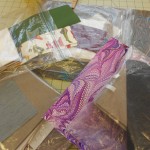
Here are some before and afters for some of the overmarbling I did.

I want to try this technique on a bunch of other pieces.  One technical note, I forgot that some of my early pieces had been done with watercolors rather than acrylics.  This means that some of the original paint  smudged or washed off when I tried to alum the piece.  I usually use a sponge to alum, but I might have been able to reduce the problem by using a spray bottle.  I now test a corner first to make sure the paint won’t bleed or smear.

In other news, I was finally able to start work on my garden.  I usually have it turned over by mid-April.  It’s May and I’m just starting.  It’s going to be small this year as I still have pickles from last year!  Lots of other outdoor work to be done and not much time.

Leave a Comment

Filed under Marbled Paper

There Are Days Like This

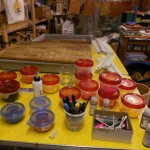
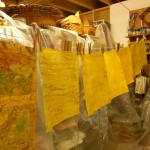
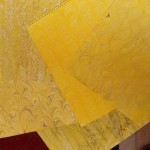
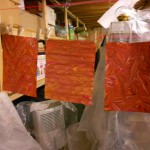
Two weeks ago it warmed up enough for me to contemplate descending into my basement, standing on a cement floor and putting my hands into water.  In other words, to do some marbling. I made my carrageenan the night before, set up all the trays, paints and paraphernalia, alummed my paper and dove in. I was planning on doing some large monochromatic sheets, like I had done last year with smaller pieces. Yellow and red were the colors I chose and planned to mix orange. Orange is the only secondary color that I have had consistently good results mixing for marbling.  Those were the plans, anyway!

The first sheet I pulled had some line problems, the second caught a big air bubble, the third developed alum striping — and on and on it went.  I know it had been a long time since I had marbled, but this was ridiculous. Of the eight or ten sheets I pulled that first day, only one or two were good.  On top of that, I wasn’t really happy with the color combinations.  The second day was a bit better, but still way too many sheets that had major flaws so on the third day I threw in the towel on my plans, moved to a smaller tray with smaller paper and grabbed the metallic paints and colored paper.  A background color can disguise a lot of problems!  Things started going more smoothly and I began connecting to the marbling, but I was still frustrated.  What I need right now are large perfect sheets, not more small ones. At the end of the session, I started playing.  Maybe that’s where I should have started.  Here are some pictures of the good, the bad and the ugly!

It’s turned really cold (0* to 10* above) again, so I’ll have to wait for another attempt.  Here’s hoping I’ll be right in the grove and pulling perfect sheets every time!

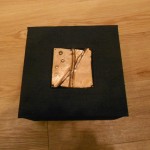
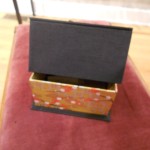
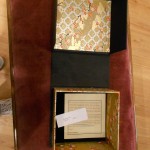
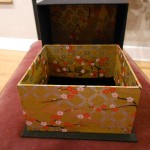
In the meantime, I’ve been playing with some boxes.  They are based on the clamshell box used for rare books and for archival storage. This is the first one I’ve finished.  I’ve inlaid one of the pieces I enameled last year on the cover. The inside is a four-sided box (book boxes only have three sides) lined with black velvet.

I’m planning a lot more of these as I have quite a few enameled pieces and other treasures for the covers.  I just hope people like them!

Leave a Comment

Filed under Boxes and Towers, Craft design, Marbled Paper

Making the Cases or Covers for the Books, first steps

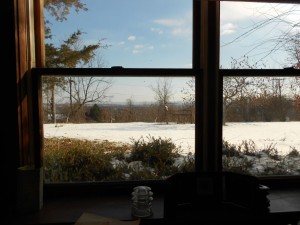
I’ve been back in the Studio playing some more with my books.  It’s been difficult for me to get back down there and I think the weather is partly to blame.  Somehow when it’s -4ºF outside, the basement doesn’t sound very appealing.  My basement is well heated, and has great natural light, but cement floors are not the warmest.  My house is built into the side of a hill so while the back is underground, I have windows all across the front with the sills just above ground level. It does have a wonderful view and I can watch birds and squirrels and sometimes deer and rabbits while I work.  Windows
There are four sets of these double windows across the front of my studio.

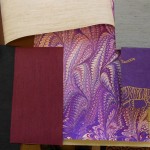
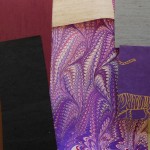
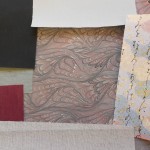
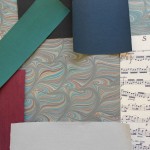
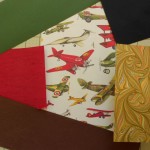
The last design step for the books is choosing the material for the spine.  I usually use an Italian bookcloth, either textured or smooth. Very occasionally I use Kennet cloth or leather.  I like leather, but it requires skill and patience, so I really have to be in the mood for it. Here are pictures of my stash of bookcloth and photos of my testing.  I take a bunch of different colored scraps and place them on the cover papers and endpapers.  One by one I eliminate the poor matches until I’m left with my final choice.  Sometimes it’s easy, sometimes not!
Notice that I carefully put everything, including the bookcloth sample into my plastic bags.  History makes me careful!

This is a short blog, but next onto making the case.

Leave a Comment

Filed under bookbinding

Sewing the Books

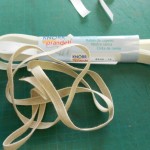
There are many ways of sewing text blocks for bound and cased books.  In fact there may be hundreds.  Linda Blaser wrote an article once documenting the styles she had encountered in her career as a book conservator.  I once had a copy, but can’t find it and haven’t been able to track it down. The method I usually use twists the thread over the tapes rather than leaving it flat. The benefit of this is that the gatherings are pulled tighter together.  This is important for me since I don’t have a proper book press for gluing out the spine, so the extra compression is important.  The problem is that it creates more bulk on the spine which can be unsightly, especially if you are binding with leather. If I am doing a large book that needs three or more tapes, I sometimes alternate the twist with a flat thread.  I had planned to do it on the larger books as a demonstration, but once I started sewing, I forgot!

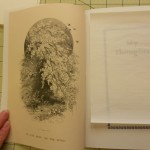
On my four current books, the first thing I had to do was to tip in the frontispieces on the two larger books.  I first trimmed the illustrations to the size of my pages plus about 1/4″ for a tab. The frontis was placed in position and the tab was very gently – I’m dealing with paper that’s about 150 years old – folded around the first gathering. Using PVA as the adhesive, it was then glued to the back of the section.  The only glue was on the tab, not on the engraving itself.  By the way, I tend to use the terms glue, paste and adhere interchangeably although technically they are different.  I only use a reversible PVA in my books.  Well, occasionally I use paste, especially with leather, but that’s a whole ‘nother thing.

Adding the frontispieces.


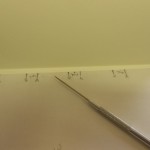
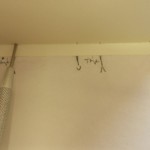
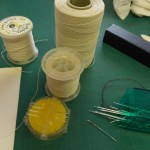
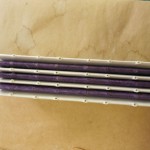
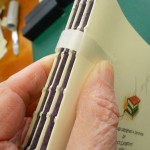
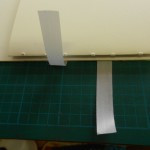
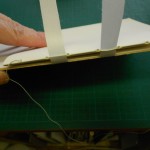
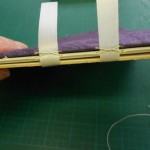
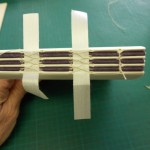
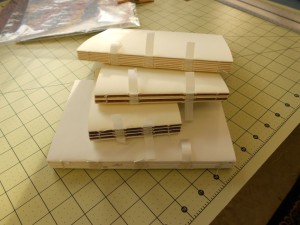
I’ve tried to photograph the entire process of sewing the textblock with descriptive titles from punching holes to finished sewing. I don’t use a cradle for punching as I find them cumbersome and my books are usually only five section books.  These four happen to be a bit larger, but still only have seven sections.  For the same reason, I don’t use a sewing frame, plus my books tend to be different heights.


All four text blocks.
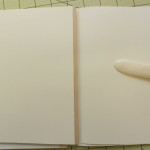
TextblocksNext I tipped in the endpapers and trimmed them to size.  An extra 1/4″ is left along the inside fore edge of both endpapers.  This is folded under and glued to the first and last pages of the textblock.
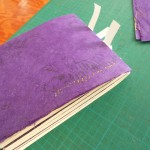
Now it’s on to preparing the spine and covers.

You can see more of how I make my books on previous pages.  Design, Frontispieces, Sewing.

3 Comments

Filed under bookbinding