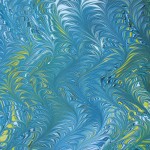
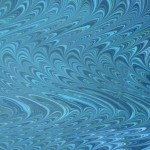
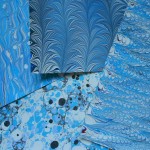
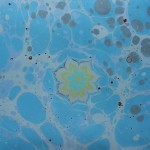
Tag Archives: papers

Exploring Overmarbling, when and if …

Busy, busy, busy.  I’ve been home for almost a month and still haven’t been able to do any marbling.  Very frustrating as there were so many techniques that we had a taste of in my marbling class and I really want to spend some time with them.  Now, it looks like I’ll have to wait until the new year.

As soon as I arrived home, I had four special order books to finish.  All of them were larger (9″x12″ and 8.5″x11″) than I usually make.  Although the larger size is more impressive, I think I’ll stick to my smaller, pocket-sized fare.  I just enjoy them more.  One of the books was a sewn perfect/adhesive binding.  I hate making those, but there was no choice in this case as the pages were photographs.  I did this for a local photographer and he was pleased.  Unfortunately, I didn’t think to take any pictures of  the book!  He seems to think other photographers would be interested, but I’m not sure I want to do more.  I’d rather just do a clam-shell box!

Overmarbling

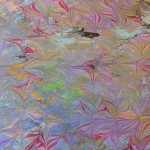
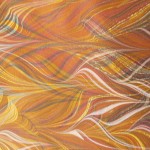
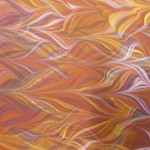
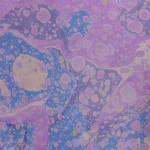
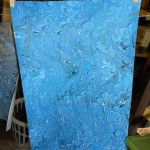
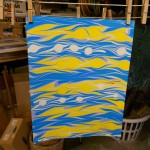
Overmarbling is the technique of taking a dried piece of marbled paper and after applying alum, marbling it for a second time.  When I first learned to marble, I had done some with poor results and felt it was used mainly to try to save a piece that wasn’t very good anyway. Here’s a poor example of overmarbling:   as you can see, it’s just a simple get-gel over very large “eggs” or boulders.
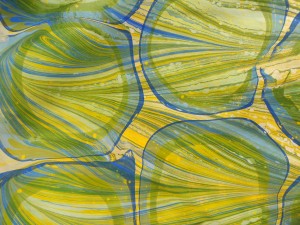
This time I learned that, with careful choices of colors and patterns, you can get really spectacular results.  The second marbling can add depth, movement and definition to a piece.

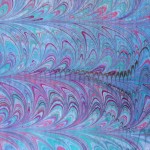
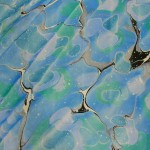
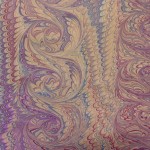
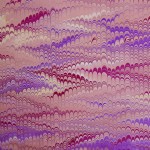
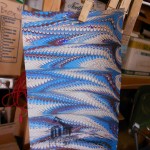
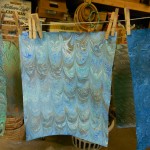
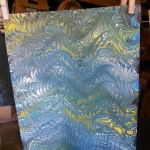
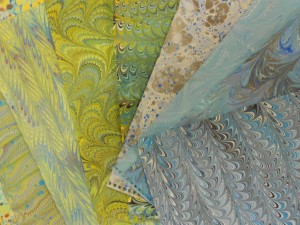
Here are three pieces (above) that worked well.  Click on the thumbnail to enlarge and see if you can trace which colors and patterns are on the top layer and which are on the bottom.

Below are some combinations that didn’t work so well!

Although, even with these, there are portions that could be used in collage work or in my boxes or notepads.  It’s mainly the large sheet that just doesn’t work.

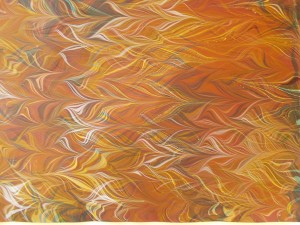
This is by far my favorite piece of overmarbling.  The colors are just right and the patterns compliment and enrich each other.

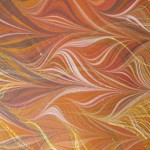
and some close-ups:

Another technique that can be used to great advantage with overmarbling is masking, but that will wait for another blog.

Three more posts on overmarbling: More  Playing  Addendum


1 Comment

Filed under Craft design, Marbled Paper

Around the World in Marbling

It’s been a while since I’ve updated this blog.  My only excuse it that I’ve been busy, busy, busy. I was away from home for a month, enjoying Washington DC, North Carolina and Texas. They all deserve separate blogs, but I probably won’t do that!  I’m going to start with the great time I had back at the John C. Campbell Folk School.

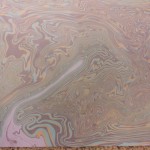
At the Folk School, I took a great marbling course with Pat Thomas.  The theme of the week was “Marbling Around the World” and we tried marbling techniques from various countries.  Japan was the first stop and I tried suminagashi marbling for the first time. It is done with Japanese ink on plain water and gives very different patterns than the usual marbling. The ink is loaded on  brushes and the tip of the bush just touches the water, leaving a bit of ink. Concentric circles are formed by repeated brush touches in the same place.  Once there is enough ink floating on the water, the surface is rippled by blowing on it or by waving a fan lightly over the surface.  There are YouTubes showing Japanese masters making all sorts of designs, even landscapes.  I made lots of circles and a few designs that began to look like something from dreams or nightmares.

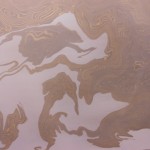
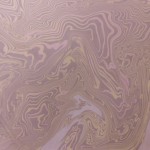
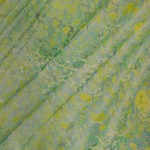
As you can see, the colors are faint and look rather like topographic maps. Clicking on the thumbnails helps.  Much more practice is needed for this.


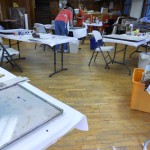
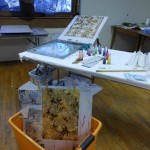
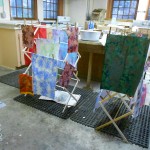
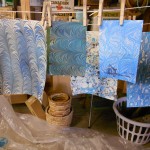
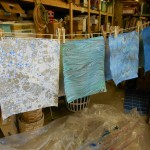
There were five people in the workshop, so there was plenty of space for everyone. Here is the room set-up showing the marbling stations and the drying racks.

Our next stop was Turkey and into the classic stone and get-gel patterns.

Then on to Spain for some Spanish ripple.

I like some of the 3-D effects this produces, but I need more practice to be able to produce nice even rolls every time. We also did the New Jersey ripple, but mine was a total mess.  I’ll try it again in my next marbling session (probably after New Years) and show you what it’s supposed to look like, with luck.

France was represented by the nonpareil and French curl patterns.


We did a lot of overmarbling, both plain and with masks, but I’m going to save that for a separate blog.

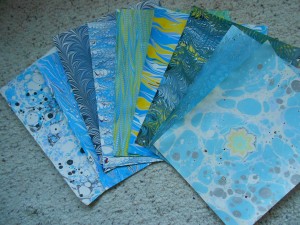
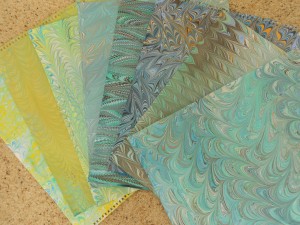
Here’s my pile of papers. Now I have to figure out what to do with all of them.  Fun times ahead!

All in all, a great time was has by everyone.


2 Comments

Filed under Marbled Paper

Downsizing, or getting smaller

I’ve been playing with designs again.  This time smaller and simpler seem to be the themes.  The simplest book of all, except for the scroll, is just some paper fastened together. This lacks durability and form so a protective cover needs to be added.  If the cover is just heavier paper then the pages and the cover can easily be stitched together making a simple notepad or jotter. Since I happen to have lots of pretty heavy weight paper on hand, it’s easy.  And all the better since the heavy paper is too heavy for use in traditional books.

Here’s the result:


After making the large portfolios and medium size notepads, I decided to complete the series with a mini-notepad, just right for a pocket. These are very small: just 3″ x4″ to fit a memo pad.

I’m hoping these will make great little gifts for the holidays.  They are fun to make and don’t take nearly as much time and effort as the larger varieties.  Another plus is that I get to play with lots of combinations of papers.

Here’s the whole week’s production.


3 Comments

Filed under Marbled Paper, Notebooks

Success followed by frustration

I did finish last week’s marbling session by using the smaller trays to make some 11″ x 14″ and 8.5″ x 11″ sheets.  They came out very nicely and I was having a great time.  I pushed it a bit too far and the paint began to lose cohesion and the carrageenan was getting old. Fortunately, it seems that both tend to fall apart at the same time.  Guess it’s a sign that it’s time to either make new batches or close up.

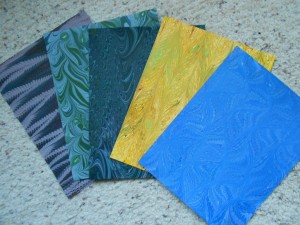
Here are some of the smaller sheets:

I enjoy working with colored paper, especially dark shades, because the color of the paint is intensified and altered by the background. These sheets were made with the same colors as those above. No green or red paint was used: that’s just the color of the paper affecting the result.


Here are some closeups of the various sheets.

My frustration is that these photos are no where near the color of the original sheets.  The original photos were even worse!  I spent a lot of time adjusting the color to get the hues in the correct range, but all these sheets are way too light. I played with brightness and contrast controls, but still couldn’t get it right.  Frustrating!  All this after taking dozens of photos in several different lights with different settings.  I don’t have problems with light-colored sheets, but darks are a mess.  Rich greens also seem to always be off-color. (As is my language dealing with these!)

I have no intention of getting a better camera, but I need to be able to get accurate pictures if I want to sell the sheets on line.  Frustrating!  Compare the last sheet of the three with the same sheet (2nd from right) in the top photo.  The top is much closer to the real color of the sheet.

More pictures of the end of this session.


Leave a Comment

Filed under Marbled Paper

Watching Paint Dry

Marbling paints, that is!  Yes, I finally got out the marbling trays again and had some fun.  My main goal was to make some more sheets with blue as the primary color.  I like it and tend to use it a lot.  I also wanted to try some monochromatic sheets. I had done a few with just green, white and black and found they form a nice contrast to my usual work. I used this piece on a portfolio.

I started out with four blues, but found that one tube hadn’t been sealed properly and the paint just wouldn’t dissolve in the water or float on the size.  Frustrating. The black was working nicely, both producing a lovely grey and a strong black, depending on how I used it and I did get a few relatively monochromatic sheets.

I also played a lot with the accent colors I had chosen.   In this case, almost overworking the pattern by adding an extra layer of raking.  In contrast, on this piece I decided to print the first pass of the stylus.       I rather like the bold result, but I’m not sure that I will be able to use it on my books. The pattern of spots was produced by paint that had not completely expanded when I started making the get-gel.  I had been intrigued with them on another piece because they looked like seed pods.

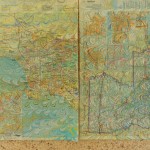
I also marbled some more maps.      I have to be careful when I work with any paper that has already been printed.  The pattern has to remain light enough that the words or pictures can still be recognized. If the pattern is too intricate or the colors too dark, the point of marbling on that type of paper is lost. I’m pleased with these maps. One is Los Angeles, the other Louisiana.

Here are groupings of all the large sheets I marbled in this session.  I’m pleased with most of them although, as usual, there are a few clunkers!

I’m still planning to do a few more small sheets as I’ve moved to the small tray now.  I have some dark card stock that I’d like to play with, but that may have to wait.

You can see more of my papers and the books and boxes I make from them at my shop, Losing Her Marbles, on Etsy or on this page.


Leave a Comment

Filed under Craft design, Marbled Paper

Going for a Trifecta

This week is starting with a bang: papers chosen and started for four Towers with maps on the outside, papers matched for four books and the textblocks cut and folded, plus another gallon of cukes salted in the fridge.  Let’s see what gets finished and what waits for next week!

The cucumbers are just about over.  We haven’t had much rain in the past two weeks and they are getting smaller and smaller.  On the other hand, the cherry tomatoes are going like gang busters!  So sweet and juicy, nothing like the ones in the grocery store.  I may even try to can some, just to have a memory of summer next February when the snow has piled up and I’m almost house-bound.

I’ll take some pictures of the towers and books as they begin to come together.

Leave a Comment

Filed under bookbinding, Boxes and Towers, Life

Finally, Back to Marbling

I’ve been out of commission for a while and have lots to catch up on here.  If you remember the crown I groused about, well, it turned out that the tooth needed a root canal.  Yuck!  Fortunately,  while the temporary crown was still on I knew that all was not well and went back to the dentist.  He checked things out and told me the bad news.  The only good news is that they could use the permanent crown that had already been made.  My mouth is still not back to normal, but at least it has calmed down enough so I can function.  On to better things!

Saturday I decided I had to get back to marbling.  Not that I don’t have enough paper to cover hundreds of books or make dozens of towers, but just because I love doing it.  Marbling does, however, require a lot of setup and preparation time.  I did the prep work on Saturday and started off marbling on Sunday.  Because the carrageenan breaks down over time, it’s most efficient to cram as much marbling as possible into four or five days.  After five days, results of the breakdown begin show on the paper and it’s time to pack it up.

Look for a new page on marbling soon.  (I hope!)

Not the greatest marbling session ever, but there were some successes.  That’s always the fun with marbling.  What looks great in the tray may be a mess when printed or, what frequently happens to me, the process of laying down the paper messes up. I catch a bubble or there’s a hesitation line or big speck of paint I didn’t see.  If it were easy, it wouldn’t be fun!  Above are two of the good pieces from this session.

For a slide show of this marbling, go here.


Leave a Comment

Filed under Marbled Paper

Finished Towers

Finally put the towers together and I’m happy with the results.

Four of them are 7″ and one is 6″.  The yellow one in the front was a particularly hard match.  The orange boxes are a heavy textured brunt orange colored base paper that I marbled in browns, reds and yellows. That paper was too heavy to use for the covering of the tower, but nice and sturdy for the boxes. I thought I would never find anything to go with it since the base color radically changed the marbling colors.  I finally was able to get some complementary colors from burnt sienna, yellows and some greens.

The other box I’m really happy about is the one in the back with the bright outside and dark interior.  I had done a bit of figurative marbling and I had no idea how to use it.  Here’s a closeup.

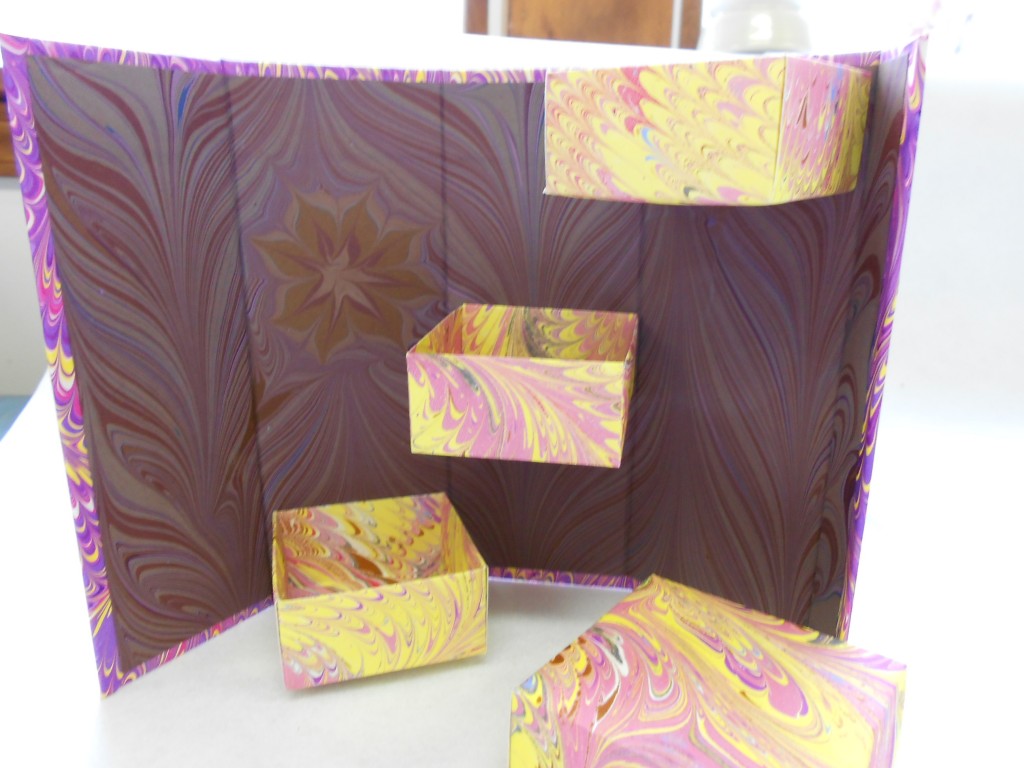
You can learn more about the construction of the towers on my page, Making Towers and more examples on Boxes & Other Creations.


Three of these are headed to the Yates County Arts Center and two to Etsy for sale in my shop, Losing her Marbles.

Leave a Comment

Filed under Boxes and Towers, Marbled Paper

Catching Up

This week I’ve been working on the four books that I’ve been documenting on the Design and Making a Book step two & step three pages. However, working on the books has meant less time for writing about them. Tonight I’ve uploaded a bunch of pictures, but haven’t had time to explain what they are. Will do that tomorrow, I hope.

What fascinates me is how the books change during the process.  I have a picture in my mind of what the finished product will look like, but it seldom is totally accurate.  Materials sometimes seem to have a mind of their own! Papers that I plan on using magically shrink or get cut in the wrong direction forcing me to use alternatives. Sometimes I just don’t like something on the sixth or seventh try.  One of the advantages of working on several pieces at once is that I have time to step away from one choice and come back to it later. Sometimes a paper I am considering for one book, will end up in a totally different place.

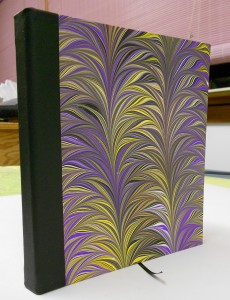
The Black Palm book is a good example.  My first thoughts on the endpapers were just wrong.  The second (the tigers) put William Blake into my head and I have been quoting “Tyger!, Tyger!” all week – mainly to myself.  I’m very pleased with the outcome.   I had no plan to use leather on any of these books.  It involves a lot of work to pare it down and I have been preoccupied with a lot of other stuff.  When I was trying to decide what to use as the spine for this book, nothing was working — until I noticed a piece of black leather.  It was just the right size and worked beautifully.  The result is that this is probably my favorite book in the batch and not at all as planned.


6 Comments

Filed under bookbinding

Design vs. Doing


If you’ve read my pages on Designing a Book, you’ll know that I’ve started working on a new set of books this week.  The design decisions have almost all been made, so next week I’ll be moving on to the more mechanical aspects of making books – the sewing, the pasting, the cutting. I think the enjoyment I find in creating books, or my towers, comes from the duality of the process.  There’s a lot of thought and creativity that goes into the design phase, but that is followed by rote work.  To do it properly, one has to be careful and precise, but the sewing and pasting doesn’t take much thought.  Attention, yes, but not thought.  I can relax and daydream a bit.  Not too much or the textblock goes into the covers upside down!

It would be boring to just do the making part and it would be frustrating to just design with no product.  Combining design and execution makes a very fulfilling whole.  I’m sure there are hundreds of hobbies and skills that would yield equal satisfaction, but this works for me!

In case you missed them, these are the books I’m currently making.

Leave a Comment

Filed under bookbinding