Tag Archives: clamshell box

Fox Boxes

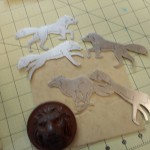
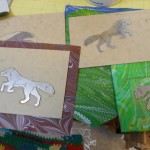
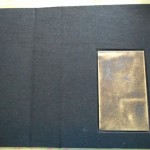
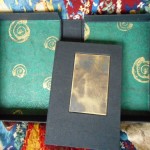
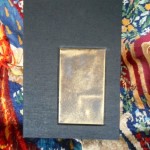
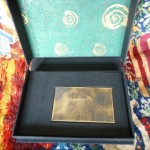
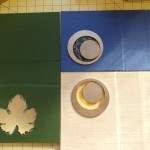
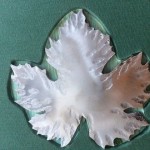
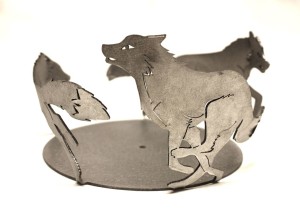
About a month ago I was working with Sam Castner on his Etsy page and found that we couldn’t list his stainless steel fox ring because there had been a glitch in production. These foxes and Sam’s other candle holders are part of his design for a spectacular set of gates for the Fox Run Vineyards as seen on his FaceBook page.    This is the steel version of the fox ring.Fox (1) I asked Sam what he was going to do with the unusable rings and he wasn’t sure.  Three days later I suddenly realized that the foxes were just the right size for some of my boxes and books, so I asked Sam if he were willing to snip some off and let me play with them.  He did and this is the rest of the story.
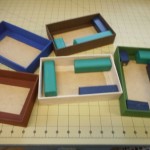
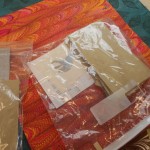
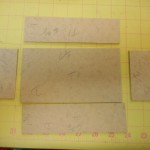
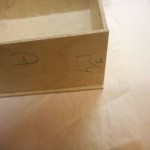
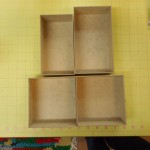
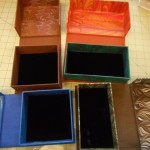
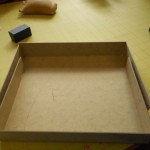
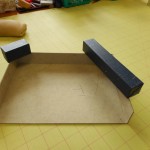
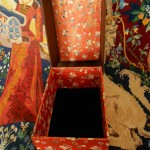
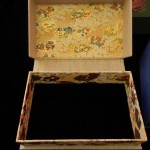
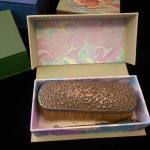
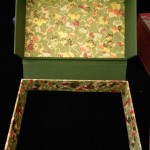
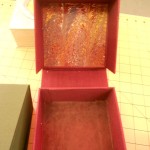
I started with some lidded boxes.  These boxes are constructed  in two parts, a bottom tray and a top. The top has a plinth attached that fits exactly into the mouth of the bottom tray.  It’s a faster and easier construction than the clamshell preservation box.  I had made the five bottoms before I started taking photos, but that process is straightforward and is just like the clamshell bottom tray shown in the second group of photos.

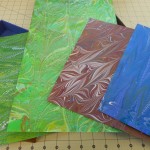
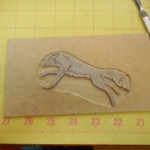
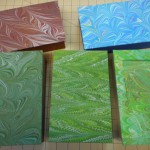
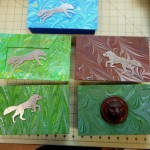
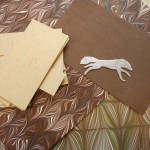
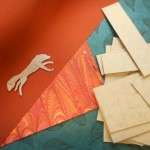
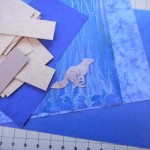
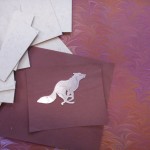
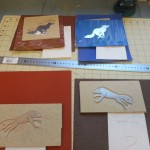
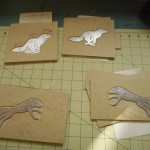
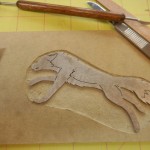
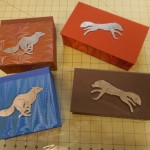
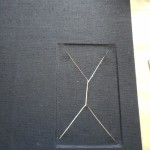
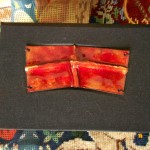
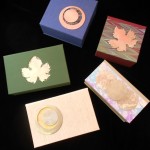
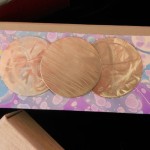
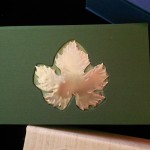
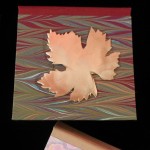
Design work is always fun and I tried to find pieces of my marbled paper that felt a bit like fox habitat, had lines that would flow with the shape of the fox and colors that showed off the stainless steel. After choosing the materials, I decided to make all these boxes the same size, which I rarely do, but it does make cutting easier.  I don’t like things that are just stuck on the top of boxes, so I carved down into the binders’ board to recess the fox pieces.  They aren’t quite flush with the top, but rest about half way in.  The exception is the light green box where I made a frame the same thickness as the fox.  I tried different shapes for the insert and found it didn’t matter much since there was so much pattern in the paper under the fox. The wooden lion was added in, as it was something I had been meaning to try for a while.  Seemed like a good time.  The plinths under the tops were covered with a variety of decorative papers that complimented the marbled paper and the bottom trays were lined with black velvet.

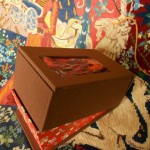
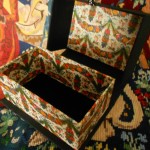
I was pleased enough with these results to move on and make some clamshell boxes. The design is based on the preservation box used by archives, rare book libraries and museums.  When I was working as an archivist, I made hundreds of these, not as artistic and not nearly as much fun!

First step is always design – choosing size, shape, colors, and materials. I never make it through in one go!  This time it was the dark brown bookcloth. It was perfect, until I discovered that I was down to my last piece and it was an inch too short for the box I wanted!  This was an easier problem to solve than when it’s my marbled paper that is in short supply.  Bookcloth can be ordered, my paper can’t be reproduced, even by me!

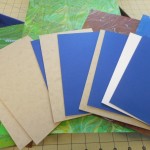
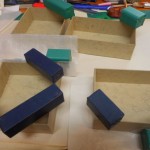
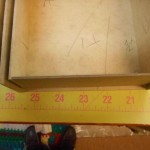
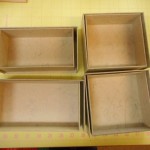
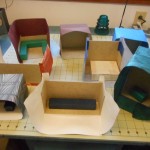
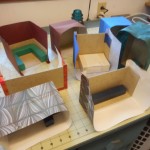
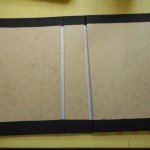
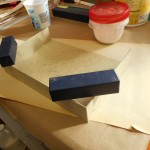
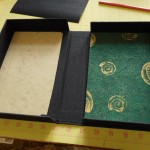
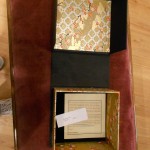
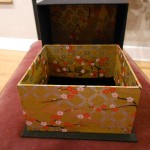
There are three separate components in a clamshell box: the inner or bottom tray, the outer or top tray and the case.  When making a box for a specific item, the inner box must exactly fit the item. I didn’t make these boxes for any specific measure.  The square boxes are almost the same size, but because I misread some numbers, the two long boxes are different sizes. The inner box is made first, then the outer box and finally, the case. The case is constructed just like the covers of a book with two boards joined together with a spine strip.  The inner tray is mounted on the inside of one cover and the outer tray on the other. I have to be careful that they are aligned correctly and the outer tray fits snugly right over the inner tray.

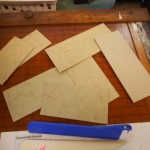
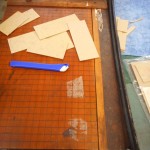
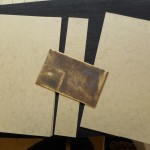
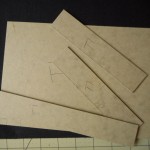
No matter how carefully I cut, there are always some pieces of board that aren’t quite right.  Sometimes they are too short or too long, but most frequently, they are not exactly square.  At least that used to be the problem.  I have three cutters that I use all the time: one I use to cut the big sheets of Davey board into manageable size, the new fancy one is for most of the paper, especially when I need 30 or 40 sheets cut the same size, and the last is an ancient Milton Bradley school cutter that I use for small to medium pieces of board.  I have known the Milton Bradley since the early 1950s and I’m pretty sure it’s at least ten years older than that. I was about to get rid of it when I realized it was the only cutter I had that could cut board exactly square and it was especially good on board that was under two inches wide.  So three cutters and I need them all!

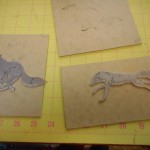
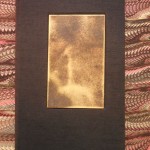
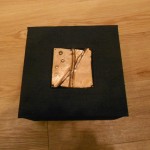
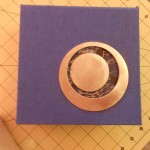
After making and covering the trays, I move on to the case. When I am using an insert, the first thing is to decide on how it will be mounted. With these boxes, I cut down about half the thickness of the board and excavated an area for the fox. The case is then covered with bookcloth or paper and the trays attached to the inside. The final steps are mounting the fox on the top cover and lining the bottom tray with black velvet.

My fox boxes will be available in my Etsy shop and at ACYC very soon.

You can read more about Sam Castner’s metalworking and the future gates for the Fox Run Vineyards on his FaceBook page.

Direct link to Etsy shop

2 Comments

Filed under Uncategorized

A Tale of Boxes: Wedding box, Guest Book & Portfolio

It’s Labor Day and summer is over.  My black walnuts are beginning to drop their leaves. They are always the last to leaf out and the first to fall. My summer was busier than usual with a bit of Folk School, a bit of family a bit of garden, a bit of travel, and too much teeth.  I’ve been composing blogs in my head all summer, but never quite enough time or energy to actually write them out.  This blog is really left over from last winter and spring.

As most know, last winter was too cold, too snowy and much too long.  I had several special orders that kept me sane, especially through February.  Special orders usually present challenges and learning opportunities, as they are never quite what I would choose to do if left on my own.

My first customer wanted a guest book in her wedding colors with a small metal plaque on the cover.  After talking, well actually messaging, about it, she decided that a clamshell box made to fit the book with a matching  insert on  its cover would be perfect.  We chatted some more about other wedding memorabilia she would have that might also fit in the box or that might be better in a matching portfolio.  The first idea was to use the invitation as a frontispiece for the book, but it was the wrong size and orientation. The outcome of our discussions was that she sent me the selection of materials and mock-ups of items that hadn’t been printed, like the menu.  As soon as I saw them, I knew what I had to do.  It’s amazing how talking, and even sharing pictures, isn’t anything like having the stuff in your hands.

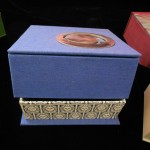
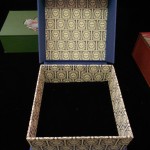
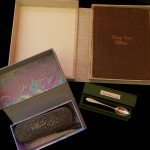
The answer was to put a drawer in the box under the book.  Since the ephemera was slightly larger than the book, I was able to add a small box for a pen next to the book. I was very pleased with the result, especially since it has been years since I have built a box with a shelf or drawer.  I had my trusty Library of Congress manual right at hand during the entire process.  Lots of pictures:

This was a long process since I had to make all the paper first. After the pieces for this project were used, I had a lot of purple paper to sell on Etsy.  Fortunately, purple is popular! This customer was  a delight to work with and there were many other custom touches to the book that are not shown.

My next special order was challenging in a totally different way.  A student was presenting her fashion portfolio her professors and wanted a clamshell box that reflected her vision and her creations. Working to complement someone else’s artistic creativity is not easy. To make matters worse, she was working under a tight deadline.  Sending actual samples of papers or materials back and forth was out of the question, so we took to messaging images and descriptions back and forth, sometimes five or six times a day.  Of course colors vary according to cameras or monitors.  Fortunately, her palette was black, white, gray and a bit of red.  I don’t know what I would have done if it had been green!  I’m never able to get a good match for greens with my camera and monitor.  The actual construction was straight-forward, but all the decisions leading up to it were hair-pulling at times.  It was fun working with another artist and we were both pleased with the final result.

Her portfolio was selected to be submitted to a competition!  I hope my box helped.

The last box was the most fun.  I was working with friends for a surprise for another friend, best of all worlds.  Everyone was nearby so we could all see the materials and the process and no second guessing.  The gift was being made to someone who was retiring from the board of a local non-profit. She had been instrumental in the creation, organization and managing a concert series in local venues.  She is also very active in local winery and grape growing organizations, so music, grapes and wines were the themes. It was decided that a boxed guest book would be the perfect gift.  I’ve been working with metal artist Sam Castner a lot recently and he was delighted to be able to help another good friend celebrate.  He created two stunning brass plaques for the book and box. I was inspired by his work and had fun choosing just the right materials for the set. Taking a note from the wedding box I had made previously, I left room for a pen in this box and the Board added a hand-crafted pen by a local woodworker. Unfortunately, I don’t have a picture of the pen.

Unfortunately, for my best box set, the photos are the worst, especially on the true colors.  Since everyone could see the work in progress, I didn’t have to send photos and hence don’t have a good record.  I need to remember this and take lots of photos when I work on anything really special.

I hope to get my next blog up soon.  It’s all in my head!  I also have new pictures to update my How to Marble blog.

If you are interested in working with me on a special box or book or set, leave a comment here or contact me on Etsy, Losing Her Marbles.

Leave a Comment

Filed under bookbinding, Preservation Boxes

Unfinished Matters

I haven’t posted in a while, but I have been moving forward on several fronts.  In fact, I seem to have too many half-finished projects so thought I’d give you a glimpse of some of them.  Ever since Labor Day, I’ve been trying to set up a marbling session, but something always seems to interfere.  I think it’s called Life. To marble, I really have to have at least three days clear when I can concentrate just on that – four or five is even better – and it’s just not happening.

So on to what has been happening!  About a month ago,  I  wrote about some books I was starting using some of Sam’s metal.  Those books are not all finished, but progress has been made.

Metal books, memo pads and more.

This is the book and matching box I made for the brass pieces.  The brass had originally meant to be covers for a very small book, but I wanted to show them off more than that so I made this elegant book and box set.  I’m really pleased with how they turned out and can’t wait to put them in the Christmas Exhibit at our local gallery.

I’m not as happy with the Coptic book.  Love the covers, but I have never been a fan of Coptic binding. It is not very stable and doesn’t wear well.  I’m especially concerned that the metal will eventually cut through the binding cord.  If I do any more of these, I’ll have to find a way to put padding between the sewing cord and the metal, perhaps with a grommet.

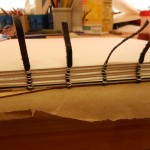
While finishing the first two books, I started working on two other metal covers, but these are sewn over leather thongs.

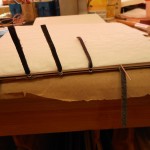
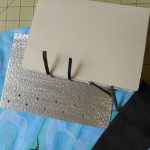
I  haven’t finished these as I’m not sure about how I’m going to attach the spines. I don’t want an open spine, so I’ll have to attach the leather spine to the metal covers. Right now, I’m planning on a hollow spine with the thongs laced through the leather spine into the metal covers and using an adhesive to adhere the leather to the covers.  I still have to shape and pare the leather before I attach it.  Not sure how well it will work, but it’s fun trying!

Last was the book I am making from the leftover paper from the metal books.  It’s only 3″ high and isn’t finished yet.  I was going to call it “Mousings”, but  thought that might be a bit cutesy.

Next projects:

No idea what these will turn into, but I love these combinations!

Leave a Comment

Filed under bookbinding, Craft design

Parsley, Sage, Rosemary and Thyme

About ten years ago, shortly after I moved into this house, I started an herb garden in the middle of my side lawn.  I’m not quite sure why I put it there. As it has grown over the years it has become difficult to mow around.  Not planned well at all!  It is, however, convenient to the kitchen and, since planning doesn’t seem to be my strong point, close enough to run out and grab some parsley or chives on those rare occasions when I actually cook.  I love growing herbs, but I really don’t use them much, especially ones like borage and horehound and fennel.  They are pretty and smell good too!

My care of this garden has been very hit-and-miss.  I usually put in a few annuals like parsley and basil in the spring and see what comes up from the previous year.  I hate weeding, so by July, the patch is overgrown with the more invasive herbs as well as weeds and grass.  The last few years, I’ve been particularly lax and I had half sage bushes and half chives.  Several years ago, I did tear out all the tarragon which threatened to take over everything.  The past winter was so cold and so long that it spelled doom for most of the plants.  Only a few meager sage stems survived along with a tiny bit of thyme and, of course the chives.

In the face of such devastation, I decided I had to go back to the beginning, dig almost everything up and start fresh.  Unfortunately, Mother Nature had other plans.  Winter stayed and stayed and stayed.  The ground didn’t really thaw until April, followed by cold, raw weather and topped off by a huge storm and a flood that wiped out roads, basements and a house or two.  I’m on the side of a hill, so only lost part of my driveway, but the county highway crews estimate it will take months to repair all the damage.

Last week was the first opportunity for me to dig, plant, and redo the border.  I didn’t think I’d be able to do it. Since retiring more than ten years ago, I’ve found I can work at hard physical tasks for shorter and shorter lengths of time.  If I pace myself, I can do one session in the morning and one in the afternoon. Working around weather that was either too hot or too cold, also provided a challenge.  Here are some photos of my recreation of my herb garden.  These were taken before I really finished, but just this morning, I placed the last of the border stones, planted the last few herbs and finished mulching. Yes, I know the chives need to be cut back, but they are so pretty!  I’ll do it next week.

There’s a border of thyme all around the garden and I’ve used a couple of different varieties.  At a college where I once worked they had a “thyme clock”. It was a circular planting, like a sundial, with twelve divisions and a different kind of thyme in each.  I’ve forgotten what was used as the gnomon, but I always liked the idea and would love to be able to recreate it.

In the meantime, in the back yard, I was able to quickly put in my standard garden of tomatoes and cucumbers. Earlier, I had gotten from NYS Forestry Service some bare root crab-apple trees and had planted them near an apple tree that I had grown from seed.  I think it’s a Pink Lady, but not sure.

It still needs a lot of work, but at least everything is in the ground.

Meanwhile, in the basement, I was finishing up three more boxes. Two with detached lids and one clamshell.

The two lidded boxes have leather tops.  Leather had always been difficult for me to work, but I’m finally beginning to get it and enjoy working with it.

It’s really nice to have a week of finishing, instead of treading water.  Of course, without the previous prep work and first steps, there wouldn’t be any finishing!  This week, I hope to relax, mulch the garden and think about what’s next.


Leave a Comment

Filed under Boxes and Towers, Life

Boxes with Steel by Sam Castner

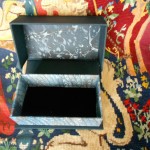
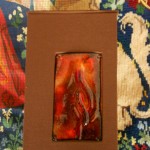
In the summer of 2012, I started making portfolios and since then I’ve added three more sizes of notepad covers.  Back when I started making them, I had a conversation with myself trying to decide whether to make those or boxes.  This winter I’ve come back to the boxes.  I started with some clamshell ones with a piece of my enameling inserted in the top. You can see one here, if you scroll to the bottom.

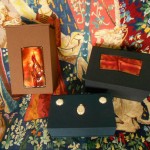
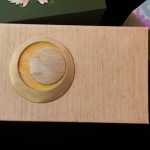
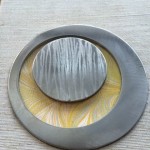
In December, before the deep freeze set in, I enlisted the help of Sam Caster, an accomplished metal artist, for ideas, encouragement and scraps. To my delight, Sam was very supportive and even willing to add his artistic touch in finishing my pieces.  For the past few months, I’ve been making more boxes to work with Sam’s designs.  We are finally ready to put some on the market! First are the ones with my enameling:

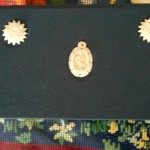
Then Sam’s work on stainless steel:

I’m planning on making these boxes to order to exactly fit people’s heirloom treasures, jewelry or wedding memories.  I think it will be a fun diversion from my books and a great use for all my paper!

I will be putting a few up on Etsy in the coming week and they will be available at the Arts Center.

Leave a Comment

Filed under Boxes and Towers, Craft design

Decision Time Again: Which Box to Make?

I’ve been thinking for a while about making some other types of boxes, but I haven’t settled on any one style.  Here are some of the ones I’ve been considering.


These are some of the styles of boxes and portfolios I’ve made in the past.  I’ve probably made at least a hundred calmshell boxes in various styles over the years.  Most were made to fit specific books, papers or other objects and I’ve created many different variations.  I enjoy making them, but they are nothing new for me. Another negative is that they use a lot of purchased materials.  The brown and blue boxes on the top row are clamshells.
The first photo on the second row shows a few of the origami boxes I have made.  They are cute and easy to make. On the pro side, the only material they use is my marbled paper.  They are also great for using the perfect parts of an imperfect sheet.  When I marble, I still catch air pockets or stray hairs which ruin parts of the paper.  On the con side, they don’t require any creativity, just good dexterity.  To counter-balance this, I rarely make the top and bottom from the same paper.  Drives the folks where I sell the boxes crazy!
The next two photos show lidded boxes.  These can be made in any size and shape as well as being able to be lined or partitioned.  I’m leaning toward these for my next project, but I’m still pondering.

The matchboxes with the book inside are cute but rather useless.  I tend to put sayings, quotes or lines from poems or songs in the books, but once you’ve read them, what do you do with it?  I much prefer structures that have some useful function.

The miniature books are neat, but again, not really functional.  I have seen them made into jewelry as pins or hung from necklaces and earrings, very nice but not me.  I rarely wear any jewelry anymore.

The last photos are the portfolios.  They can be made any size or shape and are very useful.  Carrying a hand crafted custom portfolio is neat.  The major drawback is that they use large quantities of bookcloth, especially the 9×12 one.  The outside needs to be cloth rather than paper if  the portfolio is expected to be used.  Paper would be prettier, but it wouldn’t wear well.  Unless I could do the hinges and edges in cloth and the center in paper, like a half-cloth book.

So there’s my dilemma.  What to do?  What to do?

Leave a Comment

Filed under Boxes and Towers, Craft design, Marbled Paper