Tag Archives: classes

Marbling on Paper: Step by Step

At my Open Studio in April, a friend took numerous photos while I was marbling. I’m posting them without much comment to create step-by-step documentation of the entire process of marbling.
Some of the steps that have been left out are putting alum on the paper, mixing the carrageenan and skimming or cleaning the size. You can find pictures of all of these operations in my previous blogs, especially this one.

6 Comments

Filed under Marbled Paper

Marbling Workshop: Results

In a previous blog, I talked about the marbling workshop on April 22nd.  It was a great success and I was pleased to have participants so excited about marbling.  In fact, everyone came back for an Open Studio session.  In spite of being able to produce a sheet of marbled paper in a 15 minute “make it and take it”,  marbling really does take a few days to begin to be in control. I love it when people enjoy something enough to be willing to put more time into learning the craft.  I also enjoy the Open Studio idea, where I can work with people  without a formal structure. What follows is a lot of photos and brief comments on the workshop. Photos are thanks to Julia Hardy, who became my assistant for this class.

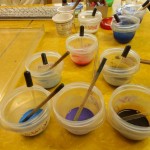
In the few days before the workshop,  I stumbled through a bit of a nightmare of logistics.  In the space of three days, the class went from six participants to five to four, up to six again and then back to four.  Workshops are not like lectures where you can just add a couple of extra chairs.  Marbling stations have to be set up with tools, paint, trays and carrageenan.  Space is tight in my studio and six participants, plus a demonstration table for me was an interesting problem in spatial design.  I had everything set up for six, when I heard there would only be four.  This was just the day before the class and too late to unmake the paints or size.  Plenty of supplies for the following week of marbling!

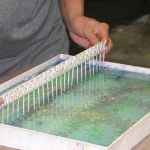
In marbling, there are always alternative ways of doing most everything. I started by demonstrating how to put paint on the carrageenan size with a whisk and by using an eyedropper.  Just to confuse everyone, I also showed how to make the get-gel pattern with a stylus and then with rakes.  Each type of pattern was printed for reference. The class went right to work, preparing the paper, throwing paint, creating marbled patterns and printing them.

Before breaking for lunch, we examined all the wonderful paper that was drying, seeing what worked and where there were problems.  I was very pleased with what was accomplished in just a few hours. By the end of the day, great papers were being produced.

By mid-afternoon we needed a break and looked at different types of patterns, overmarbling and marbling on printed paper. I hope the students were inspired to keep thinking about new ways to look at marbling.

Great class, fun time, all supervised by my assistant, Lucy.

Lucy, marbling supervisor

Lucy, marbling supervisor

Saturday and Sunday were Open Studio days and I marbled along with the students.  Since then, I’ve been trying to use up as much of the paint and carrageenan as possible and have been playing as well as cleaning up.  I can’t believe how long that takes!  My studio is slowly transforming itself back into a book workshop and my marbling space is getting back into its usual configuration.  I’ve already heard from people that want me to have another workshop,  maybe in July or August if my supervisor approves.

6 Comments

Filed under Uncategorized

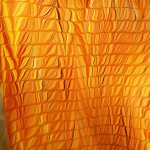
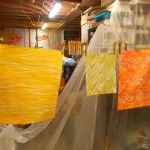
Marbling in Red and Orange for Spring?

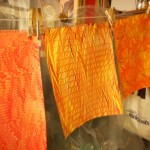
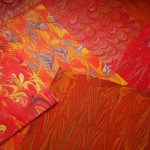
I haven’t done any marbling in a long time, not since last October and I was getting the itch.  I’m teaching a workshop in marbling later this month (April 22nd) and thought I’d better do some to make sure everything is working. There has also been a history of lots of mess-ups after a dry spell.  Fortunately, that wasn’t the case this time.  In fact, I really got into the groove and pulled a lot of great pieces.

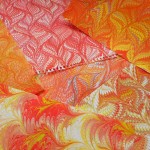
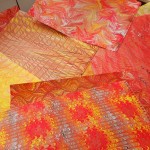
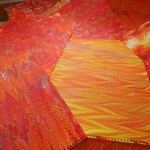
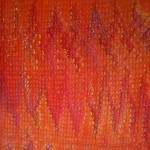
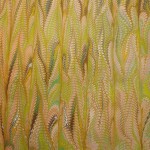
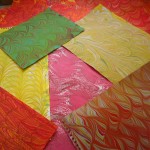
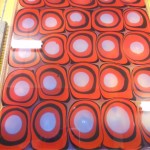
Before starting, I was thinking of spring, spring colors, soft pastels, greens, yellows and in general all those lovely Easter egg colors.  Didn’t work out that way.  In the morning as I started preparing the paint, I first pulled out some yellows, but then I grabbed a red. One of the few colors I’ve had success in mixing is orange, so I made a couple of oranges from the reds and yellows. I added the standards – black, white, brown, copper – to the array of paints and decided I had enough colors to start.  Maybe I’d add the makings of pastels later.  After seeing the first sheet of paper come alive with vibrant reds, yellows and oranges, I couldn’t stop.  I just kept throwing the same six or seven colors over and over again in a wide range of combinations and patterns.

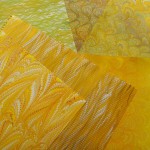
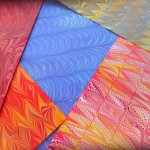
On the second day, I added some greens to the paint choices but I still did a lot with the reds, oranges and yellows. I did one of my minimalist marblings with Nickel Azo Yellow, Zinc White and Van Dyke Brown. The white and brown were only dropped once, but the yellow was dropped numerous times.  That’s the second paper in the first photo.

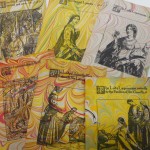
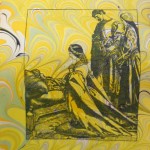
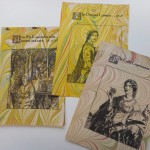
And, of course, I had to play with a bunch of paper. First are some illustrations from a severely water-damaged book of Arthurian legends.

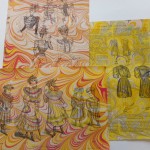
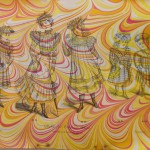
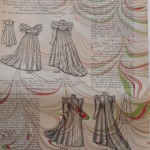
Then some illustrations from a fashion magazine from 1898.  I find the children’s clothing fascinating.  To imagine a six-year old wearing a dress with a train every day is really difficult for me as are the wasp waists on the adults!

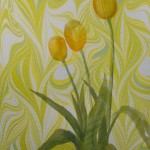
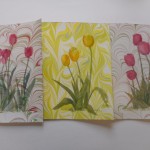
Lastly, I found a pile of sketches my mother had done of tulips but had never really finished.  Had to marble them, of course and so ended up with some spring after all.  Think I’ll keep and frame the yellow one.

One the last three sets of photos, I dropped about half as much paint as usual, used a lot of white, added some clear and made a loose, lacy pattern.  I think that combination worked well.  What do you think?  I may try this technique when I start marbling maps again.

Don’t forget, marbling workshop coming up. You can register by calling the Arts Center of Yates County at 315-536-8226 or contact them through their website, http://artscenteryatescounty.org/


Happy Spring and Happy Marbling!

Leave a Comment

Filed under Marbled Paper

Marbling Workshop on April 22, 2016

I will be teaching a basic, one-day workshop in marbling on paper on Friday, April 22nd from 9 am to 3 pm at my studio. I’ve had a few requests for this, so am finally getting my act together. I hope you’ll join us in the fun.  This is a great opportunity to dabble in a new art form, refresh your skills and produce wonderful papers to use in collages, on greeting cards, or other paper arts.

The workshop will include:

the preparation of paper with alum
preparation of acrylic paint for marbling
preparing the carrageenan or size
getting the paint to float on the size
manipulating the paint (the FUN part)
basic marbling patterns (stone, get-gel, nonpareil, plus more if time permits)
laying down paper to transfer the paint
washing and drying paper
time permitting, I’ll also demonstrate how to make low-cost marbling tools

Everyone will have bunches of beautiful paper to take home, even after just one day.  For those who become enamored with the art, want to try just one more or learn more patterns, I will have “Open Studio” days after the workshop.  On these days, you can come back and continue marbling and creating beautiful papers.  You can even try out some “over-marbling” with papers produced on Friday.  There won’t be any formal instruction, but I’ll be there to answer questions, provide help and offer suggestions. These open studio days will continue until the carrageenan or the paints give up.

This workshop is being offered through the Arts Center of Yates County.  Here is their course description:

Paper Marbling with Nancy Langford                                            Friday, April 22nd      9 am – 3 pm               Losing Her Marbles Studio
Learn the basics of creating amazing designs through marbling – an ancient method of creating designs by floating inks or paints on an aqueous solution and then transferring the design to paper, cloth or other media.  This workshop will work on preparing paper and acrylic paints for marbling, creating basic patterns and transferring that design to paper.  No previous experience necessary!  Nancy will also have open studio hours over the weekend to enable students to continue to practice and create.

Please call 315-536-8226 to register or send an email to artscenter@ycac.org

$48 members, $60 not-yet-members for Friday workshop  + $25 materials / studio fee per day 

For further information please contact Nancy using the form below.

Leave a Comment

Filed under Uncategorized

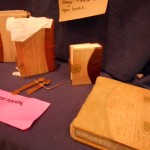
Paper, leather, wood and metal

These books have it all!

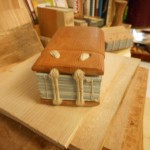
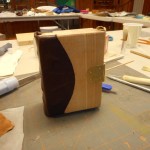
Just finished a great week at the John C. Campbell Folk School creating a book sewn over double cords, laced onto wooden boards with a metal clasp.  It was very intensive work as we used only hand tools and I’m not very skilled in either woodwork or metal crafting. Our instructor, Jim Croft, and his assistant, Brien Beidler, guided the class with great skill and wonderful patience.

As usual, I forgot to take my camera the first day and didn’t completely document some of the processes. I hope there are enough pictures that you can follow along on the path from raw materials to finished book.  The first day was spent folding, sewing, and finishing the textblock; choosing wood for the boards and designing the book.  My textblock had very little swell, so I decided to use a Romanesque/Carolingian structure which has a flat spine rather than the Gothic style (round spine) used by most of the rest of the class. Since this was a structure I had never made before, I was glad it turned out that way.

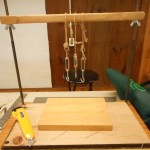
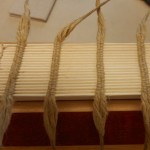
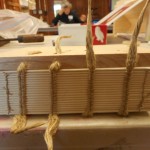
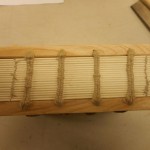
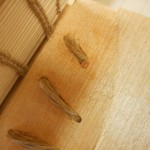
The textblock is Strathmore drawing paper which was sewn over double cords with a hand-spun linen thread. The ends of the cords were then thinned, coated with wheat paste and twisted together into points.  This made it easy to lace and unlace the boards from the cords multiple times during the construction of the book.
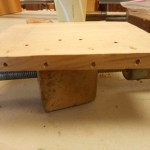
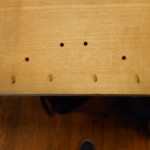
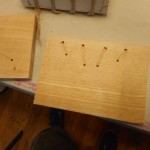
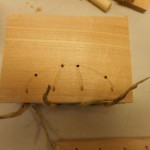
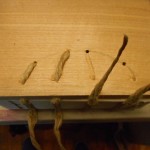
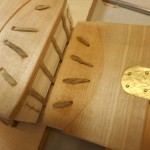
Unfortunately, I don’t have any pictures of either shaping the boards or drilling holes, but you can see the results.  With a Romanesque binding the cords are laced directly into the spine edge of the boards. The hole is drilled at an angle so the cord exits on top of the board. A second hole is drilled through the board and the cord is laced down to end on the inside of the cover. The cords are not pasted in place until the book is almost finished.

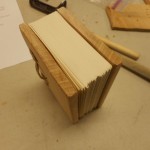
Once I knew that the cords and the boards fit, I pasted out the spine and ploughed the head and tail edges of the textblock. The boards were then adjusted to the new size of the text.  Romanesque bindings tend to have little or no square or overhang.  I didn’t plough the fore edge, but left that with an uneven, hand-torn edge.

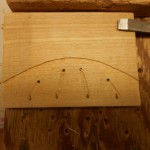
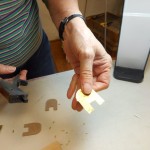
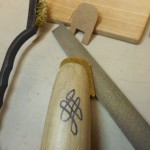
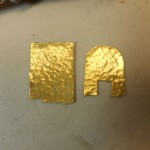
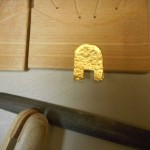
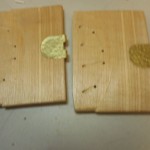
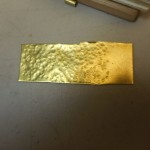
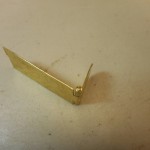
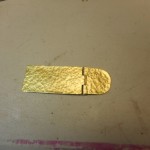
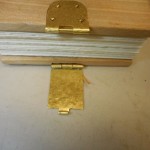
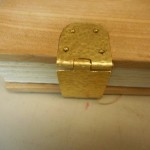
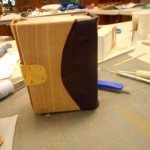
Next step was to move onto the metalwork phase, designing and making the fastening. Mine is full metal which is made in three pieces, the hinge and the catch, which are attached to the boards and the hasp, which closes the book. I started out drawing a paperboard pattern and scratching the pattern into a sheet of brass.  I cut the pattern area off the sheet and textured it with a simple dimpling by hitting it with various sized ball peen hammers. The patterns for the hinge and catch were cut and trimmed and the edges smoothed. An area of the top and bottom boards was chiseled out just enough so that the brass and the board were level. I made pins for both pieces and rolled the brass tabs around them.  That was the most difficult operation for me and I confess I had a lot of help to get it just right. Fitting the brass onto the boards involved a lot of filing, chiseling and frustration. Not much tolerance or leeway in any direction. I’ve forgotten the exact order, but the hinge and catch were fastened to the boards with rivets made from escutcheon pins and the hasp was added.  After all the fiddling, I was very pleased when everything came together and the book actually closed properly and the latch worked! Because my book was short, I had only one clasp, but most people in the class had taller books and used two clasps.

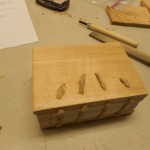
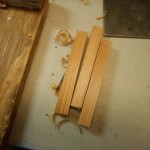
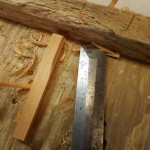
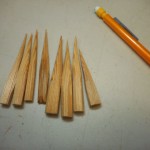
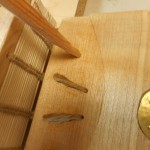
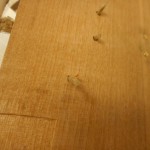
After the clasp was fitted and riveted, the boards were laced on for the final time. I pasted the cords into the grooves and then pegged the cords.  Making the pegs took longer than inserting them.  I am so not a whittler! The pegs are forced into the holes with the cords, pasted and trimmed. My pegs should have been a little thinner in the middle so they would have gone farther into the holes.

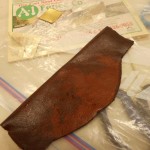
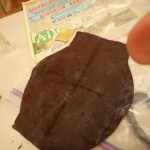
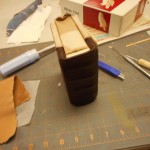
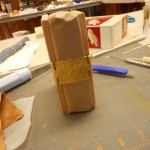
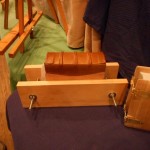
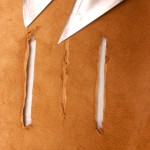
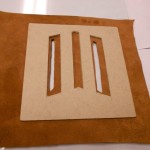
The last step is putting on the leather spine.  The leather is carefully trimmed to shape and size.  For my book, it was curved to fit the pattern on the boards and had a wide, straight-sided tab that would fold over the head and tail of the spine.  Unfortunately, I took very few pictures of the leather work. The leather is first pared, head and tail so that it will fold easily. The curved edge should fit exactly into the carved groove. After pasting it out and letting the moisture penetrate the piece, I put the leather on the book, tugging  and stretching it into place. Pasted leather is very easy to work with as it can be positioned and re-positioned many times until it is just right.  It does stretch when damp, so I had to trim it a bit. That’s the tricky part and I did get a little too much off one edge.  Before putting the leather on, I wrapped the textblock in craft paper to protect it as you can see in the photos.

Quick look at the other books made this week.

These books take a lot of time and skill to make, so I’m not sure if I’ll ever make another one, but some of what I learned will be very useful in the future.

Leave a Comment

Filed under bookbinding

Beads in Flame, Addendum

Here are the photos I promised from the bead course. Unfortunately, I didn’t take any photos of people working on beads or lit torches.  That part is left to your imagination!

This is the enameling & glass studio, rustic on the outside and packed on the inside. There are eight student stations with a touch in front of each.  The crock pot in the center of the table is used to keep small beads warm until they can be annealed in a kiln. Large beads go directly into the kiln.

After the beads are formed on the mandrels, they are placed in the annealing kiln, which is kept at 950F until full and then allowed to slowly cool overnight.  In the morning, the kiln is opened and the beads removed like a bouquet of blooms. Beads are removed from the mandrels, cleaned and made into jewelry or just admired.

Final showing before leaving for home.

Leave a Comment

Filed under Other crafts

Beads in Flame

Last week my granddaughter and I attended the John C. Campbell Folk School’s Intergenerational week for the third time.  The first time, we took a course in wood carving, the second year was enameling and this year was creating lamp-work beads. Unfortunately, all my pictures of the class and the process are on my granddaughter’s phone and she is in a WiFi  and cell free zone for another week. You’ll have to be satisfied with a few pictures of the finished products for this blog.

The process of making beads requires concentration and coordination. A few seconds distraction can produce a lump of molten glass on the bench rather than a bead on the stainless steel stick  (mandrel).  Unlike the torch fire enameling I did last year with a hand-held torch, the smaller torch used in lampwork is fastened to the bench and both hands are used to make the bead.  That’s where the coordination comes in.  One hand holds the glass rod that is being melted to form the bead. This hand is moving constantly to make a blob or “gather” of  melting glass at the end of the rod as well as moving the glass in and out of the flame to keep it at the desired temperature.

The other hand holds the mandrel, where the bead will be formed. Once a gather is the correct size, it is carefully attached to the mandrel.  From then on the mandrel is constantly rotated to keep the bead even .  This is just for a plain bead!  Adding colors, dots, lines and other embellishments requires careful judgement and movement.  If a bead is heated or cooled too quickly it will crack or even explode.  Good depth perception is also useful to keep everything just where you want it in relation to the flame as bead and the rod need to be cooled slightly at times and heated at others.

My granddaughter and the rest of the class were able to coordinate all the movements well by the second day.  I had trouble keeping the right hand rocking back and forth while the left hand was rolling clockwise. My beads tended to become oval as the left hand rocked instead of rolled. 

Glass rods come in a myriad of colors, both opaque and transparent.  It was great fun playing with the colors and especially the combination of clear and solid.  Some of my favorite designs were on beads that broke in the annealing process.  I’d love to have the luxury of just spending hours by myself honing the techniques and really developing a fluency in the art. In reality, I have paper to marble, boxes to design and books to make.  Maybe some time …

In the meantime, here at home things were growing and growing.  Here are some new pictures of my garden and herb patch.


Herbs are a bit overgrown and need edging, but they are lush due to all our rain.  Tomatoes are slowly ripening – haven’t had enough sun, but the cherry tomatoes are beginning to come on. Delicious!  I’m not doing pickles this year so there aren’t many cucumbers, just enough to eat.

I’ve ordered a batch of paper and paints for some special orders and am planning to get back on track with marbling next week!  If it happens, I’ll be blogging my progress.


Leave a Comment

Filed under Life, Other crafts

Corners, Double Boards, and Gothic Bindings

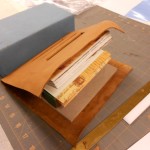
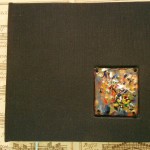
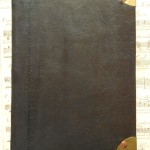
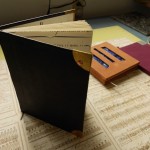
Finally, back to my books from the Folk School.  My first two books are shown here.  I have always said that I don’t work in leather. It’s too fussy, too expensive and too time consuming.  This week I ended up four leather bound books!  The most complicated is a variation on a traditional Gothic structure.  I cheated and used a textblock sewn over tapes rather than lacing in the boards, so it is more like a cased rather than a bound book.

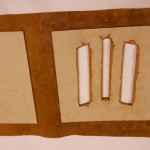
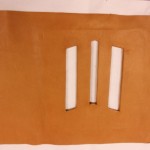
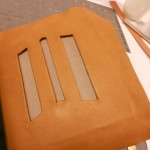
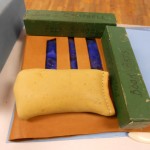
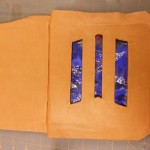
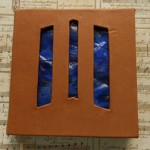
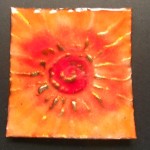
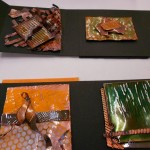
Many important Gothic and Victorian psuedo-Gothic books were made with double boards, allowing many different types of ornamentation. While thinking about what I could do with double boards, the idea of windows kept running through my mind.  I had a piece of very thin copper that I had tried to torch fire. It didn’t come out very well.  It was bumpy and uneven and generally a bit of a mess.  I had no idea if it would just crack when placed between the boards.  I was able to trim the copper to a suitable size, so the first problem was overcome.  Here are some photos of the process.

Fortunately, the enamel hasn’t cracked and the bumpiness gives an interesting texture to the piece.

The other book I made with an enameled piece was an easy one.  I used the same technique I had used before with coins.  I cut a recess in the top board, tucking the bookcloth into the recess and glued the piece in place. I used this same technique with a black cloth book after I returned.

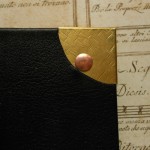
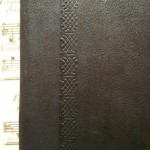
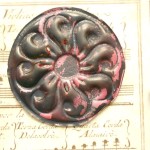
The last technique we used was working with metal – brass, copper, bronze and pewter – as corners, bosses and latches. This was the first time I had ever worked with metal and was a bit of a challenge.  Metal has to be exact.  You can’t nudge it, pinch it or approximate. I’d love to have more time to work with metal and hope I can in the coming year.  For this time I just made some brass corners. Not much for a metal worker, but exciting for me.  There’s a lip that fits around the edges of the boards and then the corner is fastened to the boards with a rivet. I also gave a brass a bit of texture. As a final touch, this book has a line of blind tooling parallel to the spine.

So that finishes all five books I made during my week.  Since I’ve been home, I’ve been finishing up odds and ends, trying to put together stock for the shopping season.

You can always find my books and paper on Etsy via my page or by going to www.Etsy.com/shop/LosingHerMarbles

Leave a Comment

Filed under bookbinding, Craft design

Learning to Torch Fire Enamels

As promised, here’s a blog about the quick weekend course on using hand-held torches to fire enamels on copper. Last summer my granddaughter and I had taken a week-long workshop that covered both kiln and torch firing. I had enjoyed that and have already used a few of my pieces in my books, so I was looking forward to being able to learn some new techniques and make more pieces.  I was not disappointed.

For the basic procedures we used, see the page on Enameling.

The trickest problem with torch firing is that the copper can’t have a counter-enamel on the back.  Without a counter, the enamel is more fragile and if it is put on too heavily, will crack or warp easily. I cheated on some pieces and countered them in a kiln.

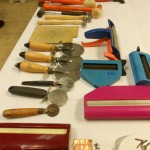
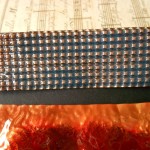
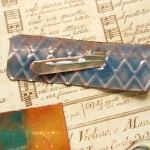
Texture was the first thing we worked on. The copper we were using as a base was rather thin and was easy to texture with crimpers, rollers and corrugaters as well as hammers. I found that putting a heavy texture into the copper made it sturdier and less likely to warp.  Because I need flat pieces for my books, I was very aware of warping.  Some examples:

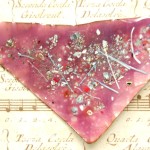
If you want the texture to show, the enamel has to be transparent, not opaque.  On the pinky-rose piece, even with transparent enamels, the underlying texture was lost because of the amount on enamel I put on the right side.  You can see the texture on the reverse. I really enjoyed playing with the various textures and could have spent a lot more time on it.  Unfortunately on the weekend courses you really have only one day of work.  The entire class spent Saturday from 9:00am to 9:00pm torching in spite of cold, wind and dark.  We used the torches outside, so light was a problem.  Unfortunately, I don’t have a picture of the torch table, but there were 6 or 8 torches set up around a table outside.  After putting the enamel on a piece, it had to be carried outside to be fired. One advantage was that it was cold enough to cool the metal quickly afer firing.

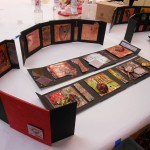
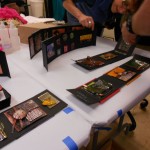
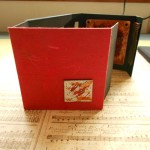
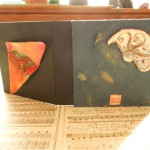
The instructor, Steve Artz, made boxes for all of the students as a way for us to display the pieces of enamelling we completed.  Here are some pictures of the boxes as well as some close-ups of my pieces.

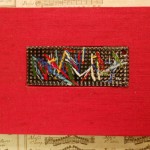
Lastly, here are two completed books. The black one has a piece I made in the summer.  The red book was made with a torch-fired piece in the Book Embellishment workshop, which will be my next blog.

Leave a Comment

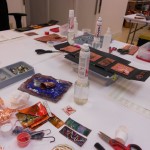
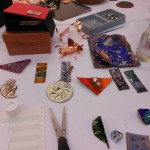
Filed under Art, Craft design, Other crafts

Basic Marbling Workshop: Fun & Colorful

I had a great, fun marbling workshop last week.  Back in October, I had given a hands-on demonstration for the local Art Guild.  It lasted only an hour, so I had to do all the prep work for the participants to be able to do any marbling.  Several people wanted to do more and I scheduled a three-day workshop to share the basics, plus a glimpse at some advanced techniques.  This time the students had to prep, including mixing the paints, aluming the paper, setting up the trays, etc.  Because of the time factor, I did mix the carrageenan the night before.  After a brief demonstration, everyone set to work, splattering and dropping paint, playing with rakes and combs and generally, messing about.  I was very pleased with the outcomes and I think everyone learned a lot while having fun.

Photos of the class:

The participants were quite diverse, one was a book artist, one was just having fun, one was an experimental artist and the last was a collage artist who wanted to be able to make her own papers.  It was pretty intensive, but everyone had a stack of papers by the end.

I even had time to do a few pieces during class and the next day.

Now it’s on to using some of the stacks of paper and trying out some new books.


4 Comments

Filed under Marbled Paper