Tag Archives: creativity

30 in 30: Days 6 through Day 10

This is a continuation of my project started in this post.

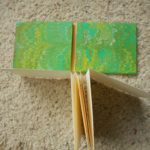
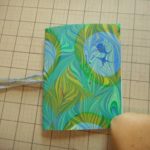
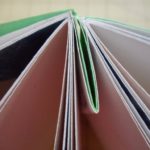
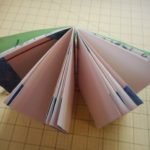
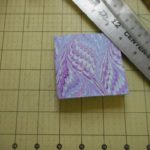
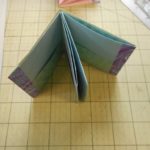
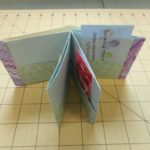
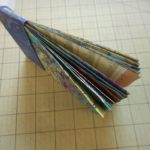
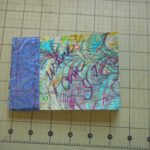
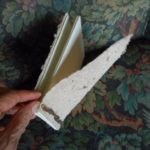
Day 6.  Everlasting Fold Book

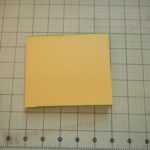
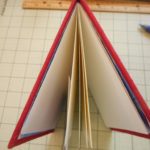
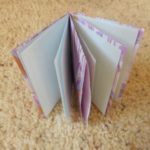
This book is called “everlasting” because the accordion-folded pages can be removed and replaced with with fresh pages when you are finished with them. It’s a clever idea, but I wish the spine were sturdier. I have a feeling that the pages will last longer than the case!  I used the plain yellow on the outside because I was confused by the instruction as to which paper would be seen.  If I were to make another one of these, I would try to figure out how to create a stronger spine, while retaining the ability to remove the pages.

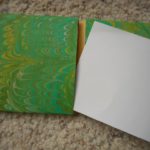
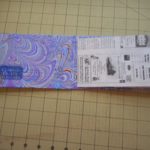
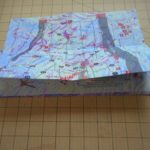
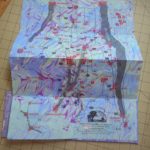
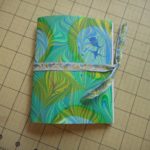
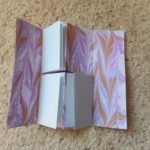
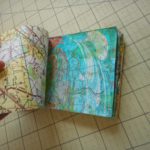
Day 7. Foldout (map) Book

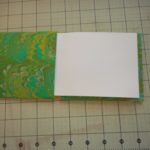
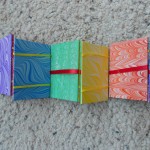
When I saw this design, I knew immediately I had to use one of my marbled maps for the text. It’s a good structure for any oversize piece that can be folded. If I make another one, I will marble the back side of the map with darker colors so the ads on the reverse aren’t quite so jarring. I might also add a ribbon tie or some other sort of fastening.

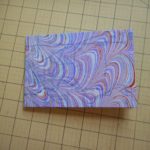
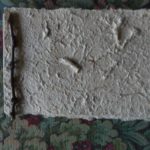
Day 8. Double Pamphlet Book

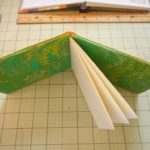
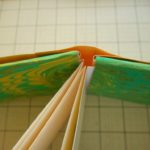
This is a nice sturdy little book that would be great for notes, grocery lists and other memos you still keep by hand and not on your phone. It it sewn with a pamphlet stitch through the two sections. The outside thread is hidden in the V fold made by the cover between the two sections. For the textblock, I used some letterhead paper that I liked, but could never use.  I have several more packs that you may see in future projects!  I like this variation on a very traditional structure. It is solid, compact and useful.

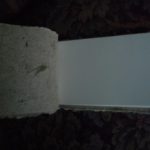
Day 9 & 10. Star Book.

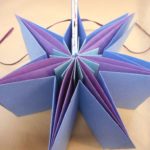
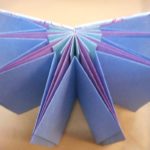
This book gets two days because it was more intricate than I thought it would be. I worked on it for three days, but some of that was drying and pressing time so I decided to call it two. Hey, I’m making up the rules as I go along and there are no grades at the end.

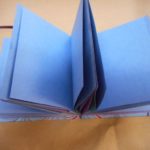
This is an interesting structure that could be used in many different ways by adding text, graphics, cutouts and more.  Unlike many other star structures which are accordion folded, this uses individual pieces which are glued at the points.  That’s why it took more time than I expected. Each of the solid-colored papers was cut into seven different-sized rectangles, folded and glued.  More labor-intensive, but more stable. At some point in this challenge, I will try one of the folded star books for comparison. The darker blue pages are folded on the top edge, except where I messed up, and can be flipped open a page at a time.  I can see a graphic artist using those in all sorts of ways – to hide text or artwork, as pop-ups, for individual poems or as pages in a longer narrative. One could even have text or art on the purple pages that could only be seen through an opening in the blue page.  Unfortunately, as I said before, I’m a structure person.


I’m planning on going on until Day 15 is finished and then taking a break. I’m going back to the John C. Campbell Folk School for another course and need to take time before then to batten down the house, finish turning over the garden and generally prep for the cold weather that is coming. Life does interfere with art sometimes.  I hope to be back to 30 in 30 by the end of October and blogging about it soon after.


Leave a Comment

Filed under Art, bookbinding, Craft design

30 Books in 30 Days

A few weeks ago I had lunch with a friend who is a painter and she told me about a challenge she was presenting to our local Art Guild – 30 paintings in 30 days.  The object is to get into the studio every day and do a small, fast painting in just an hour or so.  Painters, like many of us, have a tendency to put off working because of the tremendous amount of creative energy and effort required for a finished work.  This challenge stimulates creativity by putting it into small, manageable bits and allows the artist to try lots of different approaches.

I was intrigued by the project, but my first reaction was I couldn’t possibly do that with books.  An hour was barely enough time to cut and fold paper or sew the endbands. This is especially true of the complex books I’ve been playing with recently – elaborate sewing structures that aren’t even seen, hand-sewn endbands, leather covers with metal inserts or tooling.

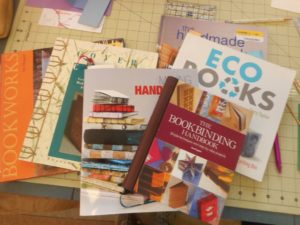
The idea clung to the back of my mind and one day I happened to move a pile of bookbinding books.  I’d been disappointed in most of these books as they focused on the flippy-floppy, origami type books or very simple structures that are primarily a vehicle for artist content.  I’m just not a content person.  I’m much more interested in the structure.  It suddenly clicked and I realized that these were just the types of structures that were perfect for the challenge and thus began my odyssey into 30 in 30.  I’m not being completely literal on this. I’ve had to take a few days off for things like repairing the pump in the well and tearing out my garden. I’ve also found that some of these books take more than one day to complete.  I have decided that those books can count as two days, because while a half-finished painting can still inspire, a half-finished book is just a pile of folded paper and odds and ends of card stock.
So here goes:  The first 5 days.

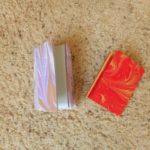
Day 1  The  X  Book,  from Golden 100 Books.

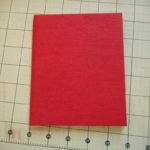
I would call this more origami than book, but it did get me started.  After folding the red book, I wasn’t happy that the edges weren’t even, so I trimmed the fore edge. That looked better, so I trimmed the head and tail forgetting that the fold at the head was what held the book together. Whoops!  On the blue piece, I felt my usual frustration at just having a folded piece of paper, not a book.  Then I realized that I could sew pages into the interior folds. These pages are not in the original instructions.  If I wanted to go even farther, I could glue the backs of the cover paper to make a more stable structure.


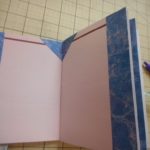
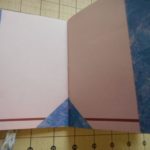
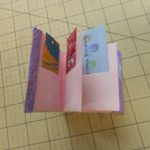
Day 2 The  X  Book with pockets

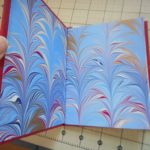
This is just a variation on Day 1.  An extra piece is folded to create a pocket and placed inside the cover paper.  One problem for me was that the pocket paper shows both sides and I used a one-sided paper.  If you look closely you can see that the pocket has a design and the back above it is plain  (the other side of the paper). So my marbled paper isn’t suitable for the pockets.

Day 3. Brush Book

This is a cute little idea for people who have content.  I just used pieces of maps that I had marbled.  It is just folded with no sewing or glue, making structure not very solid.  A stronger paper for the spine might have helped.

Day 4. Stick Binding


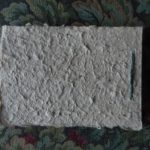
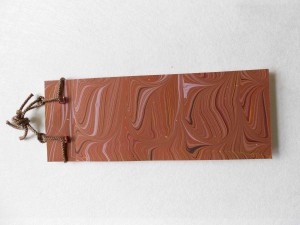
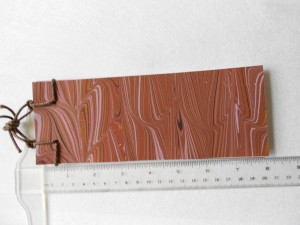
I finally got to sew on this book! Very simple structure, but cute using a twig to hold the sewing thread. I used a paper with heavy inclusions and am pleased with the result. The book does violate one of my cardinal rules that books I make must be able to be shelved without damaging themselves or the books next to them. I dislike dingle-dangles and stick-ons that are not properly inlaid.

Day 5. Pamphlet Book

This is a bit of a cheat as it is a small book that was a special order from Etsy.  I decided that it counted anyway.


Note: I am currently working on Day 12, but wanted to get my blog started.  I hope to update the next five books in the next few days and maybe catch up to date.


2 Comments

Filed under bookbinding, Craft design

Marbling Workshop: Results

In a previous blog, I talked about the marbling workshop on April 22nd.  It was a great success and I was pleased to have participants so excited about marbling.  In fact, everyone came back for an Open Studio session.  In spite of being able to produce a sheet of marbled paper in a 15 minute “make it and take it”,  marbling really does take a few days to begin to be in control. I love it when people enjoy something enough to be willing to put more time into learning the craft.  I also enjoy the Open Studio idea, where I can work with people  without a formal structure. What follows is a lot of photos and brief comments on the workshop. Photos are thanks to Julia Hardy, who became my assistant for this class.

In the few days before the workshop,  I stumbled through a bit of a nightmare of logistics.  In the space of three days, the class went from six participants to five to four, up to six again and then back to four.  Workshops are not like lectures where you can just add a couple of extra chairs.  Marbling stations have to be set up with tools, paint, trays and carrageenan.  Space is tight in my studio and six participants, plus a demonstration table for me was an interesting problem in spatial design.  I had everything set up for six, when I heard there would only be four.  This was just the day before the class and too late to unmake the paints or size.  Plenty of supplies for the following week of marbling!

In marbling, there are always alternative ways of doing most everything. I started by demonstrating how to put paint on the carrageenan size with a whisk and by using an eyedropper.  Just to confuse everyone, I also showed how to make the get-gel pattern with a stylus and then with rakes.  Each type of pattern was printed for reference. The class went right to work, preparing the paper, throwing paint, creating marbled patterns and printing them.

Before breaking for lunch, we examined all the wonderful paper that was drying, seeing what worked and where there were problems.  I was very pleased with what was accomplished in just a few hours. By the end of the day, great papers were being produced.

By mid-afternoon we needed a break and looked at different types of patterns, overmarbling and marbling on printed paper. I hope the students were inspired to keep thinking about new ways to look at marbling.

Great class, fun time, all supervised by my assistant, Lucy.

Lucy, marbling supervisor

Lucy, marbling supervisor

Saturday and Sunday were Open Studio days and I marbled along with the students.  Since then, I’ve been trying to use up as much of the paint and carrageenan as possible and have been playing as well as cleaning up.  I can’t believe how long that takes!  My studio is slowly transforming itself back into a book workshop and my marbling space is getting back into its usual configuration.  I’ve already heard from people that want me to have another workshop,  maybe in July or August if my supervisor approves.

6 Comments

Filed under Uncategorized

A Tale of Boxes: Wedding box, Guest Book & Portfolio

It’s Labor Day and summer is over.  My black walnuts are beginning to drop their leaves. They are always the last to leaf out and the first to fall. My summer was busier than usual with a bit of Folk School, a bit of family a bit of garden, a bit of travel, and too much teeth.  I’ve been composing blogs in my head all summer, but never quite enough time or energy to actually write them out.  This blog is really left over from last winter and spring.

As most know, last winter was too cold, too snowy and much too long.  I had several special orders that kept me sane, especially through February.  Special orders usually present challenges and learning opportunities, as they are never quite what I would choose to do if left on my own.

My first customer wanted a guest book in her wedding colors with a small metal plaque on the cover.  After talking, well actually messaging, about it, she decided that a clamshell box made to fit the book with a matching  insert on  its cover would be perfect.  We chatted some more about other wedding memorabilia she would have that might also fit in the box or that might be better in a matching portfolio.  The first idea was to use the invitation as a frontispiece for the book, but it was the wrong size and orientation. The outcome of our discussions was that she sent me the selection of materials and mock-ups of items that hadn’t been printed, like the menu.  As soon as I saw them, I knew what I had to do.  It’s amazing how talking, and even sharing pictures, isn’t anything like having the stuff in your hands.

The answer was to put a drawer in the box under the book.  Since the ephemera was slightly larger than the book, I was able to add a small box for a pen next to the book. I was very pleased with the result, especially since it has been years since I have built a box with a shelf or drawer.  I had my trusty Library of Congress manual right at hand during the entire process.  Lots of pictures:

This was a long process since I had to make all the paper first. After the pieces for this project were used, I had a lot of purple paper to sell on Etsy.  Fortunately, purple is popular! This customer was  a delight to work with and there were many other custom touches to the book that are not shown.

My next special order was challenging in a totally different way.  A student was presenting her fashion portfolio her professors and wanted a clamshell box that reflected her vision and her creations. Working to complement someone else’s artistic creativity is not easy. To make matters worse, she was working under a tight deadline.  Sending actual samples of papers or materials back and forth was out of the question, so we took to messaging images and descriptions back and forth, sometimes five or six times a day.  Of course colors vary according to cameras or monitors.  Fortunately, her palette was black, white, gray and a bit of red.  I don’t know what I would have done if it had been green!  I’m never able to get a good match for greens with my camera and monitor.  The actual construction was straight-forward, but all the decisions leading up to it were hair-pulling at times.  It was fun working with another artist and we were both pleased with the final result.

Her portfolio was selected to be submitted to a competition!  I hope my box helped.

The last box was the most fun.  I was working with friends for a surprise for another friend, best of all worlds.  Everyone was nearby so we could all see the materials and the process and no second guessing.  The gift was being made to someone who was retiring from the board of a local non-profit. She had been instrumental in the creation, organization and managing a concert series in local venues.  She is also very active in local winery and grape growing organizations, so music, grapes and wines were the themes. It was decided that a boxed guest book would be the perfect gift.  I’ve been working with metal artist Sam Castner a lot recently and he was delighted to be able to help another good friend celebrate.  He created two stunning brass plaques for the book and box. I was inspired by his work and had fun choosing just the right materials for the set. Taking a note from the wedding box I had made previously, I left room for a pen in this box and the Board added a hand-crafted pen by a local woodworker. Unfortunately, I don’t have a picture of the pen.

Unfortunately, for my best box set, the photos are the worst, especially on the true colors.  Since everyone could see the work in progress, I didn’t have to send photos and hence don’t have a good record.  I need to remember this and take lots of photos when I work on anything really special.

I hope to get my next blog up soon.  It’s all in my head!  I also have new pictures to update my How to Marble blog.

If you are interested in working with me on a special box or book or set, leave a comment here or contact me on Etsy, Losing Her Marbles.

Leave a Comment

Filed under bookbinding, Preservation Boxes

Basic Marbling Workshop: Fun & Colorful

I had a great, fun marbling workshop last week.  Back in October, I had given a hands-on demonstration for the local Art Guild.  It lasted only an hour, so I had to do all the prep work for the participants to be able to do any marbling.  Several people wanted to do more and I scheduled a three-day workshop to share the basics, plus a glimpse at some advanced techniques.  This time the students had to prep, including mixing the paints, aluming the paper, setting up the trays, etc.  Because of the time factor, I did mix the carrageenan the night before.  After a brief demonstration, everyone set to work, splattering and dropping paint, playing with rakes and combs and generally, messing about.  I was very pleased with the outcomes and I think everyone learned a lot while having fun.

Photos of the class:

The participants were quite diverse, one was a book artist, one was just having fun, one was an experimental artist and the last was a collage artist who wanted to be able to make her own papers.  It was pretty intensive, but everyone had a stack of papers by the end.

I even had time to do a few pieces during class and the next day.

Now it’s on to using some of the stacks of paper and trying out some new books.


4 Comments

Filed under Marbled Paper

Rainbow Update

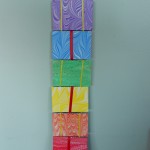
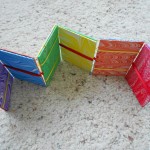
Just a quickie to show you what I’ve done with some of my “rainbow” paper. Yes, I know that the rainbow really has seven colors, not six.  These are actually the primary and secondary colors on a color wheel, but rainbow sounds better.  Anyway, here is my newest plaything.

I’ve already cut the paper for a second one and have been marbling a lot of interesting vintage paper to make more.  Now that I’ve finally gotten the ribbons working, it’s fun.  I admit, I still have the 28 step instructions right in front of me every time!


Leave a Comment

Filed under Craft design, Marbled Paper

Monochromatic Rainbow

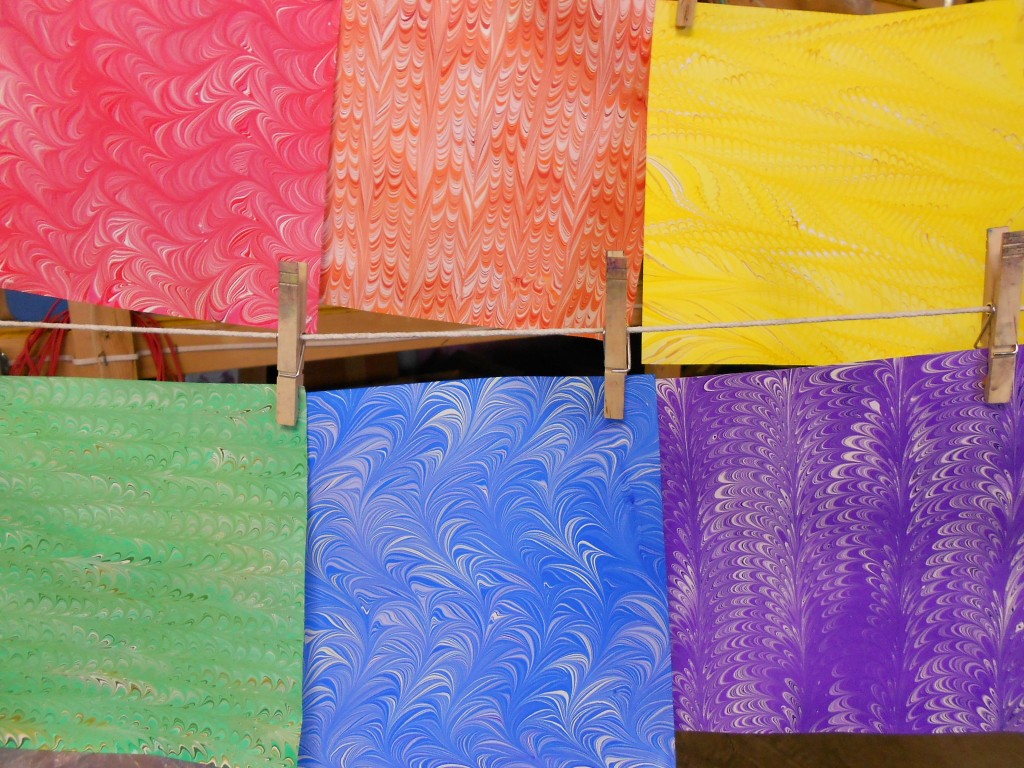
I suppose that’s actually an oxymoron, but it describes the marbling I did this weekend!  I was so impressed by the “shades of grey” piece I did at the beginning of January, that I decided to expand the repertoire. Now I have monochromatic pieces of all the primary and secondary colors; red, orange, yellow, green, blue and purple.  All I need now is to figure out how to use them!

Here’s one of each on the line.

Rainbow3

and a quick gallery of them all:

There are four sheets of each color except the blue.  I really like the fresh, clean look of these.  I plan to do more this week, but I also have other ideas. Today I also did some marbling using masks to cover portions of the paper so they don’t have paint.  They can either be left plain or overmarbled.  I hope to have those results for you by the end of this week.

Sometimes there are too many ideas for the time I have.  Decisions, decisions, decisions. As much as I love having piles of paper around, it does help if I can actually sell some or make something from them to sell.  At least it gives me money to buy more supplies.


1 Comment

Filed under Craft design, Marbled Paper

Off On a Tangent: from box to book

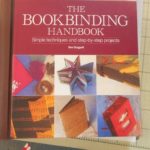
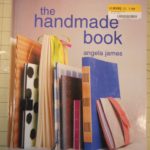
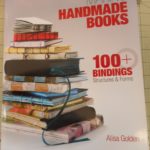
I really thought my next project would be a different style of box, but the road took a twist.  A few days ago I bought a book on how to make 100 different books.  As usual with this type of book, most of the designs explained were in the genre of “Artist Books”. Books in weird shapes, with pop-ups or folded pages, beads dangling or cleverly designed around artwork.  They are wonderful to look at and explore.  Unfortunately, I don’t enjoy making them. My “artist books” tend to look either like a kindergarten project gone awry or something designed by the Mad Hatter on his way down the rabbit hole.

I prefer functional books, just like my preference for functional boxes.  After a lifetime of collecting non-utilitarian objects, I’m all about function and use these days.  Anyway, the book I bought did have a bunch of “real” books with sewn bindings and hard covers.  There were a few that caught my eye and I even tried out one.   (See more in the Book section on this page.)


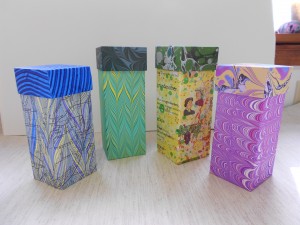
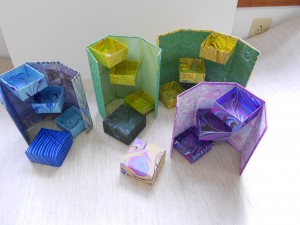
While I was plotting out some possible designs, the Arts Center called to say that they needed more towers. So all plans on hold while I make a few more towers for them! Such is life.

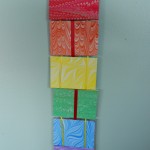
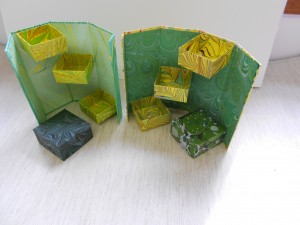
Here are the the quickie towers I did over the weekend.


I think I mixed up the yellow boxes and put them into the wrong green backgrounds.  Whoops!  Not sure though and it’s too late to do anything about it.

Here are the two yellow/green towers.  Still not sure.

I also discovered that Etsy has an app that lets me put a gallery from my store on this site.  I’ve put it here as a test.


Leave a Comment

Filed under bookbinding, Boxes and Towers, Craft design

Decision Time Again: Which Box to Make?

I’ve been thinking for a while about making some other types of boxes, but I haven’t settled on any one style.  Here are some of the ones I’ve been considering.


These are some of the styles of boxes and portfolios I’ve made in the past.  I’ve probably made at least a hundred calmshell boxes in various styles over the years.  Most were made to fit specific books, papers or other objects and I’ve created many different variations.  I enjoy making them, but they are nothing new for me. Another negative is that they use a lot of purchased materials.  The brown and blue boxes on the top row are clamshells.

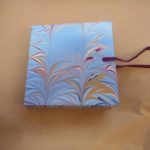
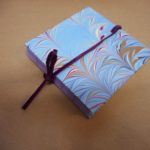
The first photo on the second row shows a few of the origami boxes I have made.  They are cute and easy to make. On the pro side, the only material they use is my marbled paper.  They are also great for using the perfect parts of an imperfect sheet.  When I marble, I still catch air pockets or stray hairs which ruin parts of the paper.  On the con side, they don’t require any creativity, just good dexterity.  To counter-balance this, I rarely make the top and bottom from the same paper.  Drives the folks where I sell the boxes crazy!

The next two photos show lidded boxes.  These can be made in any size and shape as well as being able to be lined or partitioned.  I’m leaning toward these for my next project, but I’m still pondering.

The matchboxes with the book inside are cute but rather useless.  I tend to put sayings, quotes or lines from poems or songs in the books, but once you’ve read them, what do you do with it?  I much prefer structures that have some useful function.

The miniature books are neat, but again, not really functional.  I have seen them made into jewelry as pins or hung from necklaces and earrings, very nice but not me.  I rarely wear any jewelry anymore.

The last photos are the portfolios.  They can be made any size or shape and are very useful.  Carrying a hand crafted custom portfolio is neat.  The major drawback is that they use large quantities of bookcloth, especially the 9×12 one.  The outside needs to be cloth rather than paper if  the portfolio is expected to be used.  Paper would be prettier, but it wouldn’t wear well.  Unless I could do the hinges and edges in cloth and the center in paper, like a half-cloth book.

So there’s my dilemma.  What to do?  What to do?

Leave a Comment

Filed under Boxes and Towers, Craft design, Marbled Paper

Catching Up

This week I’ve been working on the four books that I’ve been documenting on the Design and Making a Book step two & step three pages. However, working on the books has meant less time for writing about them. Tonight I’ve uploaded a bunch of pictures, but haven’t had time to explain what they are. Will do that tomorrow, I hope.

What fascinates me is how the books change during the process.  I have a picture in my mind of what the finished product will look like, but it seldom is totally accurate.  Materials sometimes seem to have a mind of their own! Papers that I plan on using magically shrink or get cut in the wrong direction forcing me to use alternatives. Sometimes I just don’t like something on the sixth or seventh try.  One of the advantages of working on several pieces at once is that I have time to step away from one choice and come back to it later. Sometimes a paper I am considering for one book, will end up in a totally different place.

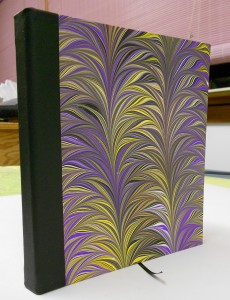
The Black Palm book is a good example.  My first thoughts on the endpapers were just wrong.  The second (the tigers) put William Blake into my head and I have been quoting “Tyger!, Tyger!” all week – mainly to myself.  I’m very pleased with the outcome.   I had no plan to use leather on any of these books.  It involves a lot of work to pare it down and I have been preoccupied with a lot of other stuff.  When I was trying to decide what to use as the spine for this book, nothing was working — until I noticed a piece of black leather.  It was just the right size and worked beautifully.  The result is that this is probably my favorite book in the batch and not at all as planned.


6 Comments

Filed under bookbinding