Tag Archives: etsy

Fox Boxes

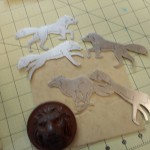
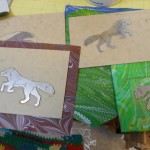
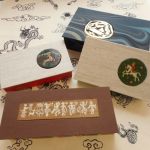
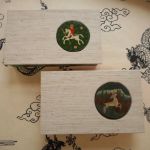
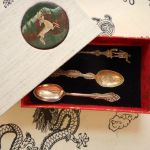
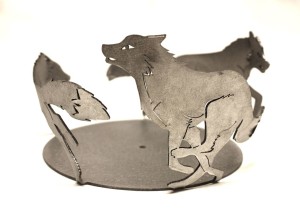
About a month ago I was working with Sam Castner on his Etsy page and found that we couldn’t list his stainless steel fox ring because there had been a glitch in production. These foxes and Sam’s other candle holders are part of his design for a spectacular set of gates for the Fox Run Vineyards as seen on his FaceBook page.    This is the steel version of the fox ring.Fox (1) I asked Sam what he was going to do with the unusable rings and he wasn’t sure.  Three days later I suddenly realized that the foxes were just the right size for some of my boxes and books, so I asked Sam if he were willing to snip some off and let me play with them.  He did and this is the rest of the story.
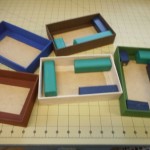
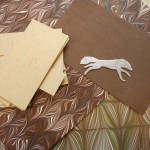
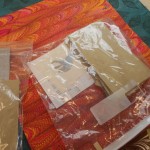
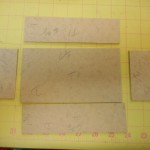
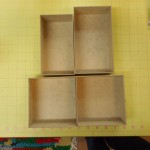
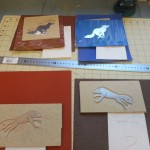
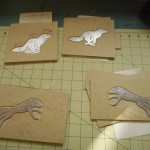
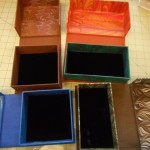
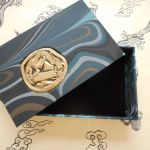
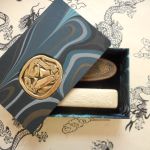
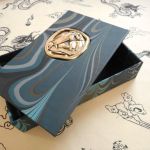
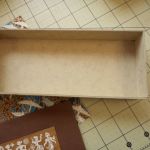
I started with some lidded boxes.  These boxes are constructed  in two parts, a bottom tray and a top. The top has a plinth attached that fits exactly into the mouth of the bottom tray.  It’s a faster and easier construction than the clamshell preservation box.  I had made the five bottoms before I started taking photos, but that process is straightforward and is just like the clamshell bottom tray shown in the second group of photos.

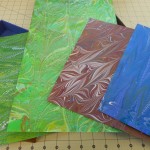
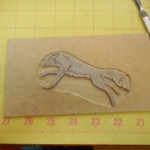
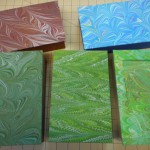
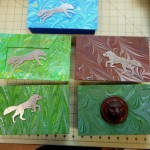
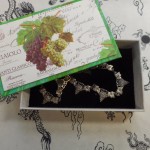
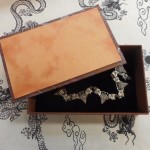
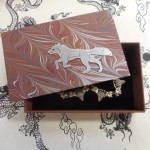
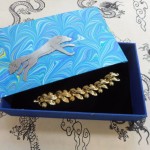
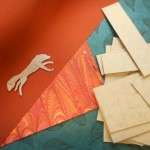
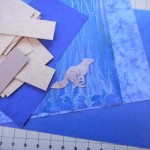
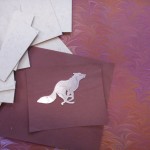
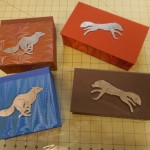
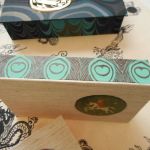
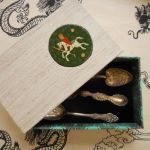
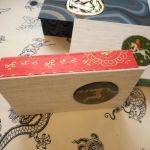
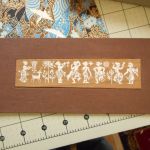
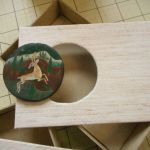
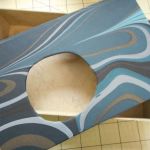
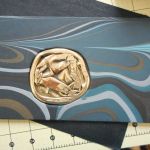
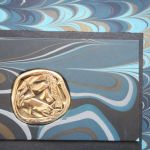
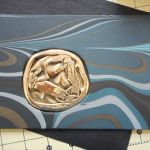
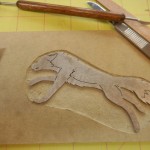
Design work is always fun and I tried to find pieces of my marbled paper that felt a bit like fox habitat, had lines that would flow with the shape of the fox and colors that showed off the stainless steel. After choosing the materials, I decided to make all these boxes the same size, which I rarely do, but it does make cutting easier.  I don’t like things that are just stuck on the top of boxes, so I carved down into the binders’ board to recess the fox pieces.  They aren’t quite flush with the top, but rest about half way in.  The exception is the light green box where I made a frame the same thickness as the fox.  I tried different shapes for the insert and found it didn’t matter much since there was so much pattern in the paper under the fox. The wooden lion was added in, as it was something I had been meaning to try for a while.  Seemed like a good time.  The plinths under the tops were covered with a variety of decorative papers that complimented the marbled paper and the bottom trays were lined with black velvet.

I was pleased enough with these results to move on and make some clamshell boxes. The design is based on the preservation box used by archives, rare book libraries and museums.  When I was working as an archivist, I made hundreds of these, not as artistic and not nearly as much fun!

First step is always design – choosing size, shape, colors, and materials. I never make it through in one go!  This time it was the dark brown bookcloth. It was perfect, until I discovered that I was down to my last piece and it was an inch too short for the box I wanted!  This was an easier problem to solve than when it’s my marbled paper that is in short supply.  Bookcloth can be ordered, my paper can’t be reproduced, even by me!

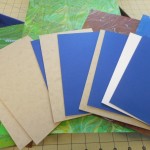
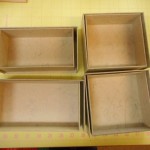
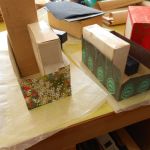
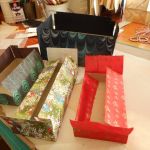
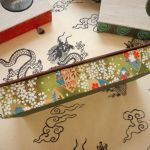
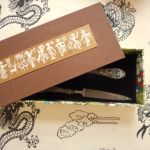
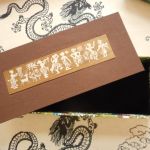
There are three separate components in a clamshell box: the inner or bottom tray, the outer or top tray and the case.  When making a box for a specific item, the inner box must exactly fit the item. I didn’t make these boxes for any specific measure.  The square boxes are almost the same size, but because I misread some numbers, the two long boxes are different sizes. The inner box is made first, then the outer box and finally, the case. The case is constructed just like the covers of a book with two boards joined together with a spine strip.  The inner tray is mounted on the inside of one cover and the outer tray on the other. I have to be careful that they are aligned correctly and the outer tray fits snugly right over the inner tray.

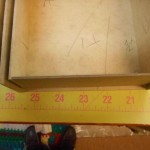
No matter how carefully I cut, there are always some pieces of board that aren’t quite right.  Sometimes they are too short or too long, but most frequently, they are not exactly square.  At least that used to be the problem.  I have three cutters that I use all the time: one I use to cut the big sheets of Davey board into manageable size, the new fancy one is for most of the paper, especially when I need 30 or 40 sheets cut the same size, and the last is an ancient Milton Bradley school cutter that I use for small to medium pieces of board.  I have known the Milton Bradley since the early 1950s and I’m pretty sure it’s at least ten years older than that. I was about to get rid of it when I realized it was the only cutter I had that could cut board exactly square and it was especially good on board that was under two inches wide.  So three cutters and I need them all!

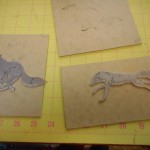
After making and covering the trays, I move on to the case. When I am using an insert, the first thing is to decide on how it will be mounted. With these boxes, I cut down about half the thickness of the board and excavated an area for the fox. The case is then covered with bookcloth or paper and the trays attached to the inside. The final steps are mounting the fox on the top cover and lining the bottom tray with black velvet.

My fox boxes will be available in my Etsy shop and at ACYC very soon.

You can read more about Sam Castner’s metalworking and the future gates for the Fox Run Vineyards on his FaceBook page.

Direct link to Etsy shop

2 Comments

Filed under Uncategorized

Finished the Boxes!

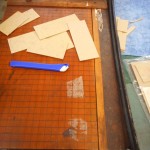
I finished the boxes from my last post!  These are fun boxes to make, less complicated than the clamshell boxes and much more forgiving. The clamshells are a more durable and professional box and they require very precise cutting. I like making those if I am creating them for a specific item.  Then I know that the fussing and precision has a reason. For either box, most of the fun is in the designing. A few pictures of the construction process, then on to the finished boxes.

All of the boxes are lined with black velvet.  I didn’t get a good side view of the Brass Cup box. You can just see the marbled paper I used, but there’s a good shot of it in my last post.  Just one last decision, to sell them online at Etsy or take them to my local gallery.  Maybe I’ll do both.

Leave a Comment

Filed under Boxes and Towers, Craft design

Lidded Boxes with Fun Stuff

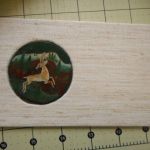
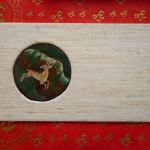
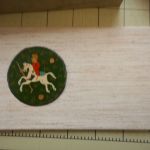
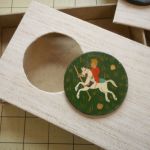
In my last blog, I showed a bunch of odds & ends of things that I was thinking about using for who knows what.  Since then, I’ve been busy with plumbers, snow and real life. A few days ago I started playing with one of the smushed cups and, since I always make things in fours, pulled out at random three other treasures. Yesterday and today I started making lidded boxes for all of them.  I decided on the lidded boxes rather than clamshell just because they are faster and I have a lot of other stuff that needs to be done.

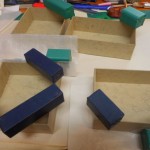
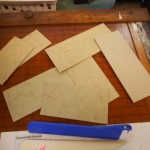
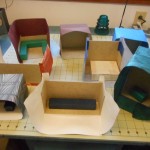
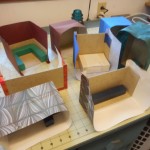
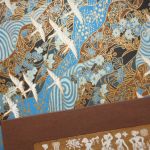
Here is where things are now, papers and bookcloth chosen, sizes determined, Davey board cut, bottom trays made and tops covered.

I didn’t have a paper chosen for the horseman when I took the pictures and I changed the paper for the dancers at the last minute.  I hope to finish all of them on Saturday.  If I do, I’ll post the finished creations here. Think I’ll try to sell them on Etsy first, as winter is very slow at local galleries here in snow country.


Leave a Comment

Filed under Boxes and Towers, Craft design

A Rush Job

I had great plans of doing a real job of cleaning up my studio this past week.  Didn’t happen.When I took a few of the new hanging books down to the Arts Center, they mentioned that they were out of my smaller notepad and memo pad covers.  Of course, I had to drop everything and make some up.  It’s more fun than cleaning anyway! So here are the results.

You may notice that I tend to work in fours.  I find that making four books or towers or notepads at a time gives a nice rhythm of repetition without becoming boring.  You can see how I make these notepad covers here.  I have a few of these on Etsy also.

On another note, the weather has finally warmed up and I was able to start digging up the garden yesterday!  I no longer try to do it by hand and it’s much easier.  I have a little electric cultivator that works very well for me.  I’ve tried renting a roto-tiller, but they are just too heavy for me and every year it gets harder for me to pull start gas motors.  I now just drag my long extension cord out behind the pines and till away.  Get fun for a short time!

I’m still plying with some soft covers and mostly making messes.  More on that later.

Leave a Comment

Filed under Marbled Paper, Notebooks

New Hanging Books

This is just a quick post to show off my latest batch of hanging books.  I made some with “soft” covers – really very stiff or heavy card stock- and some with Davey board covered with my marbled paper.  The board covers are hinged or articulated in order for them to open properly. I’ve had a lot of fun searching through boxes of old beads to find ones to use on these books.  It feels good to actually use some of the stuff in the basement instead of just tossing it.  Most of the cords and raffia are also from the stash.

Previous versions of hanging books in a blog posted a year ago.

I also tried out a new soft cover binding, but ruined it in the finishing process.  If I am brave enough, I may post some pictures!

Etsy

1 Comment

Filed under bookbinding, Marbled Paper

Success followed by frustration

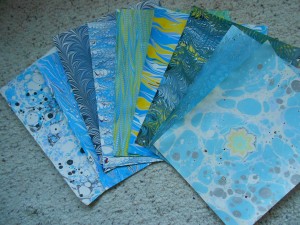
I did finish last week’s marbling session by using the smaller trays to make some 11″ x 14″ and 8.5″ x 11″ sheets.  They came out very nicely and I was having a great time.  I pushed it a bit too far and the paint began to lose cohesion and the carrageenan was getting old. Fortunately, it seems that both tend to fall apart at the same time.  Guess it’s a sign that it’s time to either make new batches or close up.

Here are some of the smaller sheets:

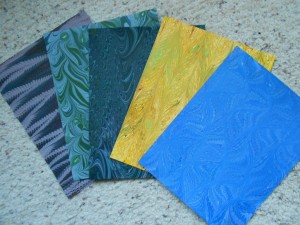
I enjoy working with colored paper, especially dark shades, because the color of the paint is intensified and altered by the background. These sheets were made with the same colors as those above. No green or red paint was used: that’s just the color of the paper affecting the result.


Here are some closeups of the various sheets.

My frustration is that these photos are no where near the color of the original sheets.  The original photos were even worse!  I spent a lot of time adjusting the color to get the hues in the correct range, but all these sheets are way too light. I played with brightness and contrast controls, but still couldn’t get it right.  Frustrating!  All this after taking dozens of photos in several different lights with different settings.  I don’t have problems with light-colored sheets, but darks are a mess.  Rich greens also seem to always be off-color. (As is my language dealing with these!)

I have no intention of getting a better camera, but I need to be able to get accurate pictures if I want to sell the sheets on line.  Frustrating!  Compare the last sheet of the three with the same sheet (2nd from right) in the top photo.  The top is much closer to the real color of the sheet.

More pictures of the end of this session.


Leave a Comment

Filed under Marbled Paper

Hanging Books

These hanging books are a lot of fun to make, so I’ve been doing a lot of playing.  I made a batch of ones with hinged covers and have more planned that are soft covers.  The best part of it all is that I have a treasure trove of beads and ribbons and cord in my basement to finish them.  I’ve found some of it, but I know there’s a box some place filled with spools of cord. Here is my current “inventory” plus some different views of one of the books with a hard, hinged cover.

I love the design and texture of the Japanese paper used in this book.  The paper is soft, but the printed side has a smooth finish.  It takes adhesive very well and is really easy to work with.  The only disadvantage is that the finished book is not as resistant to stains and scratches as the Italian papers that have hard finishes.

The hardest part of making these is getting the holes the correct size to be able to thread two thicknesses of the cord, too small and the cord rips the paper, too large and the pages slide around.

I’m hoping to finish the soft cover ones this weekend and begin selling them on Etsy next week. Here’s more information on their construction and a preview of my Etsy shop.

1 Comment

Filed under bookbinding, Craft design

Well, Almost Finished

Took the books out of the press and here they are:

They all looked really nice until I realized that  the back endpaper in the map book was upside down!  My endpapers rarely have directionality and I never noticed.  Sigh.

Towers are in good shape, well, at least so far.  Haven’t finished the boxes for them yet, but have cut and folded the paper so it’s just folding and gluing them into place.

Here’s a look at the outsides:

You can see them all at the page onMaking Towers.

Some of these books and towers will be for sale in my shop at Etsy, Losing Her Marbles.
 

Leave a Comment

Filed under bookbinding, Boxes and Towers, Marbled Paper