Tag Archives: how to make books

Book Restoration Class or the Three Nancys

Week before last I was back at the John Campbell Folk School for yet another book class. I usually try not to travel in February because of the weather, especially since I have to go through the mountains of Pennsylvania and West Virginia before I get to the snow-free areas.  This year was special. When the temperature hit 50* in February and I still hadn’t had to have my driveway plowed, I started giving the trip serious consideration. I obsessed over the long-range forecasts and when they showed clear days on both weekends that I would be on the road, I called the School and signed up.  Very glad I did. It was a great class and just the break I needed.

The class was Book Restoration taught by Gian Frontini, a master in book restoration.  I have a few books that are valuable enough that I’ve been reluctant to attempt repairs without expert guidance and this was my opportunity.  Since it was a very last minute decision, I just piled lots of wounded books, a heap of bookbinding supplies and my tools in the car and took off.  Fortunately, my gamble paid off and it was a clear, easy drive in both directions.

The three books I wanted to concentrate on had similar structural problems with detached covers and some minor damage to the spine. In all of them, the sewing was sound.  The first  was a book of heraldry printed in 1619. As with most paper from that era, it was in good shape. 17th century paper was made mostly from linen rags and so is much better quality than later paper which included other fibers, and eventually wood pulp. Here’s a visual look at the process.

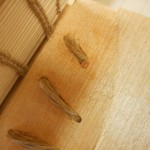
A restoration like this is painstaking work, but the results are really worth the time and effort. The first step was taking the old leather spine off of the book.  In this case there was no reason for saving any of it and I was unable to lift any large pieces anyway.  Once I was down to the paper of the textblock, rebuilding could begin.  Multiple layers of thin tissue paper were glued onto the spine. Then, in a move reminiscent of Paul Newman digging the hole in “Cool Hand Luke”, the tissue was sanded off until the spine became smooth.  Heavy threads were sewn through the textblock and twisted into new cords. Muslin was added to the spine with extra “wings” to add strength to the new hinges. Once the textblock was ready, the old boards had to be opened along the spine edge to receive the new leather spine. This was probably my most difficult part. The leather is fragile – after all it is 400 years old – and must be carefully lifted from the old board for a width sufficient to hold the new spine. Careful, tedious work. Not my forte!  The new leather was pared and carefully inserted between the old leather and the old board, the endcaps were turned in and it started to look like a book again. Last step was to add the endpapers, paste them down and put the book into the press. As a small finishing touch, I added a tiny bit of tooling to the spine, just an outline next to the cords.

Next book up was an early 19th century copy of Scott’s “Lord of the Isles”.  This book has a half-calf binding with leather on the spine and corners and a marbled paper cover, very similar in appearance to a lot of the blank books I make.  There are problems and solutions similar to the Brooke, but with some twists.

This book has marbled endpapers with matching marbling on the edges of the textblock.  Unlike the Brooke book, I wanted to preserve the endpapers, which meant I had to ease the paper off of the edges of the boards and lift it just a bit at the spine edge. The paper was pretty sturdy, but I still managed to tear it in a few places.  On the other hand, the leather was very fragile, much more so than on the Brooke which was 200 years older.  The spine on this book had some decorative elements that I would have liked to have saved for the new spine, but they are so crumbly, I’m not sure I can use them at all.  The textblock is almost finished, just have to add muslin. I have to cut and pare the leather for the new spine and attach it. The last step will be to fiddle with the endpapers so they appear to be one piece again.  Not too sure about that step.  I may have to ask for help on that.

The last of the priority books was a stamp album that belonged to my Great-grandfather when he was a boy.  Unlike the other books, this book is covered with cloth rather than leather. The book’s structure is also different. The first two are flexible bindings where the textblock was sewn directly onto the boards.  The album is a cased binding, which means the covers and the textblock were made separately and then married together.

Unlike the other books, I had to make repairs on the textblock before I could start working on the structure. First thing was to create an extra section from the loose front pages. I could have just tipped them in, but since there were six loose pages, it was stronger to join sets of pages with Japanese paper and fold them into a small section that I could sew into the textblock. At the same time, I repaired some edges, tears and gently unfolded the crumpled corner. Once the pages were in shape, new cords were made in the same way as the previous books.  I was able to line and sand the spine, but that was as far as I went with that project. I now need to create a new spine with bookcloth,  attach it to the old boards, add a hollow tube to the textblock and case in the book.  It shouldn’t take more than half a day to finish this book.

In some odd minutes I had, I also bound two small books I had had as a child that had lost all vestiges of covers.

As I said, very productive and instructive week. Learned some new techniques and am becoming more confident in the old ones.

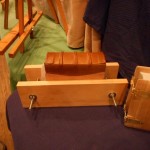
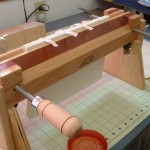
The book cradle I am using in the photos was purchased from Jim Poelstra at http://affordablebindingequipment.com/ and I love it!

Oh, and as to the three Nancys  … Yes, there were five women in the class and three were named Nancy!


2 Comments

Filed under bookbinding

Paper, leather, wood and metal

These books have it all!

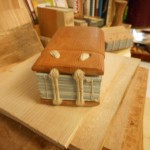
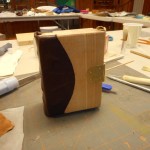
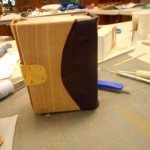
Just finished a great week at the John C. Campbell Folk School creating a book sewn over double cords, laced onto wooden boards with a metal clasp.  It was very intensive work as we used only hand tools and I’m not very skilled in either woodwork or metal crafting. Our instructor, Jim Croft, and his assistant, Brien Beidler, guided the class with great skill and wonderful patience.

As usual, I forgot to take my camera the first day and didn’t completely document some of the processes. I hope there are enough pictures that you can follow along on the path from raw materials to finished book.  The first day was spent folding, sewing, and finishing the textblock; choosing wood for the boards and designing the book.  My textblock had very little swell, so I decided to use a Romanesque/Carolingian structure which has a flat spine rather than the Gothic style (round spine) used by most of the rest of the class. Since this was a structure I had never made before, I was glad it turned out that way.

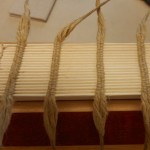
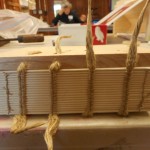
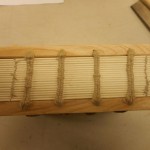
The textblock is Strathmore drawing paper which was sewn over double cords with a hand-spun linen thread. The ends of the cords were then thinned, coated with wheat paste and twisted together into points.  This made it easy to lace and unlace the boards from the cords multiple times during the construction of the book.
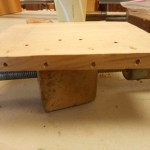
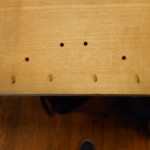
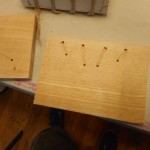
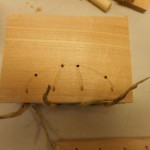
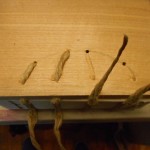
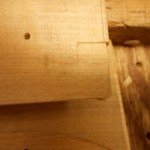
Unfortunately, I don’t have any pictures of either shaping the boards or drilling holes, but you can see the results.  With a Romanesque binding the cords are laced directly into the spine edge of the boards. The hole is drilled at an angle so the cord exits on top of the board. A second hole is drilled through the board and the cord is laced down to end on the inside of the cover. The cords are not pasted in place until the book is almost finished.

Once I knew that the cords and the boards fit, I pasted out the spine and ploughed the head and tail edges of the textblock. The boards were then adjusted to the new size of the text.  Romanesque bindings tend to have little or no square or overhang.  I didn’t plough the fore edge, but left that with an uneven, hand-torn edge.

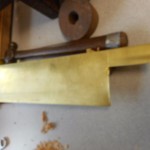
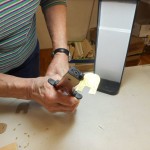
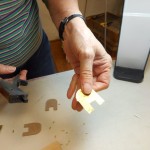
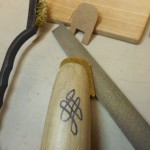
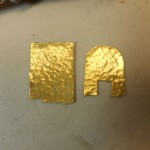
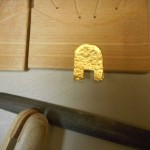
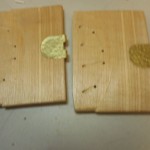
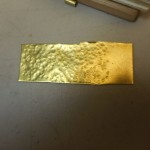
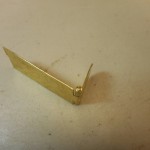
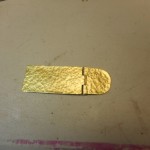
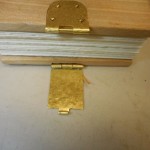
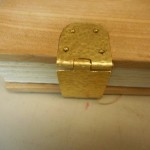
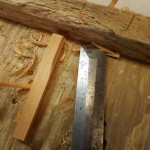
Next step was to move onto the metalwork phase, designing and making the fastening. Mine is full metal which is made in three pieces, the hinge and the catch, which are attached to the boards and the hasp, which closes the book. I started out drawing a paperboard pattern and scratching the pattern into a sheet of brass.  I cut the pattern area off the sheet and textured it with a simple dimpling by hitting it with various sized ball peen hammers. The patterns for the hinge and catch were cut and trimmed and the edges smoothed. An area of the top and bottom boards was chiseled out just enough so that the brass and the board were level. I made pins for both pieces and rolled the brass tabs around them.  That was the most difficult operation for me and I confess I had a lot of help to get it just right. Fitting the brass onto the boards involved a lot of filing, chiseling and frustration. Not much tolerance or leeway in any direction. I’ve forgotten the exact order, but the hinge and catch were fastened to the boards with rivets made from escutcheon pins and the hasp was added.  After all the fiddling, I was very pleased when everything came together and the book actually closed properly and the latch worked! Because my book was short, I had only one clasp, but most people in the class had taller books and used two clasps.

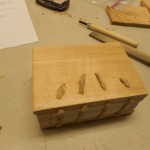
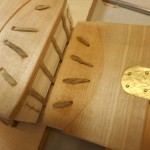
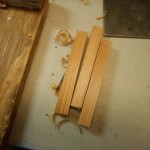
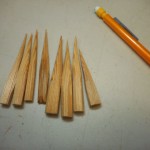
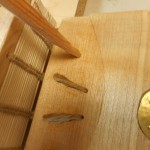
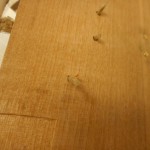
After the clasp was fitted and riveted, the boards were laced on for the final time. I pasted the cords into the grooves and then pegged the cords.  Making the pegs took longer than inserting them.  I am so not a whittler! The pegs are forced into the holes with the cords, pasted and trimmed. My pegs should have been a little thinner in the middle so they would have gone farther into the holes.

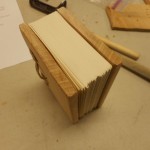
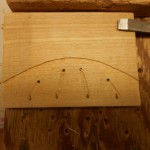
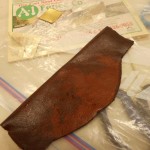
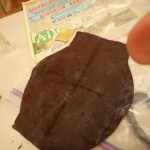
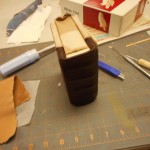
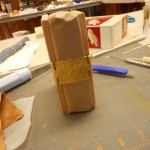
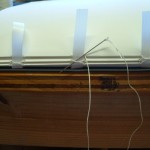
The last step is putting on the leather spine.  The leather is carefully trimmed to shape and size.  For my book, it was curved to fit the pattern on the boards and had a wide, straight-sided tab that would fold over the head and tail of the spine.  Unfortunately, I took very few pictures of the leather work. The leather is first pared, head and tail so that it will fold easily. The curved edge should fit exactly into the carved groove. After pasting it out and letting the moisture penetrate the piece, I put the leather on the book, tugging  and stretching it into place. Pasted leather is very easy to work with as it can be positioned and re-positioned many times until it is just right.  It does stretch when damp, so I had to trim it a bit. That’s the tricky part and I did get a little too much off one edge.  Before putting the leather on, I wrapped the textblock in craft paper to protect it as you can see in the photos.

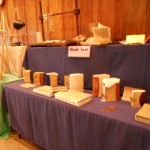
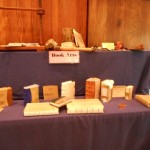
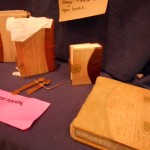
Quick look at the other books made this week.

These books take a lot of time and skill to make, so I’m not sure if I’ll ever make another one, but some of what I learned will be very useful in the future.

Leave a Comment

Filed under bookbinding

Scrapbook Construction

In the past few years, several people have asked if they could use my blank books as  scrapbooks.  My answer has always been an emphatic, “No!” Inserting extra thickness into any tightly bound book will sooner or later break the spine. With a Coptic or long-stitch binding there is a bit of leeway, but as soon as the boards or covers move beyond being parallel, the hinges are put under stress and will break.

The goal in building this type of book is to accommodate extra thickness between the pages while using a strong binding structure that will support extra weight.  I, personally, don’t like making scrapbooks: they tend to be large and I like small. The pages are difficult to sew and the endpapers can be a pain, I am documenting my progress on the page “Building a Scrapbook” if you are interested in the nitty gritty.  I’m still working on the books and will be updating the page as I progress.

On another matter entirely, I recently stopped by Sam Castner’s workshop and came away with some fabulous ideas and these:DSCN0001

Now I have to get to work designing and making!

Leave a Comment

Filed under bookbinding, Craft design

Finishing the Four Books That Were Started So Long Ago!

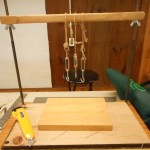
It usually doesn’t take me this long to finish my books. Really!  The story of these books started with the tiger blog. I’ve had many interruptions that have interfered with the flow, including one very exciting development that will be ready to be unveiled, uh,  soon.  I also gave myself a present of some super bookbinding equipment that you’ll see in the photos. I bought a finishing press and a plough from Jim at Affordable Binding Equipment.  For non-book people, a plough is a tool with a very sharp blade that is used to trim the edges of the textblock, giving an almost polished edges to the text.  They are very expensive and most non-professional binders don’t have them, instead using hand-torn, deckle or other rough edges. I rather like the rough edges as they give a hand-made feeling to the book. You can get perfect edges at your local office supply store!  That said, I enjoy having the ability now to do either with ease. Both the press and the plough are beautifully made and a joy to use.  I’m almost reluctant to use them for fear of scratches and dents.

First step was to try out the plough and cut some edges.

Ploughs usually have a straight, not circular, blade, but I found this design works well and is very comfortable to hold.  I was a bit concerned since my hands are small.  The person who recommended it to me was well over 6′ tall so I would guess that anyone would find this easy to use. Texts should be ploughed before the covers are measured to ensure an accurate fit.  I had already made the covers before I bought the plough, but I just couldn’t resist trying it out.

Next steps are to finished off the text block spine with ribbon marker (register), endbands, and mull or muslin. Then line out with paper and add a hollow tube.  With books as thin as mine usually are, some of these steps could be left out, but I usually add them all to ensure ultra-strong joints.

Now the textblock is finally finished and just needs to be married to the cover.

The textblock is carefully aligned with the cover and a piece of scrap paper is placed under the endpaper to protect the book. The endpaper is pasted out with PVA (No, it’s not Elmer’s although it looks like it!).  The waste paper is discarded, replaced with wax paper and the cover is gently closed. At this point everyone wants to open the cover to see what it looks like.  Do not do it! It’s a guaranteed way to wrinkle the endpaper. A piece of blotting paper is slipped under the cover, the book is flipped over and the other endpaper pasted down. The books is then put under weight and left to dry. It should not be opened until everything is totally dry. I usually leave my books overnight.
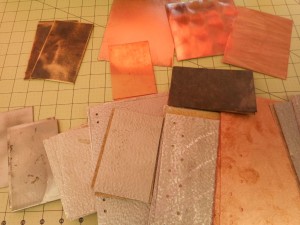
Finished books

If you still want to see more, please go to my page on Designing a Book and follow the links.

I will probably be putting these books up for sale on Etsy within the next few weeks.

Losing Her Marbles on Etsy

Leave a Comment

Filed under bookbinding

More on Cases

Explaining making cases seems to be taking even longer than actually making them!  We’re getting close to the end. Promise! This blog will be a quickie, just on covering the boards.  It’s one of my favorite parts as it is really the beginning of the end and I wind up with something that really looks like a book.  It also is the stage where my decisions on color, size and paper either come together or just miss.
So here are the graphics:

First the cover paper is cut to size leaving about 3/4″ turn-in on three sides. Fourth side will be flush with the spine. Before pasting out the paper, measure the paper against the spine and put a tiny pencil mark at head and tail.  These will be your guides as you place the paper down.  Using these marks as guides, place the dry paper under the board and trim the corners.  I use two pieces of scrap board as a cutting guide.  This gives a turn-in on the corner that is a bit larger than recommended, but it has saved a lot of covers for me!

With everything marked and trimmed, paste out the paper starting from the center.  Always put your adhesive on the paper and not the board. Paper stretches when it comes in contact with any moisture and you want it to stretch before it is on the board.  This way, as the paper dries, it will shrink giving a nice smooth fit.  Paper that has been pasted out will tend to curl or become all loose and floppy so the register marks become very important.  As you place the paper down, the marks will NOT be quite accurate because of the stretching. If you are worried about getting a perfect edge between the paper and spine, you can let the paper ride up over the spine by a tiny amount, not more than 1/32 inch.

When I paste out, I leave a very small dry area at the fore edge turn-in and on the spine edge of the head and tail turn-ins. This allows me to handle the paper from these very small dry areas and not get PVA all over my fingers. It also seems to give me more control over the paper. The bad part of this is that some papers will pucker around any dry area.  As with any technique, try several and use the one that works for you.  I work with many different weight papers for my covers and have found that I have to adapt my techniques to the paper.

Lay the paper down, starting at the spine edge and gently smooth it down toward the edges. Don’t rub it down hard until you are sure that it is smooth and positioned correctly. Make a fist and use the pinkie side to smooth down the paper. This is the flattest surface you can make with your hands. Bone folders are not recommended in smoothing damp paper. It’s just too easy to press too hard and tear the paper.  I do use them or the back of a fingernail on the edges on the board to get a nice crisp edge. After the front is pasted, flip the board over and turn in the head and tail and finally the fore edge margins.  You may have to add paste if it has dried or if you have used my “dry spot” method. Cover the back board in the same way and you are done!  Ideally you should have a 3/4″ turn-in all around the case.

Notes on special cases:  If your cover paper has a figurative design, you’ll want to take care on the cover placement.  See the airplane design in the photos. In cutting the paper, I had to waste a bit of paper to place the red plane where I wanted it. With any designs that have a definite up and down, make sure you cut pieces that are mirror images of each other, not the same and that both are facing in the same direction when on the book.  All over designs are much easier.
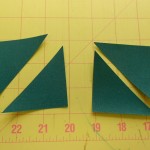
Half-cloth binding: On the binding that has bookcloth on the corners, I marked the board with diagonal lines 1″ in from the top and bottom fore edges. After registering the head and tail, I folded the paper along those lines. The paper was then trimmed along the same lines and pasted down, leaving the board exposed in the corners.  The small triangles of book cloth were pasted onto the board corners, trimmed, folded under and pasted down.

In general when pasting, always put the paste on the material that will stretch the most. Everything, even board and wood will stretch when wet. With some materials it is hardly noticeable.  PVA dries faster than paste which has the advantage that it “grabs” quickly and the disadvantage that re-doing something becomes harder.  Paste is much more forgiving and a cover can be repositioned several times, but it grabs more slowly and you may have to hold something in position for a while.

Next I will put the finishing touches on the textblock and marry the case to the text.

Leave a Comment

Filed under bookbinding

Making the Cases or Covers for the Books, next step

Before the Industrial Revolution, most books were made by sewing the pages or textblock directly onto the covers, which were usually made of wood and then covered with leather or fabric.  Binding books in this manner was always done by hand, one book at a time. With advances in printing, faster ways of covering the pages had to be invented.  The answer was the case-bound book.  A cased book is made in two parts, the textblock and the case. These two are then joined together in different ways.  Almost all modern books, including those with leather covers, are case-bound. To the purist, they shouldn’t be referred to as “bound” at all.  I have made a few bound books, but almost all of mine are actually cased.

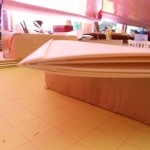
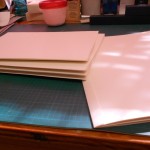
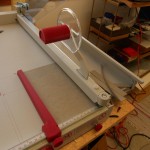
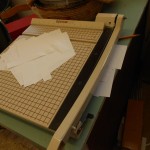
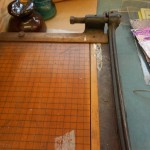
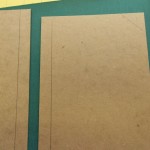
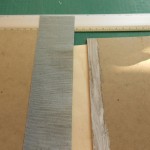
So on to how to do it.  I use Davey Board for my covers and it comes in large sheets, 30″ x 40″ so the first step is to cut it into usable sizes. The arrows on the board indicate the direction of the grain.  I mark the sheet before cutting when it is easy to determine the grain. As the pieces are cut smaller and smaller, it is harder. The grain of the board must always be parallel to the spine of the book. If the grain is crosswise, it can warp and pull against the joints, breaking them. I have three cutters in my studio. The grey fancy one (Ideal) is wonderful for cutting lots of paper to exactly the same size. I do use it with light-weight board, but I probably shouldn’t.  The tan cutter (Boston) doesn’t have a guard so I can use it to cut the big sheets.  It’s just large enough that I can cut halfway down the sheet, flip it and cut the other half.

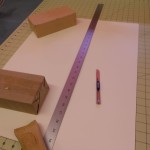
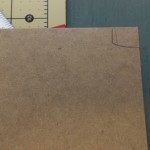
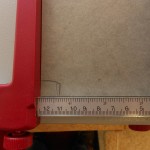
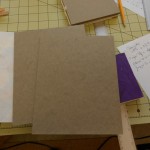
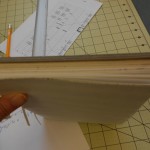
The first cuts I make are just rough cuts. If I need 71/2″ finished board, I’ll cut an 8″ strip.  My last cutter is an ancient Milton Bradley school cutter, probably from the 1940s.  It still makes a beautifully sharp cut that is perfectly square.  It is also the only cutter I have that can cut very small pieces (1″ x 2″) accurately. Both of the other cutters have guards and edges that get in the way of making accurate small cuts. Before starting to cut, I measured the textblocks and since I am doing four books at the same time, write down the height and width of each.  The boards should be cut the same width as the text and 1/4″ taller. After I have rough cut the boards, I make an exactly square cut on one corner and mark it.  All other cuts will be measured from this corner.  The marked corner is always placed against the guard of the cutter, even if this means flipping the board over. This solves the old problem of cutting one side after the other and finding you never have parallel sides.  After cutting the boards, I check them against the text just to be sure.  Yes, I have made complete covers with spine and paper added only to find the measurement was off and the text doesn’t fit. Of course, I could avoid this by making the books all the same size, but that would be boring.

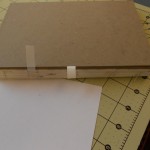
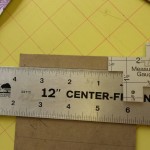
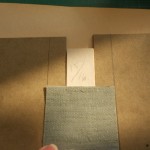
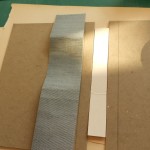
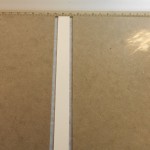
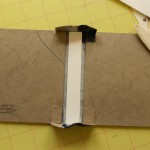
Spine stiffeners are cut from 2-ply museum board.  They are the height of the case by the width of the textblock.  Next step is to cut the bookcloth spine and attach it to the covers. Most of my books are quarter bound, but here I decided to add corners to one book making it half-bound. First I measure and mark off the depth on the spine overlap onto the boards.  It depends on the size of the book, the pattern of the cover and my mood.  Mine range from 1/2″ to 7/8″. I also marked the corners for the half-bound book. The spines are cut 1 1/2″ taller than the boards and the width of the edges plus the width of the textblock plus 1/2″. The spine is glued to each edge and the spine stiffener laid down in the center.  There should be 1/4″ on each side of the stiffener, but for some reason these were a little tight.  I must have been off on one of my measurements.  Sometimes 1/16″ will do it. After the stiffener is glued down, the head and tail cloth is glued.

Next, it’s on to cutting and gluing the covers.

Leave a Comment

Filed under bookbinding