Tag Archives: LosingHerMarbles

Marbling in Red and Orange for Spring?

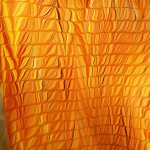
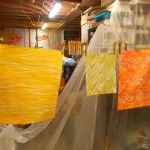
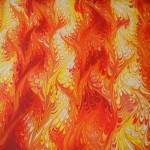
I haven’t done any marbling in a long time, not since last October and I was getting the itch.  I’m teaching a workshop in marbling later this month (April 22nd) and thought I’d better do some to make sure everything is working. There has also been a history of lots of mess-ups after a dry spell.  Fortunately, that wasn’t the case this time.  In fact, I really got into the groove and pulled a lot of great pieces.

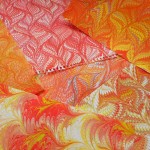
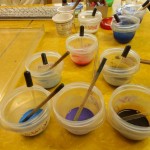
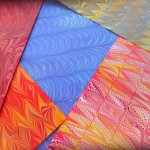
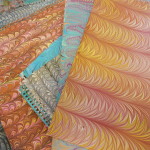
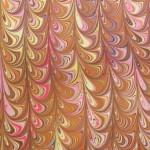
Before starting, I was thinking of spring, spring colors, soft pastels, greens, yellows and in general all those lovely Easter egg colors.  Didn’t work out that way.  In the morning as I started preparing the paint, I first pulled out some yellows, but then I grabbed a red. One of the few colors I’ve had success in mixing is orange, so I made a couple of oranges from the reds and yellows. I added the standards – black, white, brown, copper – to the array of paints and decided I had enough colors to start.  Maybe I’d add the makings of pastels later.  After seeing the first sheet of paper come alive with vibrant reds, yellows and oranges, I couldn’t stop.  I just kept throwing the same six or seven colors over and over again in a wide range of combinations and patterns.

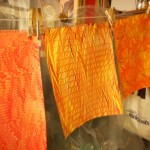
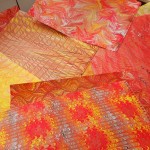
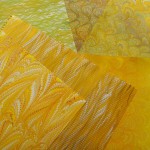
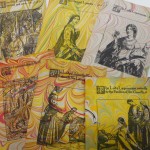
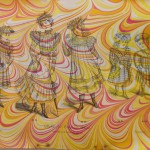
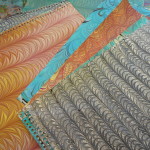
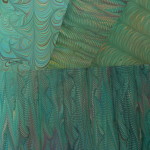
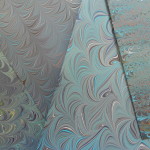
On the second day, I added some greens to the paint choices but I still did a lot with the reds, oranges and yellows. I did one of my minimalist marblings with Nickel Azo Yellow, Zinc White and Van Dyke Brown. The white and brown were only dropped once, but the yellow was dropped numerous times.  That’s the second paper in the first photo.

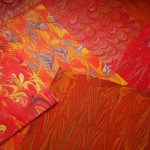
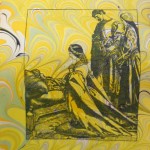
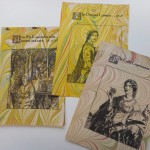
And, of course, I had to play with a bunch of paper. First are some illustrations from a severely water-damaged book of Arthurian legends.

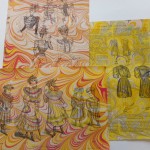
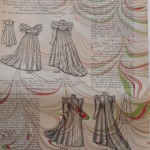
Then some illustrations from a fashion magazine from 1898.  I find the children’s clothing fascinating.  To imagine a six-year old wearing a dress with a train every day is really difficult for me as are the wasp waists on the adults!

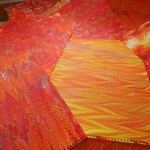
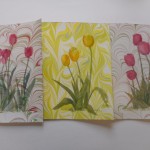
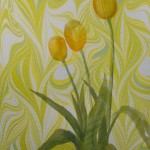
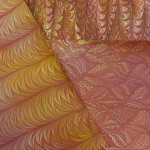
Lastly, I found a pile of sketches my mother had done of tulips but had never really finished.  Had to marble them, of course and so ended up with some spring after all.  Think I’ll keep and frame the yellow one.

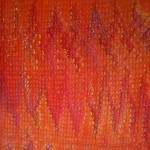
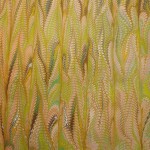
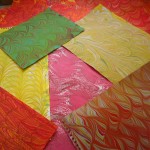
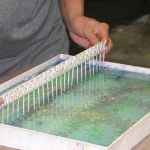
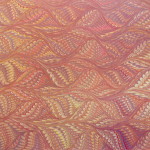
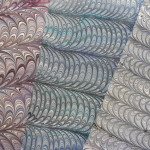
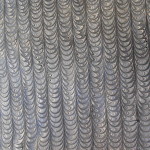
One the last three sets of photos, I dropped about half as much paint as usual, used a lot of white, added some clear and made a loose, lacy pattern.  I think that combination worked well.  What do you think?  I may try this technique when I start marbling maps again.

Don’t forget, marbling workshop coming up. You can register by calling the Arts Center of Yates County at 315-536-8226 or contact them through their website, http://artscenteryatescounty.org/


Happy Spring and Happy Marbling!

Leave a Comment

Filed under Marbled Paper

Marbling Workshop on April 22, 2016

I will be teaching a basic, one-day workshop in marbling on paper on Friday, April 22nd from 9 am to 3 pm at my studio. I’ve had a few requests for this, so am finally getting my act together. I hope you’ll join us in the fun.  This is a great opportunity to dabble in a new art form, refresh your skills and produce wonderful papers to use in collages, on greeting cards, or other paper arts.

The workshop will include:

the preparation of paper with alum
preparation of acrylic paint for marbling
preparing the carrageenan or size
getting the paint to float on the size
manipulating the paint (the FUN part)
basic marbling patterns (stone, get-gel, nonpareil, plus more if time permits)
laying down paper to transfer the paint
washing and drying paper
time permitting, I’ll also demonstrate how to make low-cost marbling tools

Everyone will have bunches of beautiful paper to take home, even after just one day.  For those who become enamored with the art, want to try just one more or learn more patterns, I will have “Open Studio” days after the workshop.  On these days, you can come back and continue marbling and creating beautiful papers.  You can even try out some “over-marbling” with papers produced on Friday.  There won’t be any formal instruction, but I’ll be there to answer questions, provide help and offer suggestions. These open studio days will continue until the carrageenan or the paints give up.

This workshop is being offered through the Arts Center of Yates County.  Here is their course description:

Paper Marbling with Nancy Langford                                            Friday, April 22nd      9 am – 3 pm               Losing Her Marbles Studio
Learn the basics of creating amazing designs through marbling – an ancient method of creating designs by floating inks or paints on an aqueous solution and then transferring the design to paper, cloth or other media.  This workshop will work on preparing paper and acrylic paints for marbling, creating basic patterns and transferring that design to paper.  No previous experience necessary!  Nancy will also have open studio hours over the weekend to enable students to continue to practice and create.

Please call 315-536-8226 to register or send an email to artscenter@ycac.org

$48 members, $60 not-yet-members for Friday workshop  + $25 materials / studio fee per day 

For further information please contact Nancy using the form below.

Leave a Comment

Filed under Uncategorized

Three and a half and counting …

I spent yesterday and today hanging my part of the Holiday Exhibit at the Arts Center of Yates County.  Had a great time working in the Gallery and am very pleased with the display.

I changed the setting on my camera on the second day, causing the difference in lighting.  Bonnie Barney set up the mirror table for me, giving wonderful reflections of the books and boxes.  Very striking!

Exhibit will be open from now to the end of the year.  Be sure to stop by!  Lots of other fascinating art and craft items.  It’s a great place to do your Holiday shopping.

Opening reception with food & wine is this Friday, Nov. 21st from 5 to 7 pm.

ACYC
127 Main Street
Penn Yan, New York

Call for directions  315-536-8226.

See you there.

2 Comments

Filed under Art, bookbinding

Three To Get Ready

“One for the money,
Two for the show,
Three to get ready,
And four to go.

I’ve been in the “get ready” phase for the past few weeks and the finish is almost here!  My local Arts Center is hanging their holiday exhibit next Monday and I am going to be one of the featured artists.  I’m thrilled to be chosen and have been working hard to create lots of new items for the show.  My biggest problem is that as soon as I finish something, I have the design in my head for four more things I want to do.  With hanging only a week away,  there’s very little time for anything else, besides finishing up what I’ve already started.

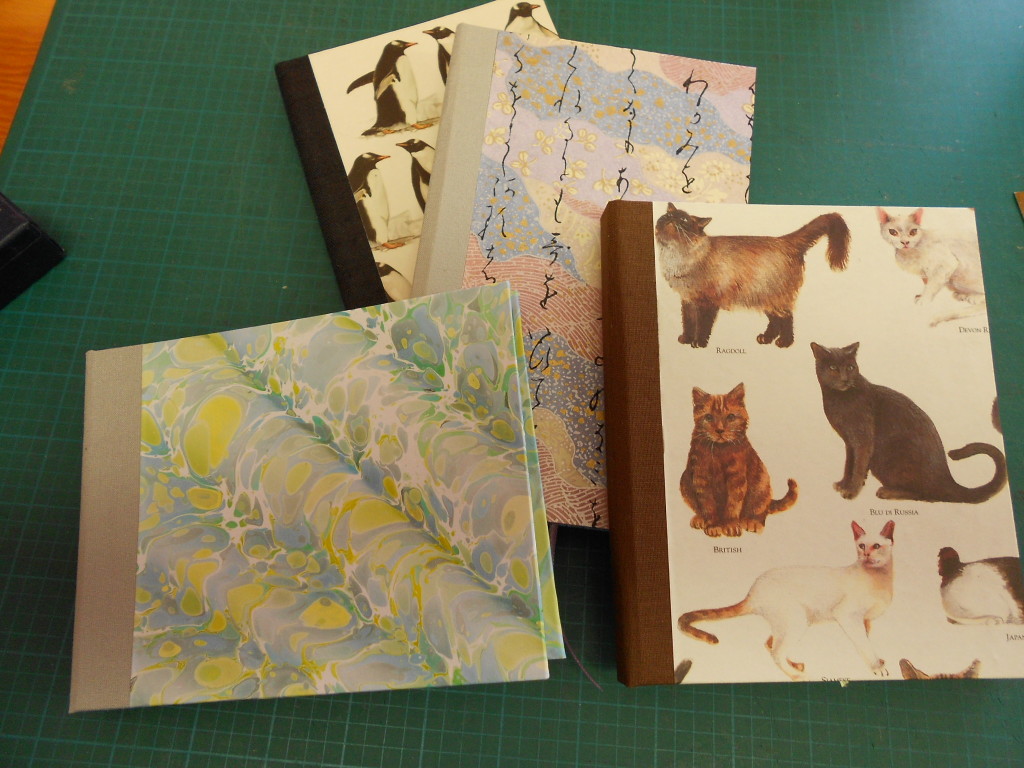
Here’s a sneak preview.

The red book with the copper insert will have a matching box and I have a third black & white box under construction.  Two more blank books are waiting for covers. I don’t think I’ll have any sheets of marbled paper, but I will have cards, a few framed pieces and some odds and ends.

If you are in the area, please be sure to visit  the Arts Center at 127 Main St., Penn Yan, NY.  “Celebration” will have its Opening reception with food, wine and art on Friday, November 21st from 5 to 7 pm.  If you can’t make the Opening, stop by anytime Nov. 21 – Dec. 31.  We’d love to see you!

Leave a Comment

Filed under Art, bookbinding, Notebooks

Back to Basics – Marbling and Book making

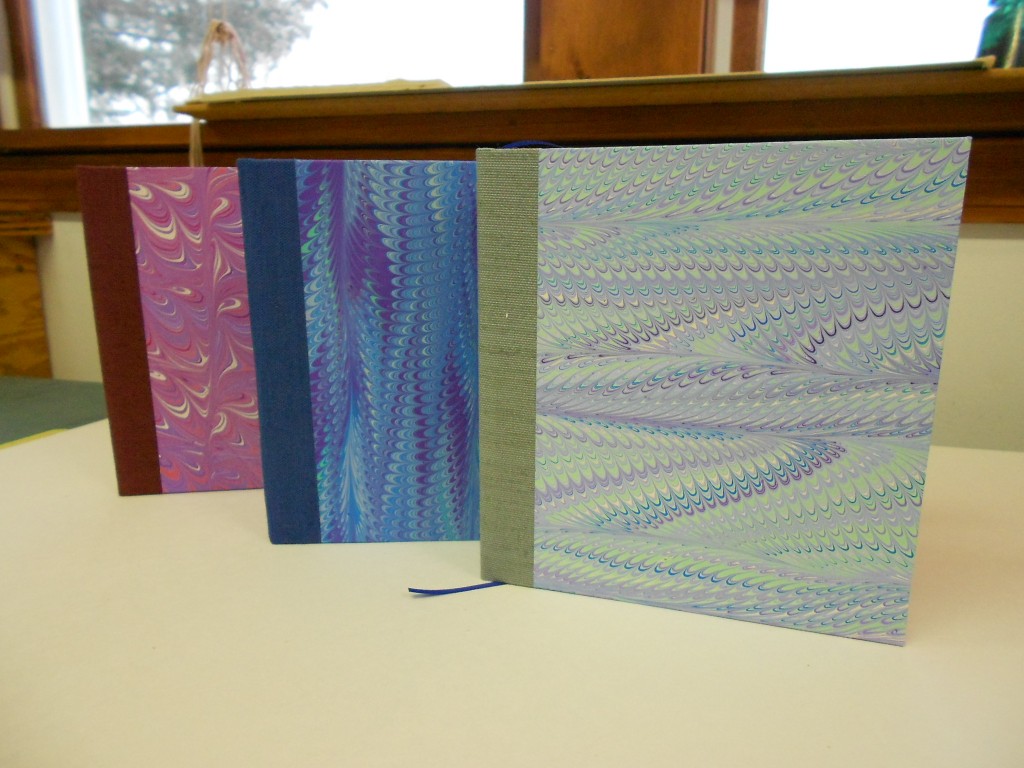
For the past few months, I’ve been consumed with the idea of making “different” books.  I’ve tried some soft covers, some Coptic bindings, some upcycling which were all fun stuff, but last week I felt the need to get back to the traditional, case-bound hard covered book. I started a batch of five and it proved to me several things.  As much fun as the other books are, I don’t feel as if they are Real books and I get more satisfaction out of making a book I know will last than the novelties.  They are fun, but transient. I can’t imagine that my hanging books or the floppy diskette books will be around in fifty years; the hard covers could be.  That said, I know I’ll still make both kinds.

These are last week’s books.

June Hard Bound

June Hard Bound

These aren’t actually finished.  They still need casing in.  The fifth book has a leather spine, so it is taking a bit longer.

As much as I enjoyed the marbling class, I felt a bit frustrated by it.  Since I was demonstrating, teaching and helping everyone, I didn’t have time to do any real work myself.  I hadn’t expected to, but still  … When I finally finished cleaning up everything and reorganizing my basement, I wanted to spend some time doing some real marbling.  Here again, I have been playing with a lot of different techniques (over-marbling, masking, figures) and wanted to go back to form and color.  One of the best things about marbling is that it’s so easy even a child can do it, yet it can take years to truly master different techniques.  Maybe like playing a drum!

Again, my last few marbling sessions have been caught up in special effects.  This time I was determined to slow down and enjoy exploring color and pattern.  Turned out to be a great idea.  I’ve had a marvelous week, in spite of the usual frustrations! Tuesday and Wednesday were unusually productive and so far I’ve produced over 50 pieces.  And that’s not counting the “tray fillers”.

Again, my basement becomes my Studio and some of the papers.

Lots of things going on here!  As you may be able to see, I tried to stay with a single color palette for several sheets, making small change in color and design from sheet to sheet.  It’s hard to tell from the pile, but there are probably five or six sheets of each colorway.  You can see it most clearly in the black set.  I used only black, grey, white and one accent color for each sheet.  I used the same pattern, but changed the size of the comb and the rake.  The feel of the piece becomes quite different.  The Dark blue set was on a very stiff card stock and is generally a mess.  I haven’t used anything that heavy in a while and it takes getting used to!  Since it doesn’t bend easily, it is very easy to catch air bubbles and the technique used to lay the paper on the marbling tray is a bit different.  As you can see from the closeup, I was also having some problems with contamination in the tray about that time.  With marbling, there is always something to keep me on my toes.

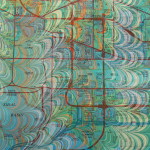
I love doing maps and did a batch from atlases, road maps and street directories.  I also cut a Pennsylvania highway map into  strips that would fill the tray when I was doing smaller pieces. Not sure what I’ll do with them, but they’ll come in useful some day.  If not, I know a number of collage artists who will use them.  My favorite map was the one of Turkey done in browns and yellows.  It reminds me so much of the time I spent there many eons ago, travelling across from Afghanistan.  Couldn’t do that now.

Marbling is always interesting and always a bit of a surprise.  The colors are never quite what I expect, sometimes better, sometimes not.  And there’s always that dreaded air bubble just waiting to spoil the perfect piece!

Now that summer is really here, my marbling trays will probably remained packed up.  I just have to start using up or selling all this wonderful paper so I can make more!

1 Comment

Filed under bookbinding, Craft design, Marbled Paper

Shimmer & Shine

One aspect of marbling that haven’t explored much is the use of metallic paints.  I had tried some in the past with rather mediocre success and just hadn’t worked with them again.  During the class at the Campbell Folk School this fall,  I had some very successful pieces with metallic paints.

These two pieces show the use of metallics. In my last marbling session, I decided to explore their use a bit more, trying to match metallics with colors and just seeing how they reacted with other colors.

One of the first things I verified was that metallics just don’t show up well on white paper.  They tend to just look like a flat brown, orange or grey.  The colors I was playing with were gold, copper, bronze and silver.  Here are three white cards that had gold and copper on them.

As you can see, it’s hard to tell where the metallic is.  In contrast to this, here are some of the pieces I made with metallic paints using colored card stock.

The papers used for these pieces were black, royal blue, red, and purple. The gold and coppers are much clearer.  The amount of shininess depends entirely upon the amount of paint dropped.  On some of these there is way too much.  One problem that arises with metallic paint is that it granulates very quickly and has to be constantly stirred – without making bubbles!  This paint had the added problem that it was old and even more prone to coming out of suspension.  Fine for experimenting, but not the best.  That is why there are so many little “bits” of paint in the designs. These are especially noticeable on the fine lines of the get-gels.  On the purple stone piece, I decided to join rather than fight, so I left it at the stone stage without trying to do any drawing out.

I think I’ll continue working with metallic paint, in moderation.  I like the clear crisp colors a bit better, but it does have a place in my marbling palette.

1 Comment

Filed under Craft design, Marbled Paper

More Ladders

I was so pleased that I finally have the ribbons straightened out that I made a bunch more of the Ladders.  I’m especially enjoying using pages from vintage books.  The way the paper is cut, I rarely have complete paragraphs or even sentences.  It is a mind stretcher to “read” some of them.  They are not really just random words, but more like dream thoughts that never get quite completed.  I’ve cut a bunch more from cookbooks, Shakespeare and even the Bible.  I’m looking forward to putting them together.

In the meantime here are the ones I’ve finished.

All of these are for sale on Etsy.  In other news, I’m still cleaning up from my last marbling session. Marbling is fun, but it does make a mess!

I’m still sorting out the papers and trying to decide which papers to use and which to sell. That’s always a fun enterprise.  More on those papers later … I hope!

1 Comment

Filed under Craft design, Marbled Paper

Not Quite As Planned

My plans for marbling this weekend didn’t quite work out – seems to be a theme going on here.

I did have a great weekend however, even if not as planned.  As I mentioned in my last blog, I was  playing with the ladders and getting a bit frustrated.  I had made the blocks for two ladders, but my first attempt at the ribbons wasn’t right.  I pulled them apart and tried again on one of the ladders and finally had the weaving right, but the ribbons were too loose, some blocks had gotten upside down, and it just wasn’t pretty!

I also had three books that I had started months ago, but had been too busy to get back to them. So I decided instead of creating more paper to join my stash and create more work, I would finish up some things, including mastering the ladders.  So, here are the results!

Ladders Ladders9 Ladders8 Ladders6Ladders4Ladders2


I made four ladders this week, The bottom two in the first photo were my successful ones.  One is made from pages of a 1947 book about Bozo the Clown that I marbled.  The other is regular marbled paper.  The top two are from an old copy of “The History of Western Art”. I was really excited about these as they would form a little “book” snapshot of art through the ages.  Unfortunately they were the ones I messed up.  I still like the idea and think I’ll have to marble some more pages and try again.

Ladders10

Here’s a close-up of two of the blocks from the the art book.

These are the books I finished.  Unlike most batches I make, these are all the same size.  It does make cutting the paper and boards easier, but it’s not as much fun!

JanBookTrio3

I’m very pleased to have finished these and I’ll be putting them up on Etsy within the next week.

Maybe this week, I’ll get started on my new paints and all the marbling ideas that are floating through my head!

Leave a Comment

Filed under bookbinding, Marbled Paper, Other crafts

New Year, New Paint

Last fall at the Folk School the class I took in marbling used a different brand of paint than I use.  The instructor gave us the left-overs to take home (thank you, Pat!) but I hadn’t had time to use it.  I find that using a product in a class is very different than using it in my own studio.  Timing is different, paper is different, even the water is different, so I don’t like to make decisions until I’ve had time to play on my own and with my normal supplies.  All I can say is that I love the new stuff!  It’s Golden’s Fluid Acrylics and I am finding them much easier to use than the old and they seem to be sharper and more coherent than the old brand.  Here are some of the papers that I made this week.

I’m thrilled with the black and grey piece.  I have tried mono-tone marbling in the past and haven’t been completely satisfied with the results, but this one works.  I’m hoping it’s the new paints and I foresee trying a batch of mono-tones in my next marbling session.

I also tried some more overmarbling with less than stellar results. I’ll post the before and afters in a few days for your comments.

8 Comments

Filed under Marbled Paper

Success followed by frustration

I did finish last week’s marbling session by using the smaller trays to make some 11″ x 14″ and 8.5″ x 11″ sheets.  They came out very nicely and I was having a great time.  I pushed it a bit too far and the paint began to lose cohesion and the carrageenan was getting old. Fortunately, it seems that both tend to fall apart at the same time.  Guess it’s a sign that it’s time to either make new batches or close up.

Here are some of the smaller sheets:

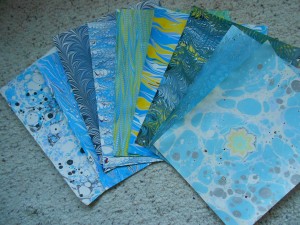
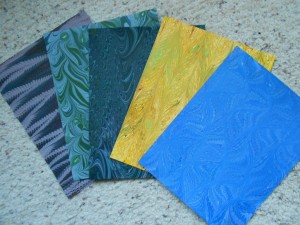
I enjoy working with colored paper, especially dark shades, because the color of the paint is intensified and altered by the background. These sheets were made with the same colors as those above. No green or red paint was used: that’s just the color of the paper affecting the result.


Here are some closeups of the various sheets.

My frustration is that these photos are no where near the color of the original sheets.  The original photos were even worse!  I spent a lot of time adjusting the color to get the hues in the correct range, but all these sheets are way too light. I played with brightness and contrast controls, but still couldn’t get it right.  Frustrating!  All this after taking dozens of photos in several different lights with different settings.  I don’t have problems with light-colored sheets, but darks are a mess.  Rich greens also seem to always be off-color. (As is my language dealing with these!)

I have no intention of getting a better camera, but I need to be able to get accurate pictures if I want to sell the sheets on line.  Frustrating!  Compare the last sheet of the three with the same sheet (2nd from right) in the top photo.  The top is much closer to the real color of the sheet.

More pictures of the end of this session.


Leave a Comment

Filed under Marbled Paper