Tag Archives: metal

Paper, leather, wood and metal

These books have it all!

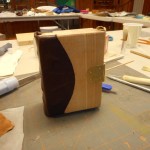
Just finished a great week at the John C. Campbell Folk School creating a book sewn over double cords, laced onto wooden boards with a metal clasp.  It was very intensive work as we used only hand tools and I’m not very skilled in either woodwork or metal crafting. Our instructor, Jim Croft, and his assistant, Brien Beidler, guided the class with great skill and wonderful patience.

As usual, I forgot to take my camera the first day and didn’t completely document some of the processes. I hope there are enough pictures that you can follow along on the path from raw materials to finished book.  The first day was spent folding, sewing, and finishing the textblock; choosing wood for the boards and designing the book.  My textblock had very little swell, so I decided to use a Romanesque/Carolingian structure which has a flat spine rather than the Gothic style (round spine) used by most of the rest of the class. Since this was a structure I had never made before, I was glad it turned out that way.

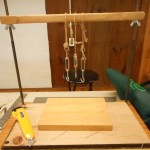
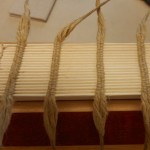
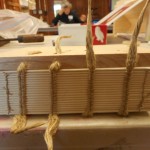
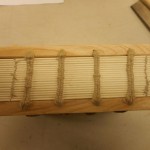
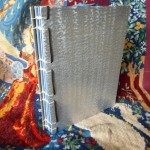
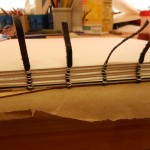
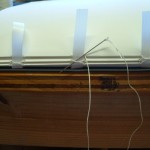
The textblock is Strathmore drawing paper which was sewn over double cords with a hand-spun linen thread. The ends of the cords were then thinned, coated with wheat paste and twisted together into points.  This made it easy to lace and unlace the boards from the cords multiple times during the construction of the book.
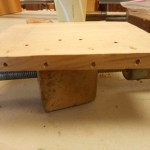
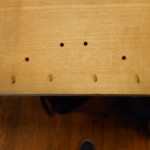
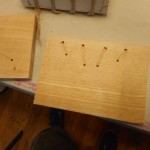
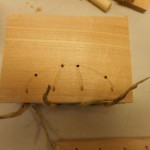
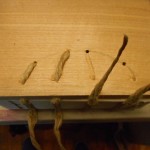
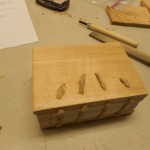
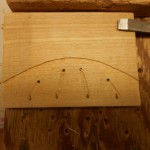
Unfortunately, I don’t have any pictures of either shaping the boards or drilling holes, but you can see the results.  With a Romanesque binding the cords are laced directly into the spine edge of the boards. The hole is drilled at an angle so the cord exits on top of the board. A second hole is drilled through the board and the cord is laced down to end on the inside of the cover. The cords are not pasted in place until the book is almost finished.

Once I knew that the cords and the boards fit, I pasted out the spine and ploughed the head and tail edges of the textblock. The boards were then adjusted to the new size of the text.  Romanesque bindings tend to have little or no square or overhang.  I didn’t plough the fore edge, but left that with an uneven, hand-torn edge.

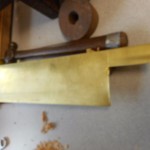
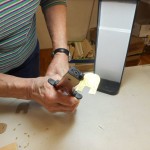
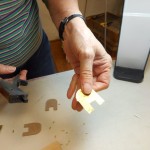
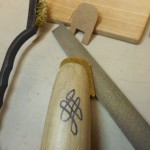
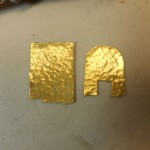
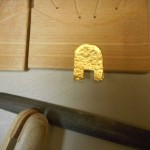
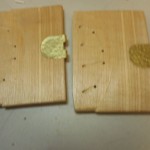
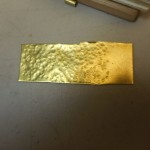
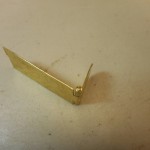
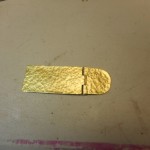
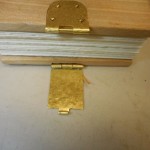
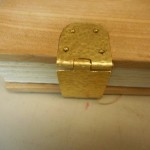
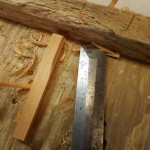
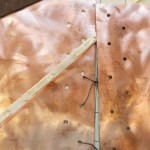
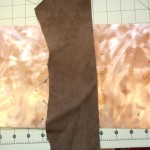
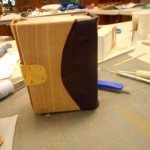
Next step was to move onto the metalwork phase, designing and making the fastening. Mine is full metal which is made in three pieces, the hinge and the catch, which are attached to the boards and the hasp, which closes the book. I started out drawing a paperboard pattern and scratching the pattern into a sheet of brass.  I cut the pattern area off the sheet and textured it with a simple dimpling by hitting it with various sized ball peen hammers. The patterns for the hinge and catch were cut and trimmed and the edges smoothed. An area of the top and bottom boards was chiseled out just enough so that the brass and the board were level. I made pins for both pieces and rolled the brass tabs around them.  That was the most difficult operation for me and I confess I had a lot of help to get it just right. Fitting the brass onto the boards involved a lot of filing, chiseling and frustration. Not much tolerance or leeway in any direction. I’ve forgotten the exact order, but the hinge and catch were fastened to the boards with rivets made from escutcheon pins and the hasp was added.  After all the fiddling, I was very pleased when everything came together and the book actually closed properly and the latch worked! Because my book was short, I had only one clasp, but most people in the class had taller books and used two clasps.

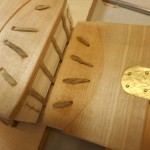
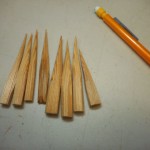
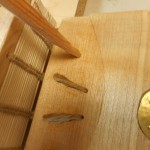
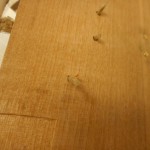
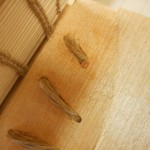
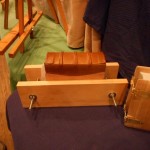
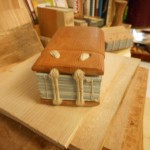
After the clasp was fitted and riveted, the boards were laced on for the final time. I pasted the cords into the grooves and then pegged the cords.  Making the pegs took longer than inserting them.  I am so not a whittler! The pegs are forced into the holes with the cords, pasted and trimmed. My pegs should have been a little thinner in the middle so they would have gone farther into the holes.

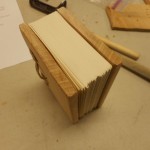
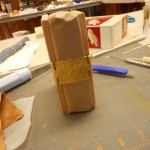
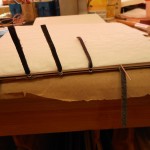
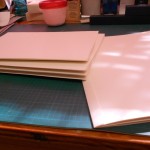
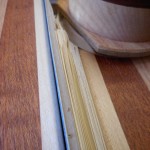
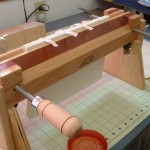
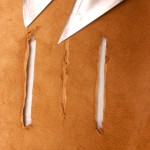
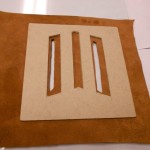
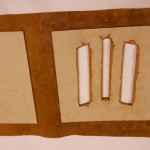
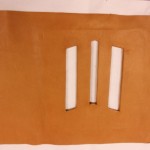
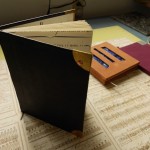
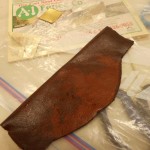
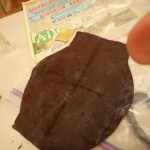
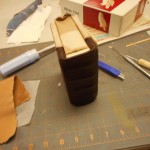
The last step is putting on the leather spine.  The leather is carefully trimmed to shape and size.  For my book, it was curved to fit the pattern on the boards and had a wide, straight-sided tab that would fold over the head and tail of the spine.  Unfortunately, I took very few pictures of the leather work. The leather is first pared, head and tail so that it will fold easily. The curved edge should fit exactly into the carved groove. After pasting it out and letting the moisture penetrate the piece, I put the leather on the book, tugging  and stretching it into place. Pasted leather is very easy to work with as it can be positioned and re-positioned many times until it is just right.  It does stretch when damp, so I had to trim it a bit. That’s the tricky part and I did get a little too much off one edge.  Before putting the leather on, I wrapped the textblock in craft paper to protect it as you can see in the photos.

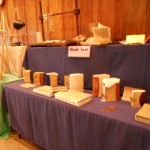
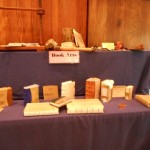
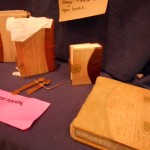
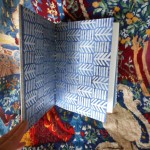
Quick look at the other books made this week.

These books take a lot of time and skill to make, so I’m not sure if I’ll ever make another one, but some of what I learned will be very useful in the future.

Leave a Comment

Filed under bookbinding

Lidded Boxes with Fun Stuff

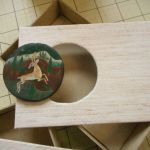
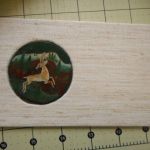
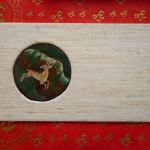
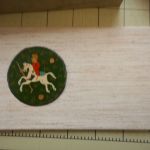
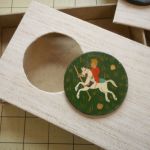
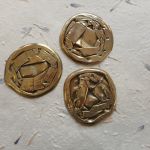
In my last blog, I showed a bunch of odds & ends of things that I was thinking about using for who knows what.  Since then, I’ve been busy with plumbers, snow and real life. A few days ago I started playing with one of the smushed cups and, since I always make things in fours, pulled out at random three other treasures. Yesterday and today I started making lidded boxes for all of them.  I decided on the lidded boxes rather than clamshell just because they are faster and I have a lot of other stuff that needs to be done.

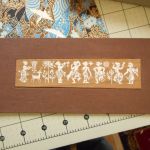
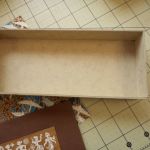
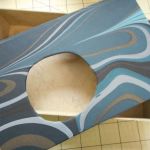
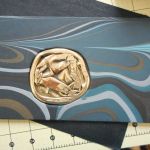
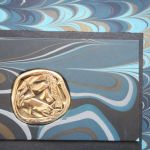
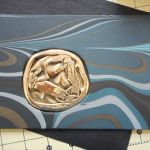
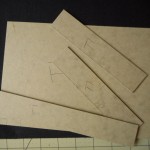
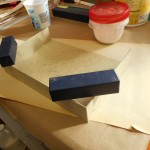
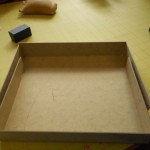
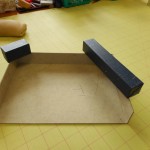
Here is where things are now, papers and bookcloth chosen, sizes determined, Davey board cut, bottom trays made and tops covered.

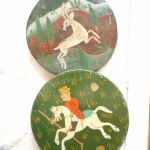
I didn’t have a paper chosen for the horseman when I took the pictures and I changed the paper for the dancers at the last minute.  I hope to finish all of them on Saturday.  If I do, I’ll post the finished creations here. Think I’ll try to sell them on Etsy first, as winter is very slow at local galleries here in snow country.


Leave a Comment

Filed under Boxes and Towers, Craft design

Smushed Cups

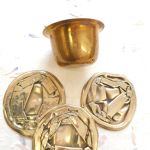
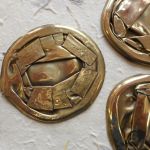
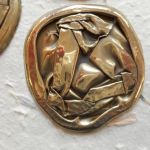
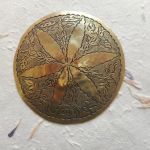
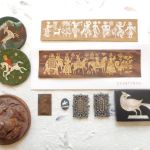
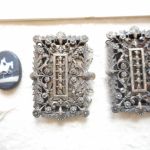
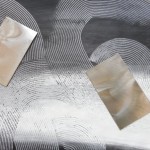
Sam Castner comes through again!  I recently asked Sam to flatten a small, incised, brass coaster.  I knew it would be easy for him since he has a press that will smash anything by putting a gazillion pounds of pressure on it.  At the same time, I gave him some brass drinking cups that had split their sides.  These had been brought home from India by my mother in the 1970s.  I gave him carte blanche with the cups – just saying to do something with them.  Since he was smushing (is too a word) my coaster, he decided to smush the cups also.  Brilliant. Here is the result:

All of these will be used as ornaments for books or boxes.  If you have a special desire for one, let me know and I can work to order.  When Sam delivered these, he also brought some other goodies.  I’m overwhelmed with the possibilities.

I’ve also been back at cleaning out junk and treasures that I’ve collected or inherited over the years and always keep an eye out for anything I can use on my books or boxes. Last week, I was really on a tear and besides getting rid of piles of stuff, rescued these for reuse.

The last of my finds came from my aunt who lived in French Morocco (now Morocco) in the early 1950s.

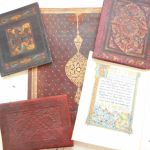
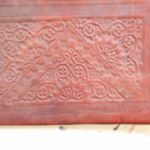
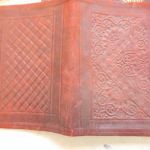
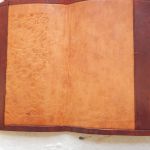
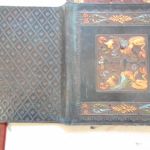
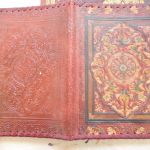
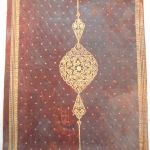
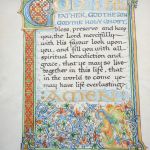
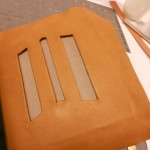
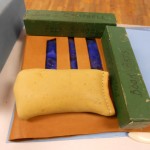
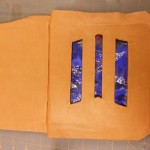
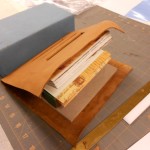
These cases or wraps seem to have been made to protect books or hold papers. I’m not sure what the large one was for. It’s much to big for a book.  I’m thinking about using the leather in some way to create covers for my blank books, but I may change my mind.  The vellum prayer was with the leather, but I think that was just happenstance.  It looks to me like modern English work. It is on parchment, but not old.  Maybe something my mother bought when she was studying illumination in England in the late 1950s, but I really don’t know.  Not a clue how to use it, but it’s neat.

Moral is it pays to clear out the junk!

Even if it does add to the “have to make” pile.

Leave a Comment

Filed under Art, bookbinding, Craft design, Other crafts

Unfinished Matters

I haven’t posted in a while, but I have been moving forward on several fronts.  In fact, I seem to have too many half-finished projects so thought I’d give you a glimpse of some of them.  Ever since Labor Day, I’ve been trying to set up a marbling session, but something always seems to interfere.  I think it’s called Life. To marble, I really have to have at least three days clear when I can concentrate just on that – four or five is even better – and it’s just not happening.

So on to what has been happening!  About a month ago,  I  wrote about some books I was starting using some of Sam’s metal.  Those books are not all finished, but progress has been made.

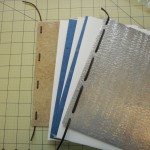
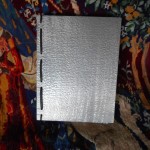
Metal books, memo pads and more.

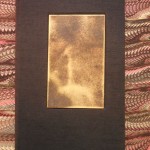
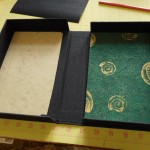
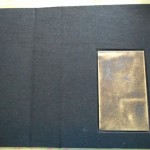
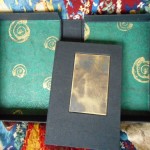
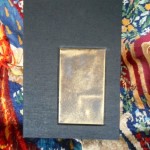
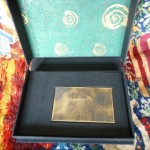
This is the book and matching box I made for the brass pieces.  The brass had originally meant to be covers for a very small book, but I wanted to show them off more than that so I made this elegant book and box set.  I’m really pleased with how they turned out and can’t wait to put them in the Christmas Exhibit at our local gallery.

I’m not as happy with the Coptic book.  Love the covers, but I have never been a fan of Coptic binding. It is not very stable and doesn’t wear well.  I’m especially concerned that the metal will eventually cut through the binding cord.  If I do any more of these, I’ll have to find a way to put padding between the sewing cord and the metal, perhaps with a grommet.

While finishing the first two books, I started working on two other metal covers, but these are sewn over leather thongs.

I  haven’t finished these as I’m not sure about how I’m going to attach the spines. I don’t want an open spine, so I’ll have to attach the leather spine to the metal covers. Right now, I’m planning on a hollow spine with the thongs laced through the leather spine into the metal covers and using an adhesive to adhere the leather to the covers.  I still have to shape and pare the leather before I attach it.  Not sure how well it will work, but it’s fun trying!

Last was the book I am making from the leftover paper from the metal books.  It’s only 3″ high and isn’t finished yet.  I was going to call it “Mousings”, but  thought that might be a bit cutesy.

Next projects:

No idea what these will turn into, but I love these combinations!

Leave a Comment

Filed under bookbinding, Craft design

Design Decisions = Fun and Frustration

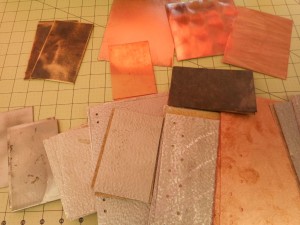
During the last week or so, I’ve been mulling over what to do with all the metal goodies

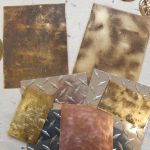
I have. If you don’t remember, this is the pile.

DSCN0001

I’m concerned about adhering anything, leather, cloth, tapes, etc., to the metal as it will need a strong bonding agent.  The ability of any material to withstand constant contact with metal may be another problem. For example, in a Coptic binding, how quickly will the metal cut through the binding thread? I’ve smoothed and rounded the edges and corners, but will it be enough? Will I have to cover the edges with a softer material?  So far lots of questions, no answers. This is what I have planned out, now to try to find out what will work.

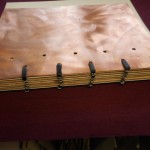
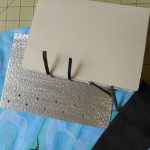
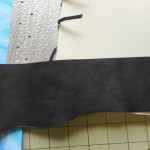
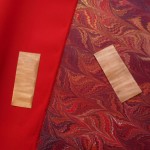
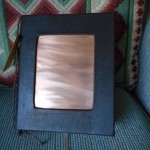
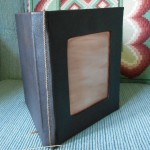
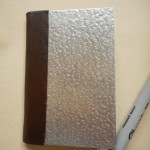
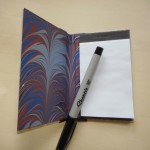
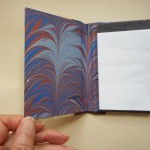
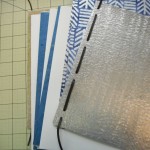
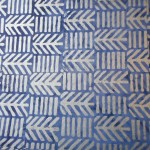
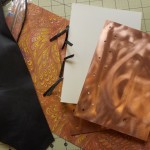
These two have already been finished.  The book cover was made by creating a “sandwich” of two pieces of binders’ board with the copper plate in the middle.  The center of the top board was cut out, exposing the copper. This is one of the easiest and most secure methods of using metal, but it is essentially just decorative, not an integral part of the structure of the book. For the small notepad, I glued the metal directly to the leather spine using a metal adhesive. There were remnants of adhesive webbing on the reverse of this aluminium, so I just used PVA on the marbled paper.  This is a prototype and it will take some testing in use to see if the leather needs reinforcing or if other adhesives are needed.  I decided to do this one as simply as possible to test the strength of the bonding.

Now for what’s in planning stages:

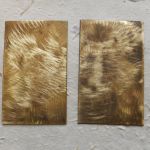
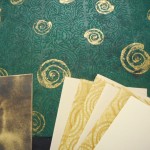
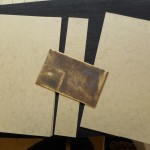
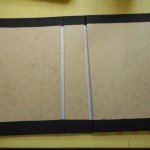
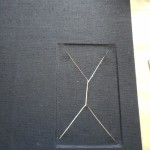
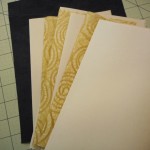
These two lovely brass plates were originally intended to be front and back covers, but while playing, I changed my mind. I tried them with a dark brown leather, but much preferred the look against a black Italian bookcloth.  Sam Castner textured these for me and I really like the edges, so instead of making a sandwich as I did for the copper, I’m going to inset one into a book cover.  To inset, I’ll carve a piece out of the top board just slightly larger than the brass. The boards are then covered with bookcloth, which is pressed into the depression, and the brass is adhered as the final step.  The green decorative paper will be used for endpapers and the lacy tissue makes section dividers.  The other brass piece will be inset into a clamshell box that will be made to fit the finished book.

Although I don’t care for Coptic bindings in general, I thought I would try at least one and the holes were punched on these plates for Coptic sewing.  I’ve added a leather lacing just for decoration.  I’m going to sew this with a heavy waxed thread, but really expect the metal to cut through it.  It’s worth trying on a prototype anyway.  Sewing on cords that are laced into the cover will probably be a better technique.

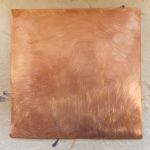
I’m completely undecided about this last piece.  I love the copper plates and want to use them as the boards for a book, but I have no clue as to how I’ll construct the spine.  At the moment, I’m thinking about a leather covering over wrapped cords. Maybe using rawhide or leather thongs for the cords and lacing them into the copper.  The holes in the copper can be used structurally or just for decoration.  They could be covered with leather or bookcloth or left exposed. Not sure of anything, just know I love this copper and will have to find an appropriate venue for it.

Leave a Comment

Filed under bookbinding, Craft design

Scrapbook Construction

In the past few years, several people have asked if they could use my blank books as  scrapbooks.  My answer has always been an emphatic, “No!” Inserting extra thickness into any tightly bound book will sooner or later break the spine. With a Coptic or long-stitch binding there is a bit of leeway, but as soon as the boards or covers move beyond being parallel, the hinges are put under stress and will break.

The goal in building this type of book is to accommodate extra thickness between the pages while using a strong binding structure that will support extra weight.  I, personally, don’t like making scrapbooks: they tend to be large and I like small. The pages are difficult to sew and the endpapers can be a pain, I am documenting my progress on the page “Building a Scrapbook” if you are interested in the nitty gritty.  I’m still working on the books and will be updating the page as I progress.

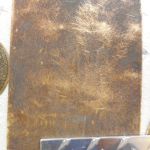
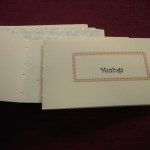
On another matter entirely, I recently stopped by Sam Castner’s workshop and came away with some fabulous ideas and these:DSCN0001

Now I have to get to work designing and making!

Leave a Comment

Filed under bookbinding, Craft design

Corners, Double Boards, and Gothic Bindings

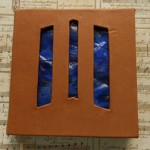
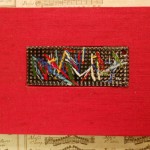
Finally, back to my books from the Folk School.  My first two books are shown here.  I have always said that I don’t work in leather. It’s too fussy, too expensive and too time consuming.  This week I ended up four leather bound books!  The most complicated is a variation on a traditional Gothic structure.  I cheated and used a textblock sewn over tapes rather than lacing in the boards, so it is more like a cased rather than a bound book.
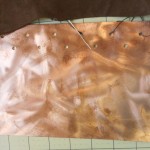
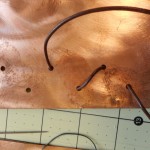
Many important Gothic and Victorian psuedo-Gothic books were made with double boards, allowing many different types of ornamentation. While thinking about what I could do with double boards, the idea of windows kept running through my mind.  I had a piece of very thin copper that I had tried to torch fire. It didn’t come out very well.  It was bumpy and uneven and generally a bit of a mess.  I had no idea if it would just crack when placed between the boards.  I was able to trim the copper to a suitable size, so the first problem was overcome.  Here are some photos of the process.

Fortunately, the enamel hasn’t cracked and the bumpiness gives an interesting texture to the piece.

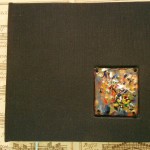
The other book I made with an enameled piece was an easy one.  I used the same technique I had used before with coins.  I cut a recess in the top board, tucking the bookcloth into the recess and glued the piece in place. I used this same technique with a black cloth book after I returned.

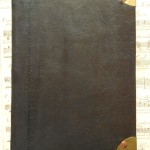
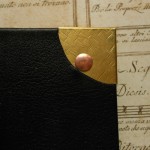
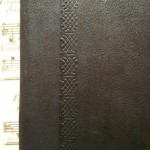
The last technique we used was working with metal – brass, copper, bronze and pewter – as corners, bosses and latches. This was the first time I had ever worked with metal and was a bit of a challenge.  Metal has to be exact.  You can’t nudge it, pinch it or approximate. I’d love to have more time to work with metal and hope I can in the coming year.  For this time I just made some brass corners. Not much for a metal worker, but exciting for me.  There’s a lip that fits around the edges of the boards and then the corner is fastened to the boards with a rivet. I also gave a brass a bit of texture. As a final touch, this book has a line of blind tooling parallel to the spine.
So that finishes all five books I made during my week.  Since I’ve been home, I’ve been finishing up odds and ends, trying to put together stock for the shopping season.
You can always find my books and paper on Etsy via my page or by going to www.Etsy.com/shop/LosingHerMarbles

Leave a Comment

Filed under bookbinding, Craft design