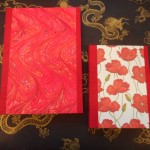
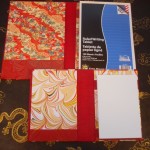
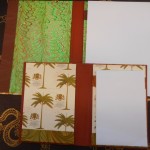
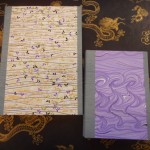
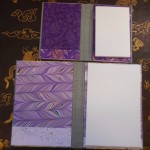
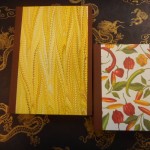
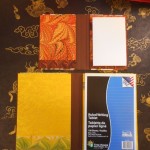
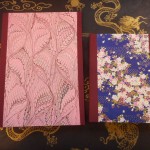
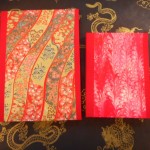
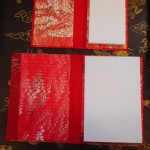
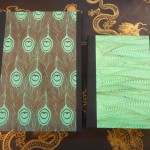
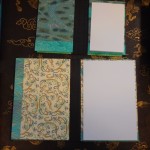
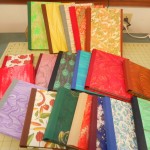
Just before Thanksgiving I received a request to make some notepads for a customer to use as gifts. She wanted ten sets of notepad covers containing a medium-size and small-size in coordinating colors. I have been making these notepads is four sizes from portfolio for an 8.5″ x 12″ pad to a mini, memo sized (1.5″ x 4″) pad. You can see all sizes here. This request was challenging just because of the number of items, but the time frame made it even more complicated as I was planning a two-week trip to my son’s at Thanksgiving!
I rarely work on more than four or five pieces at a time just because parts tend to wander and get mixed up. At least this time all the basic pieces would be the same size, but keeping tracking of forty different papers was a challenge! Before leaving for vacation I was able to cut all the Davey board covers (outside) and mat board pieces (inside) and cover the inside panels. This blog will go through many of the steps I took on this project with illustrations when I remembered the camera.
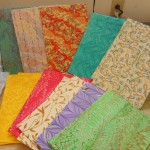
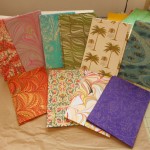
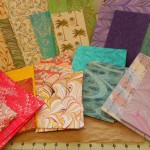
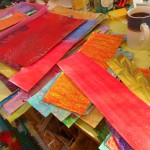
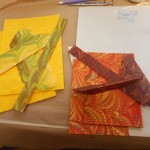
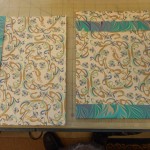
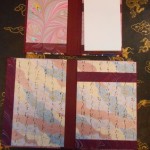
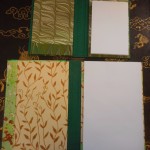
First step, and the most fun and frustrating, was choosing all the papers to be used. The customer wanted each set to be coordinated and I didn’t want any to use the same papers. Fortunately, the largest size I was making was for a 6″ x 9″ pad and that gave me more choices of paper. When I make the portfolio size (8.5″x 12″) I’m very limited as the inside needs two pieces of paper that are roughly 8″ wide by 13″ tall. Since most of my hand-marbled paper is 14″x 17″, it’s tight and the sheet has to be perfect. I don’t have any photos, but you can imagine me sorting through stacks of paper trying to find four that went together. I was generally looking for two printed and two marbled. To keep all my selection straight, I clipped all the matching sheets together with notes on the backs with a number 1 through 20, whether it was large or small and inside or outside. This is much more organized than I usually am, but with 40 pieces of paper staring at me, I really needed it. Cutting the boards took a whole day, but at least they were the same size, so didn’t have to be marked.
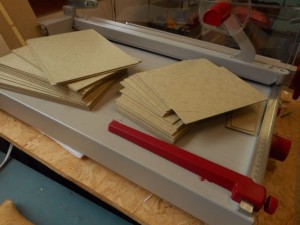
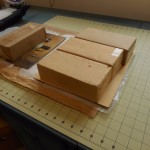
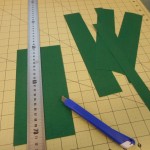
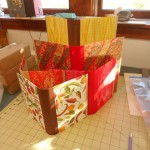
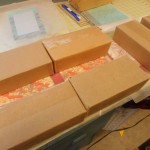
Stacks of cut Davey board for covers
I decided to make the inside panels first so cut all that paper first before starting gluing out anything. Once the papers were cut, I started the gluing out process using the mat board I’d already cut.
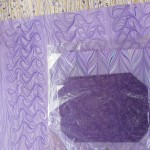
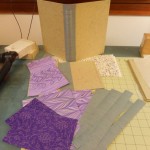
- Example of 4 coordinated papers
- Set of papers
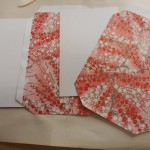
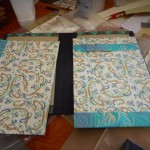
- Inside panels
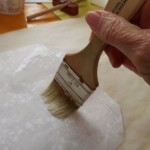
- Gluing out paper
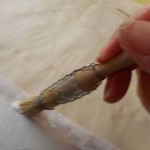
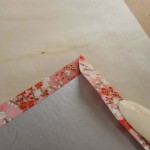
- Gluing edges
- Folding in edges
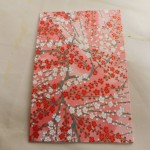
- Completed inside panel
- All 10 larger insides
- Ten smaller panels
- All 20 panels
- My sophisticated weight press
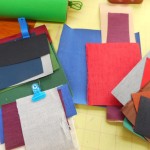
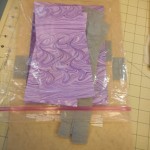
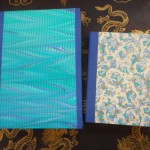
At this point I was off for Thanksgiving. I tried to think how I could take some of the work with me, but it was just too complicated. When I came home, I had two weeks to finish everything. I immediately started on the outside covers. I had already cut the boards and chosen the paper, so first task was to pick the bookcloth. This was when I realized that I’d found the element that would tie the sets together. Each set would have matching spines and I’d use each bookcloth on only one set. The bookcloth is next to all four papers, so the choice had to work with all. By this time all four inside panels were in ten zipper bags and clipped to the larger outside papers. As I chose the bookcloth, a small piece was slipped into the bags. Sounds easy, but I was swapping pieces in and out as I found better matches. At times it seemed like total chaos.
- Bookcloth choices
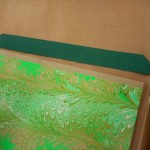
- Bookcloth with spine stiffener
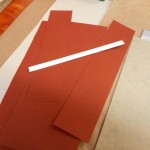
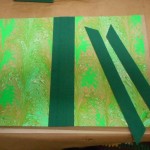
- Cutting spine & edge strips
- Spines added to boards
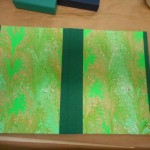
- Boards with spine strip
- All the pieces cut for one set
- One set of parts
- Inside showing spine strip
- Papers ready for gluing onto boards
- Papers ready for gluing onto boards
- Several covers waiting for edge strips
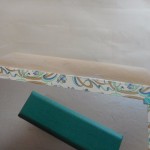
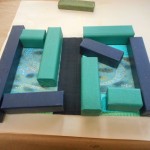
- Edge strips
- Edge strips
- Finished outside
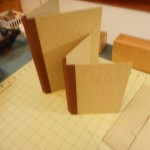
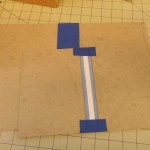
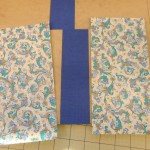
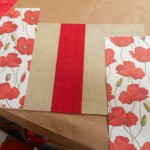
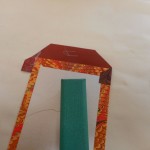
All the spines were were attached to the boards a strip was glued into the center of the spine to stiffen it. Next step was to cut all the outside cover papers to size and glue them onto the covers. To finish the covers, I glued narrow strips of bookcloth to the outside edges of the boards. This isn’t necessary, but I feel it makes a longer wearing edge than the paper alone and I want these notepads to be used and to last.
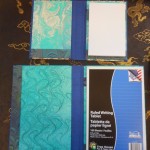
Next, adding the insides to the outsides, right? Not quite. The writing pad has to be held in place. I use a strap of heavy paper or cardstock to secure the pad and a foot pocket to keep it in place on the right side. On the left side, I make a pocket either on the side or bottom to hold a few extra sheets of paper. Placement of the pocket depends on the design of the paper, the size of the paper and my mood. First step, as usual, is matching a heavy paper to the pieces already made. The paper is then cut and folded individually, matching the exact size and shape of its covers.
- Collection of heavy stock for pockets
- Cutting the pockets
- Gluing on the pockets
- Gluing on the pockets
- Insides ready for gluing into cover
- Notebook drying under weight
- Notebook drying under weight
Completed notepads! All finished and delivered on time.
- All Ten x Two sets
This entire project was really fun, although frustrating at times. It was a challenge to find just the right papers, but in the end I’m very pleased with the results.
I always have notebooks and portfolios for sale on Etsy. If you need different colors or amounts than are available, just send a message:

