Tag Archives: Notebooks

Ten by Two: making a lot of gift notepads

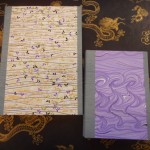
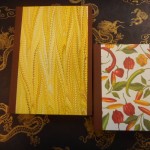
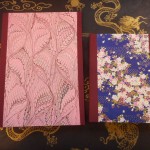
Just before Thanksgiving I received a request to make some notepads for a customer to use as gifts.  She wanted ten sets of notepad covers containing a medium-size and small-size in coordinating colors. I have been making these notepads is four sizes from portfolio for an 8.5″ x 12″ pad to a mini, memo sized (1.5″ x 4″) pad. You can see all sizes here.  This request was challenging just because of the number of items, but the time frame made it even more complicated as I was planning a two-week trip to my son’s at Thanksgiving!

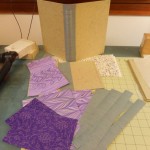
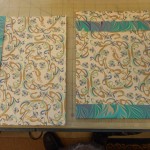
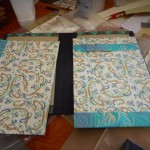
I rarely work on more than four or five pieces at a time just because parts tend to wander and get mixed up.  At least this time all the basic pieces would be the same size, but keeping tracking of forty different papers was a challenge!  Before leaving for vacation I was able to cut all the Davey board covers (outside) and mat board pieces (inside) and cover the inside panels.  This blog will go through many of the steps I took on this project with illustrations when I remembered the camera.

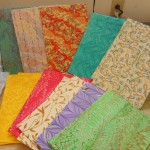
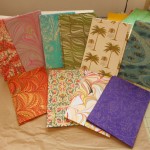
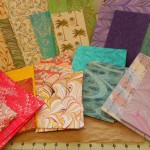
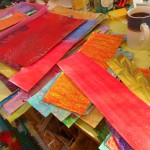
First step, and the most fun and frustrating, was choosing all the papers to be used.  The customer wanted each set to be coordinated and I didn’t want any to use the same papers.  Fortunately, the largest size I was making was for a 6″ x 9″ pad and that gave me more choices of paper.  When I make the portfolio size (8.5″x 12″) I’m very limited as the inside needs two pieces of paper that are roughly 8″ wide by 13″ tall. Since most of my hand-marbled paper is 14″x 17″, it’s tight and the sheet has to be perfect.  I don’t have any photos, but you can imagine me sorting through stacks of paper trying to find four that went together.  I was generally looking for two printed and two marbled.  To keep all my selection straight, I clipped all the matching sheets together with notes on the backs with a number 1 through 20, whether it was large or small and inside or outside.  This is much more organized than I usually am, but with 40 pieces of paper staring at me, I really needed it.  Cutting the boards took a whole day, but at least they were the same size, so didn’t have to be marked.
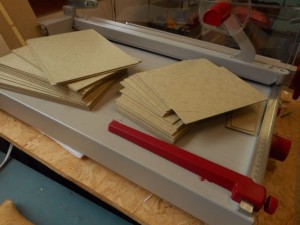
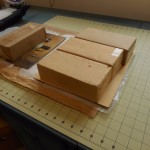
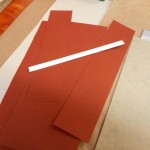
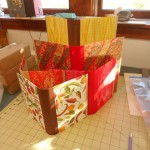
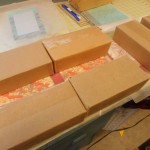
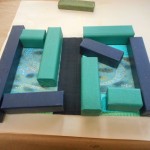
Stacks of cut Davey board for covers

Stacks of cut Davey board for covers

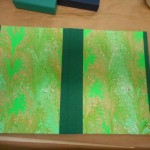
I decided to make the inside panels first so cut all that paper first before starting gluing out anything.  Once the papers were cut, I started the gluing out process using the mat board I’d already cut.

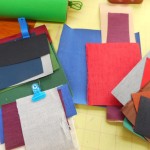
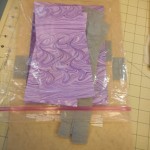
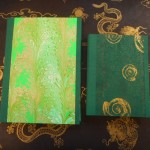
At this point I was off for Thanksgiving.  I tried to think how I could take some of the work with me, but it was just too complicated. When I came home, I had two weeks to finish everything.  I immediately started on the outside covers.  I had already cut the boards and chosen the paper, so first task was to pick the bookcloth.  This was when I realized that I’d found the element that would tie the sets together. Each set would have matching spines and I’d use each bookcloth on only one set. The bookcloth is next to all four papers, so the choice had to work with all.  By this time all four inside panels were in ten zipper bags and clipped to the larger outside papers. As I chose the bookcloth, a small piece was slipped into the bags.  Sounds easy, but I was swapping pieces in and out as I found better matches.  At times it seemed like total chaos.

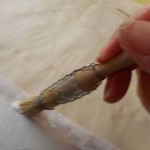
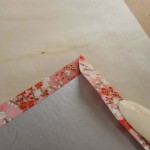
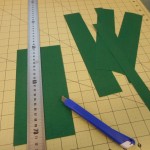
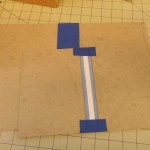
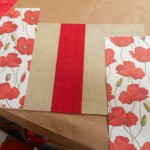
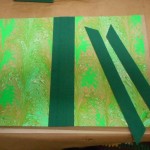
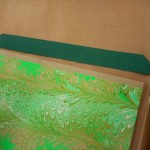
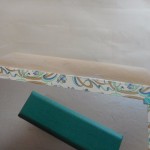
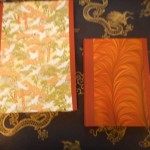
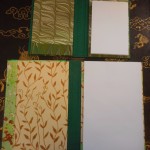
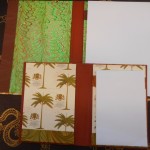
All the spines were were attached to the boards a strip was glued into the center of the spine to stiffen it. Next step was to cut all the outside cover papers to size and glue them onto the covers. To finish the covers, I glued narrow strips of bookcloth to the outside edges of the boards.  This isn’t necessary, but I feel it makes a longer wearing edge than the paper alone and I want these notepads to be used and to last.

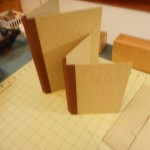
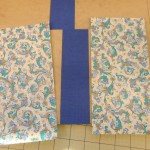
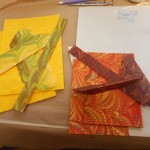
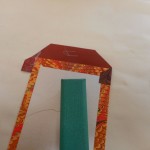
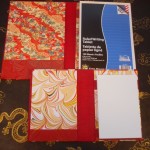
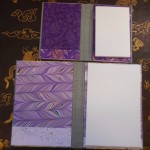
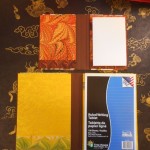
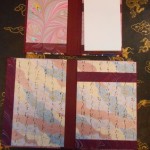
Next, adding the insides to the outsides, right? Not quite. The writing pad has to be held in place. I use a strap of heavy paper or cardstock to secure the pad and a foot pocket to keep it in place on the right side. On the left side, I make a pocket either on the side or bottom to hold a few extra sheets of paper. Placement of the pocket depends on the design of the paper, the size of the paper and my mood.  First step, as usual, is matching a heavy paper to the pieces already made. The paper is then cut and folded individually, matching the exact size and shape of its covers.

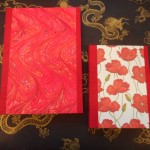
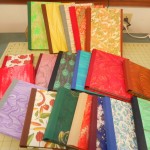
Completed notepads! All finished and delivered on time.

This entire project was really fun, although frustrating at times. It was a challenge to find just the right papers, but in the end I’m very pleased with the results.

I always have notebooks and portfolios for sale on Etsy. If you need different colors or amounts than are available, just send a message: 

or leave a comment here.

1 Comment

Filed under Notebooks

Designing Boxes

I haven’t blogged in over a month, so it’s about time.  This winter has been unusual in many ways – first, all the snow!  Yes, I’m in an area that gets a lot of snow normally, but this winter has been especially persistent with neither the cold nor the snow ever letting up.  It’s almost April and I still have half my yard covered with snow.  It’s not from a sudden snow, but has been there since January. There’s still a high berm of snow around the driveway from plowing and two foot drifts in places out back.  One hopeful sign is that I’ve seen some snowdrops poking through.  They are not blooming yet, but soon.  Of course they usually bloom in February. Enough about the weather.

I occasionally have people ask if I can make them a special book or marble paper in specific colors.  I take these requests with mixed emotions. It’s fun having the challenge of working to someone else’s vision, but there’s the stress of knowing it could be an epic fail, like the carrageenan disaster I had. In February, I had four special requests and two of them involved making preservation boxes. To have them all come at once was unusual and messed up my hibernation plans. Everything was finished on time, but it took some juggling.

First request was for a wedding guest book with an engraved plate on the cover and endpapers to match the wedding colors.  We added a preservation box for the book and then complicated the box by adding a drawer to keep the printed ephemera from the wedding. Here’s a brief look at the process.

The drawer had to be larger than the book due to the size of the invitation, so I used the extra space on top to provide a place for a pen. All of the measurements have to be exact so that the contents are protected and won’t move around as the box is handled. I cut the binder’s board first, but find I often have to make slight adjustments as I’m working. Since the tolerances are small, I always am amazed that everything fits perfectly at the end.

The second request was for a preservation box to act as a portfolio for a student’s artwork.  This was a challenge as the colors and feel of the box had to complement work that I hadn’t seen and fit smoothly into someone else’s artistic vision. Plus there was time pressure.

We went through many different designs and finally settled on the combination of a black outside, gray sides, black and white paste paper interior and lined with a black and white photo.

The easiest special I did was from a customer who had bought several of my jotters in the past.  She wanted the same thing in a larger size to use in a sketching class.  I thought it was a fun idea and made some extras for sale on Etsy and at the Arts Center of Yates County.

The sketchers only have ten pages so they are perfect for day trips or to keep in a car or purse.  They are easier to organize than loose sheets of paper and keep sketches done at the same time together. I’ve used a nice drawing weight paper for the pages, so I hope people like them.

Leave a Comment

Filed under bookbinding, Boxes and Towers

What To Do When the Paper Doesn’t Fit

I recently marbled some maps that I really wanted to use as covers for my portfolios.  Unfortunately, they were just the wrong size.  Too short for the large size that fits an 8½” x 11″ writing pad and making them for a 4″ x 6″ pad would lose too much of the map.  I thought about either patching two together or framing them for the large portfolio, but just didn’t like that solution.  They would be perfect for a 7″ x 10″ pad.  Problem is, no one seems to make that size pad.  I could have them specially made but that would be expensive and replacements would be a nuisance for the customer. So I did the next best thing, used a 6″ x 9″ pad and made the holder a little bigger than it needed to be.

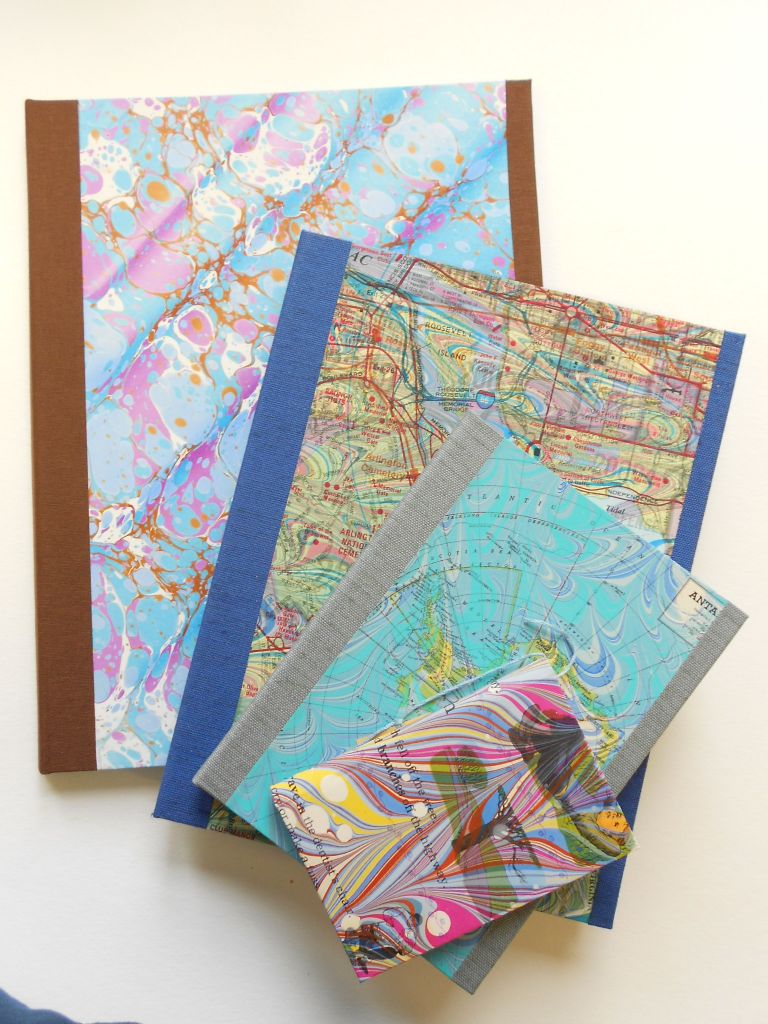
Now I have notepad covers that range from the small memo size to the full 8½” x 11″. Here are samples of the full range.

Four Sizes of Writing Pad Covers

Four Sizes of Writing Pad Covers

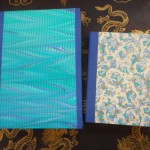
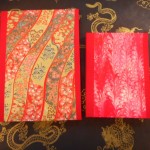
Here are the two new covers I just made.

The blue cover has old street maps of Washington, DC and the red cover are pages from a vintage children’s book about the seasons.  Both were hand-marbled by me.

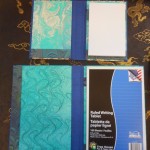
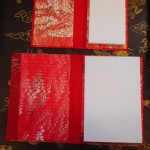
More photos of the four sizes.

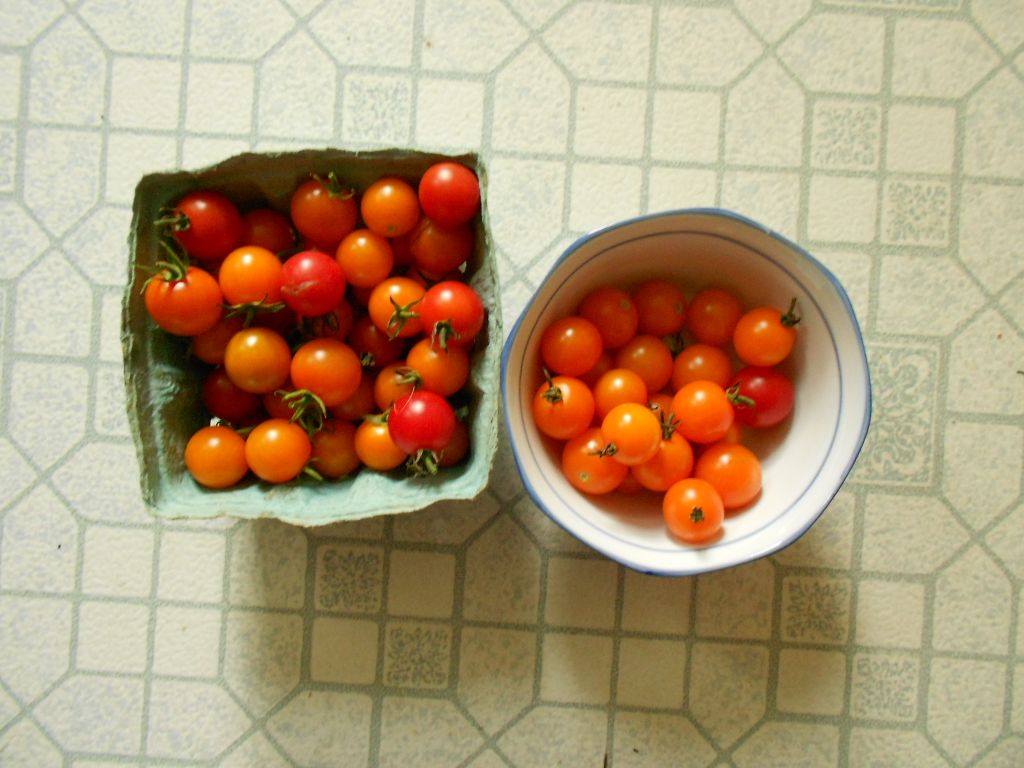
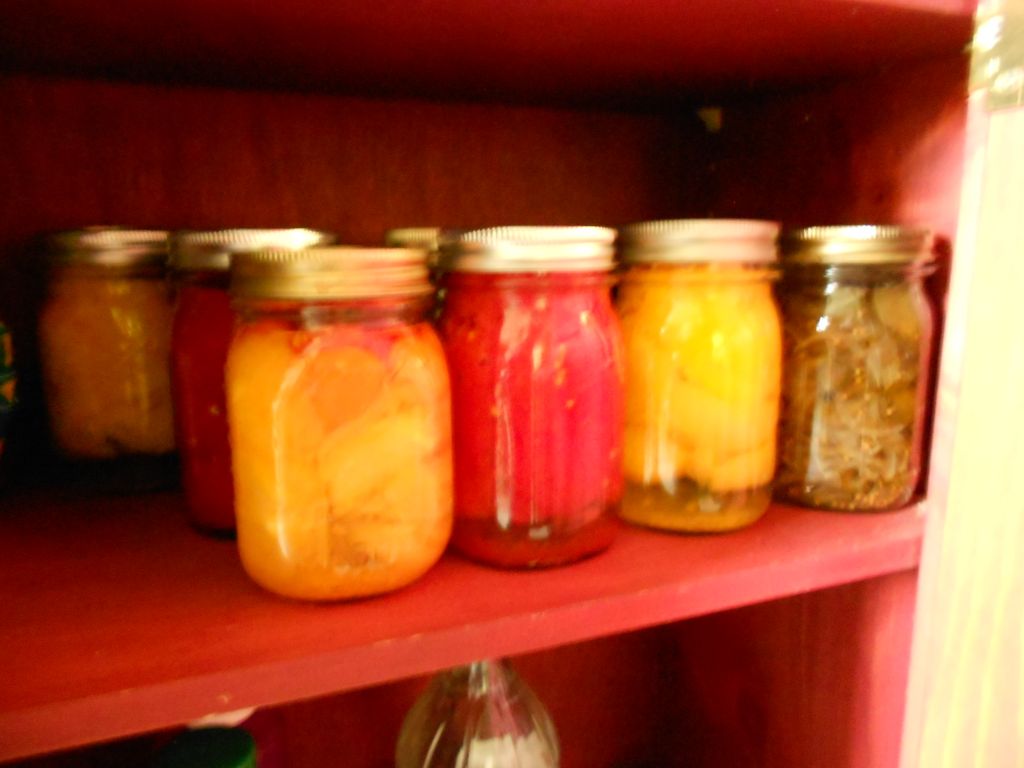
Last week I spent a lot of time marbling and I hope to get a blog up about my adventures with metallic marbling up soon.  I also canned the last of my pickles and the first of my tomatoes for this year!  The cherry tomato crop is still going strong with the return of hot weather and I hate to see them going to waste. I don’t hate it enough to try to skin them for canning though!

Cherry Tomatoes, red and gold

Cherry Tomatoes, red and gold

Tomatoes & Pickles

Tomatoes & Pickles

But most important of all, last week brought a new member of the family.

Back

She’s an eight-year old Beagle/Basset mix I adopted from a local shelter and she’s loving that I have lots of rabbits on my property.


1 Comment

Filed under Life, Notebooks

A Rush Job

I had great plans of doing a real job of cleaning up my studio this past week.  Didn’t happen.When I took a few of the new hanging books down to the Arts Center, they mentioned that they were out of my smaller notepad and memo pad covers.  Of course, I had to drop everything and make some up.  It’s more fun than cleaning anyway! So here are the results.

You may notice that I tend to work in fours.  I find that making four books or towers or notepads at a time gives a nice rhythm of repetition without becoming boring.  You can see how I make these notepad covers here.  I have a few of these on Etsy also.

On another note, the weather has finally warmed up and I was able to start digging up the garden yesterday!  I no longer try to do it by hand and it’s much easier.  I have a little electric cultivator that works very well for me.  I’ve tried renting a roto-tiller, but they are just too heavy for me and every year it gets harder for me to pull start gas motors.  I now just drag my long extension cord out behind the pines and till away.  Get fun for a short time!

I’m still plying with some soft covers and mostly making messes.  More on that later.

Leave a Comment

Filed under Marbled Paper, Notebooks

Downsizing, or getting smaller

I’ve been playing with designs again.  This time smaller and simpler seem to be the themes.  The simplest book of all, except for the scroll, is just some paper fastened together. This lacks durability and form so a protective cover needs to be added.  If the cover is just heavier paper then the pages and the cover can easily be stitched together making a simple notepad or jotter. Since I happen to have lots of pretty heavy weight paper on hand, it’s easy.  And all the better since the heavy paper is too heavy for use in traditional books.

Here’s the result:


After making the large portfolios and medium size notepads, I decided to complete the series with a mini-notepad, just right for a pocket. These are very small: just 3″ x4″ to fit a memo pad.

I’m hoping these will make great little gifts for the holidays.  They are fun to make and don’t take nearly as much time and effort as the larger varieties.  Another plus is that I get to play with lots of combinations of papers.

Here’s the whole week’s production.


3 Comments

Filed under Marbled Paper, Notebooks

Portfolios, for people who still find a need for paper

Carrying real paper documents these days seems hopelessly old-fashioned, but there are times when nothing else will do.  Sending someone a resume doesn’t need a stamp, but when you are sitting in a job interview, I’m not sure that handing out flash drives to all the participants is the way to go.  So in the hopes that someone, somewhere still carries paper and wants to make a statement at the same time, I’ve designed some portfolios that fit standard 8.5×11 letter paper.

I posted the prototype a few weeks ago and last week I made the first batch.  I forgot to photograph them before I put on their shiny packaging, so please excuse the shiny spots! Here they all are:
The outside paper and the side strips are all my hand-marbled paper, but I found that using marbled paper on the inside also was just too much, so I’ve used commercial, printed papers there.

1 Comment

Filed under Craft design, Notebooks

Notepad Covers Join the Party!

A few posts ago, before being distracted by the Clay books, I was playing around with designs for portfolios and notepad covers. Last week I got down to business and lined up the materials for four of the notepad covers.  I finished three of them, but not the fourth.  I was unhappy with the choices I had for the spine of that book.  I had a bit of the color of bookcloth I wanted to use, but not enough. Of course, instead of just gong with a lesser choice, I decided to order more.  My rationale was that I had hardly any brown bookcloth left and I’d need it for other projects anyway. The result was that for want of a 3″x12″ strip, I ordered three yards (brown, black and cream) and some headbands that I needed.  I try my best to keep bookbinding supply companies in business!

Here are the three finished notepads.


Below is a gallery of  the three notepads with various views.

1 Comment

Filed under Marbled Paper, Notebooks

New Projects – Notebooks and Clay Books

I’ve two new projects this week.  I have no idea which one I’ll finish, but here they are.

The first is my new portfolio and new cover for a replaceable note pad.


More pictures and information about the notebook and portfolio can be found here.


My second project is in honor of Clay Aiken’s outstanding performance on the recent Celebrity Apprentice show.  I have done some Clay books in the past and have given them away, sold them or donated them to the National Inclusion Project.     Here are some of my older Clay books.

This week, I’ll be working on four books.  The first one is for the duet Clay recorded with Dee Snider on “Dee Does Broadway”, “Luck Be A Lady” and it is titled “Lady Luck.”

Lady Luck

The second book is a tribute to Clay’s song on the finale and it is titled, “Always Tomorrow”.

The last Clay book is a throwback to a song Clay sang at a Golfing for Inclusion event. It’s titled “Cross the Desert”.

Cross the Desert

Only dedicated Clay fans will be able to identify the song or the occasion.  The fourth book in non-Clay and is a holdover from an older batch.


I’ve set up a separate page for the books so I can comment and show you the books as they develop.  For general information on how I make my books, please see my pages on making books which start here.

If you have any ideas for themes or titles for more books, please add them to the comments.


Leave a Comment

Filed under bookbinding, Craft design