Tag Archives: Sam Castner

Garlic Festival and Heat

I haven’t blogged for a couple of months and am feeling that it’s about time!  Doesn’t mean I haven’t been busy, but it’s been very hot and dry and my ability to actually sit down and write is at a low ebb.  My grass is so dry that it just crunches when I go for our morning walk. I’ve been watering the garden and the tomatoes are just coming on, so I see canning in my future.  Cucumbers are a disaster, just not enough water for them.  I met a very tiny baby rabbit in my garden this morning – just the size to hold in one hand and easily pass through my fence.

Enough of that.  Last week I joined Sam Castner at the Fox Run Vineyards’ Garlic Festival. It was a very hot day, but we were fortunate enough to be in the last row of booths by the vineyard. Most of the time there was a breeze coming down the hill. Not a cool breeze, but at least air in motion.  Here are some photos of our site.

The side panels are now installed on the gates and you can see pictures of them on Sam’s Facebook page.  He’s hoping to install the entire gates within the next week.  Can’t wait to see it. You can see how dry and dead the grass is here. It’s been a severe drought for this area. We usually have great weather, but this summer has been brutal.

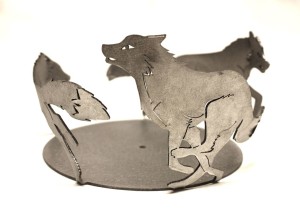
I made a bunch of books and notepads using stainless steel miniatures of Sam’s designs from the huge gates he is making for Fox Run. It was fun to point from the 4″ tree on my book to the 12′ version outside the tent.  Compare the jumping fox below with the one in the header.  Same design, just scaled up.  The wonders of computers and laser cutting.

Please excuse the reflections on the photos, but I had covered everything in Mylar to protect from rain, dust and sticky fingers.

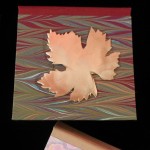
One of my favorites was a large portfolio with a maple tree. I must have looked through 50 papers to find the right one for this background, but it was worth it for the result. This portfolio, along with others,  is for sale on Etsy  and others are at the Arts Center of Yates County.

I also had a lot of my Fox Boxes that I blogged about last winter.

It was a fun time, in spite of the heat and my exhaustion!

Leave a Comment

Filed under Uncategorized

Fox Boxes

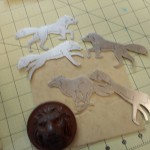
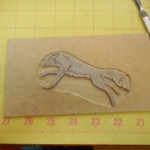
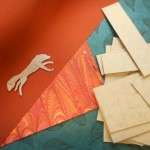
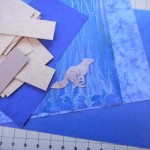
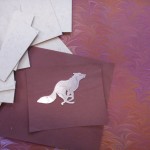
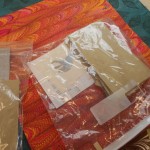
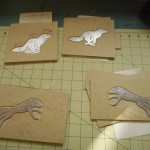
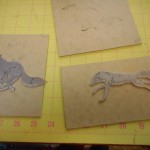
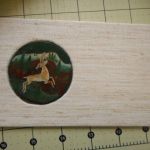
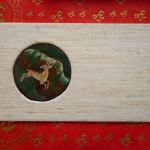
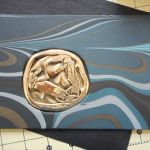
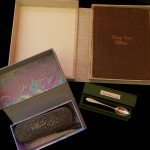
About a month ago I was working with Sam Castner on his Etsy page and found that we couldn’t list his stainless steel fox ring because there had been a glitch in production. These foxes and Sam’s other candle holders are part of his design for a spectacular set of gates for the Fox Run Vineyards as seen on his FaceBook page.    This is the steel version of the fox ring.Fox (1) I asked Sam what he was going to do with the unusable rings and he wasn’t sure.  Three days later I suddenly realized that the foxes were just the right size for some of my boxes and books, so I asked Sam if he were willing to snip some off and let me play with them.  He did and this is the rest of the story.
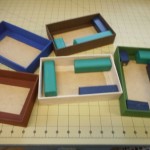
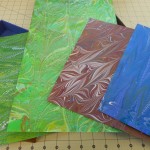
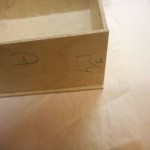
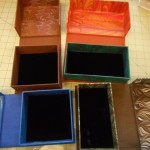
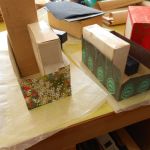
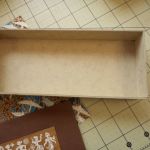
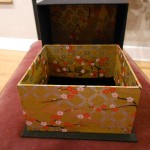
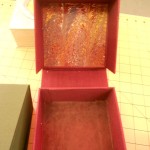
I started with some lidded boxes.  These boxes are constructed  in two parts, a bottom tray and a top. The top has a plinth attached that fits exactly into the mouth of the bottom tray.  It’s a faster and easier construction than the clamshell preservation box.  I had made the five bottoms before I started taking photos, but that process is straightforward and is just like the clamshell bottom tray shown in the second group of photos.

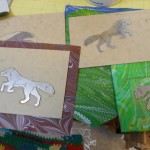
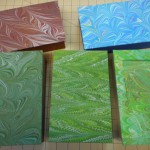
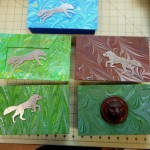
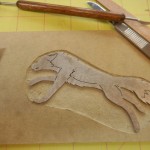
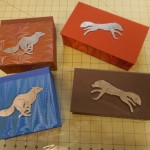
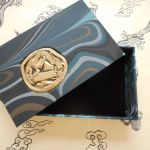
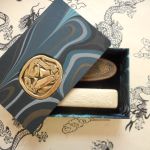
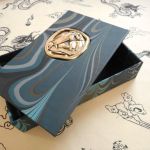
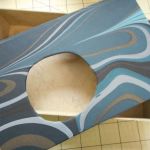
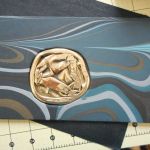
Design work is always fun and I tried to find pieces of my marbled paper that felt a bit like fox habitat, had lines that would flow with the shape of the fox and colors that showed off the stainless steel. After choosing the materials, I decided to make all these boxes the same size, which I rarely do, but it does make cutting easier.  I don’t like things that are just stuck on the top of boxes, so I carved down into the binders’ board to recess the fox pieces.  They aren’t quite flush with the top, but rest about half way in.  The exception is the light green box where I made a frame the same thickness as the fox.  I tried different shapes for the insert and found it didn’t matter much since there was so much pattern in the paper under the fox. The wooden lion was added in, as it was something I had been meaning to try for a while.  Seemed like a good time.  The plinths under the tops were covered with a variety of decorative papers that complimented the marbled paper and the bottom trays were lined with black velvet.

I was pleased enough with these results to move on and make some clamshell boxes. The design is based on the preservation box used by archives, rare book libraries and museums.  When I was working as an archivist, I made hundreds of these, not as artistic and not nearly as much fun!

First step is always design – choosing size, shape, colors, and materials. I never make it through in one go!  This time it was the dark brown bookcloth. It was perfect, until I discovered that I was down to my last piece and it was an inch too short for the box I wanted!  This was an easier problem to solve than when it’s my marbled paper that is in short supply.  Bookcloth can be ordered, my paper can’t be reproduced, even by me!

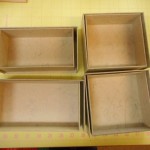
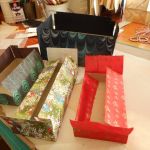
There are three separate components in a clamshell box: the inner or bottom tray, the outer or top tray and the case.  When making a box for a specific item, the inner box must exactly fit the item. I didn’t make these boxes for any specific measure.  The square boxes are almost the same size, but because I misread some numbers, the two long boxes are different sizes. The inner box is made first, then the outer box and finally, the case. The case is constructed just like the covers of a book with two boards joined together with a spine strip.  The inner tray is mounted on the inside of one cover and the outer tray on the other. I have to be careful that they are aligned correctly and the outer tray fits snugly right over the inner tray.

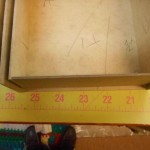
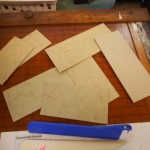
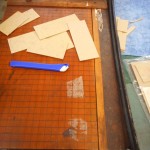
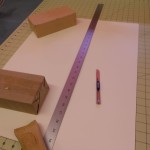
No matter how carefully I cut, there are always some pieces of board that aren’t quite right.  Sometimes they are too short or too long, but most frequently, they are not exactly square.  At least that used to be the problem.  I have three cutters that I use all the time: one I use to cut the big sheets of Davey board into manageable size, the new fancy one is for most of the paper, especially when I need 30 or 40 sheets cut the same size, and the last is an ancient Milton Bradley school cutter that I use for small to medium pieces of board.  I have known the Milton Bradley since the early 1950s and I’m pretty sure it’s at least ten years older than that. I was about to get rid of it when I realized it was the only cutter I had that could cut board exactly square and it was especially good on board that was under two inches wide.  So three cutters and I need them all!

After making and covering the trays, I move on to the case. When I am using an insert, the first thing is to decide on how it will be mounted. With these boxes, I cut down about half the thickness of the board and excavated an area for the fox. The case is then covered with bookcloth or paper and the trays attached to the inside. The final steps are mounting the fox on the top cover and lining the bottom tray with black velvet.

My fox boxes will be available in my Etsy shop and at ACYC very soon.

You can read more about Sam Castner’s metalworking and the future gates for the Fox Run Vineyards on his FaceBook page.

Direct link to Etsy shop

2 Comments

Filed under Uncategorized

A Tale of Boxes: Wedding box, Guest Book & Portfolio

It’s Labor Day and summer is over.  My black walnuts are beginning to drop their leaves. They are always the last to leaf out and the first to fall. My summer was busier than usual with a bit of Folk School, a bit of family a bit of garden, a bit of travel, and too much teeth.  I’ve been composing blogs in my head all summer, but never quite enough time or energy to actually write them out.  This blog is really left over from last winter and spring.

As most know, last winter was too cold, too snowy and much too long.  I had several special orders that kept me sane, especially through February.  Special orders usually present challenges and learning opportunities, as they are never quite what I would choose to do if left on my own.

My first customer wanted a guest book in her wedding colors with a small metal plaque on the cover.  After talking, well actually messaging, about it, she decided that a clamshell box made to fit the book with a matching  insert on  its cover would be perfect.  We chatted some more about other wedding memorabilia she would have that might also fit in the box or that might be better in a matching portfolio.  The first idea was to use the invitation as a frontispiece for the book, but it was the wrong size and orientation. The outcome of our discussions was that she sent me the selection of materials and mock-ups of items that hadn’t been printed, like the menu.  As soon as I saw them, I knew what I had to do.  It’s amazing how talking, and even sharing pictures, isn’t anything like having the stuff in your hands.

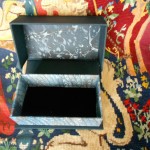
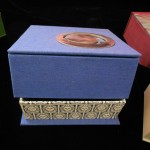
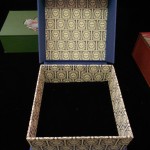
The answer was to put a drawer in the box under the book.  Since the ephemera was slightly larger than the book, I was able to add a small box for a pen next to the book. I was very pleased with the result, especially since it has been years since I have built a box with a shelf or drawer.  I had my trusty Library of Congress manual right at hand during the entire process.  Lots of pictures:

This was a long process since I had to make all the paper first. After the pieces for this project were used, I had a lot of purple paper to sell on Etsy.  Fortunately, purple is popular! This customer was  a delight to work with and there were many other custom touches to the book that are not shown.

My next special order was challenging in a totally different way.  A student was presenting her fashion portfolio her professors and wanted a clamshell box that reflected her vision and her creations. Working to complement someone else’s artistic creativity is not easy. To make matters worse, she was working under a tight deadline.  Sending actual samples of papers or materials back and forth was out of the question, so we took to messaging images and descriptions back and forth, sometimes five or six times a day.  Of course colors vary according to cameras or monitors.  Fortunately, her palette was black, white, gray and a bit of red.  I don’t know what I would have done if it had been green!  I’m never able to get a good match for greens with my camera and monitor.  The actual construction was straight-forward, but all the decisions leading up to it were hair-pulling at times.  It was fun working with another artist and we were both pleased with the final result.

Her portfolio was selected to be submitted to a competition!  I hope my box helped.

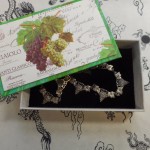
The last box was the most fun.  I was working with friends for a surprise for another friend, best of all worlds.  Everyone was nearby so we could all see the materials and the process and no second guessing.  The gift was being made to someone who was retiring from the board of a local non-profit. She had been instrumental in the creation, organization and managing a concert series in local venues.  She is also very active in local winery and grape growing organizations, so music, grapes and wines were the themes. It was decided that a boxed guest book would be the perfect gift.  I’ve been working with metal artist Sam Castner a lot recently and he was delighted to be able to help another good friend celebrate.  He created two stunning brass plaques for the book and box. I was inspired by his work and had fun choosing just the right materials for the set. Taking a note from the wedding box I had made previously, I left room for a pen in this box and the Board added a hand-crafted pen by a local woodworker. Unfortunately, I don’t have a picture of the pen.

Unfortunately, for my best box set, the photos are the worst, especially on the true colors.  Since everyone could see the work in progress, I didn’t have to send photos and hence don’t have a good record.  I need to remember this and take lots of photos when I work on anything really special.

I hope to get my next blog up soon.  It’s all in my head!  I also have new pictures to update my How to Marble blog.

If you are interested in working with me on a special box or book or set, leave a comment here or contact me on Etsy, Losing Her Marbles.

Leave a Comment

Filed under bookbinding, Preservation Boxes

Finished the Boxes!

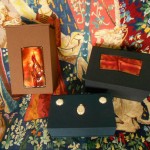
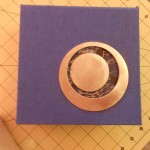
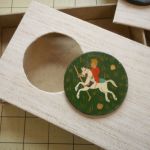
I finished the boxes from my last post!  These are fun boxes to make, less complicated than the clamshell boxes and much more forgiving. The clamshells are a more durable and professional box and they require very precise cutting. I like making those if I am creating them for a specific item.  Then I know that the fussing and precision has a reason. For either box, most of the fun is in the designing. A few pictures of the construction process, then on to the finished boxes.

All of the boxes are lined with black velvet.  I didn’t get a good side view of the Brass Cup box. You can just see the marbled paper I used, but there’s a good shot of it in my last post.  Just one last decision, to sell them online at Etsy or take them to my local gallery.  Maybe I’ll do both.
Leave a Comment

Filed under Boxes and Towers, Craft design

Lidded Boxes with Fun Stuff

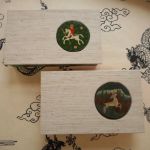
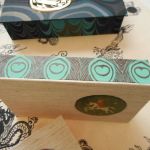
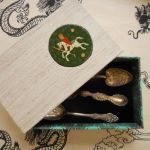
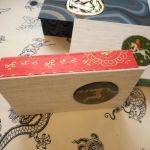
In my last blog, I showed a bunch of odds & ends of things that I was thinking about using for who knows what.  Since then, I’ve been busy with plumbers, snow and real life. A few days ago I started playing with one of the smushed cups and, since I always make things in fours, pulled out at random three other treasures. Yesterday and today I started making lidded boxes for all of them.  I decided on the lidded boxes rather than clamshell just because they are faster and I have a lot of other stuff that needs to be done.

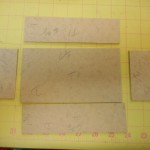
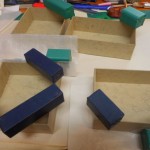
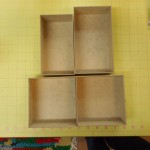
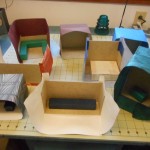
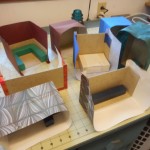
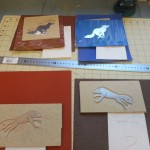
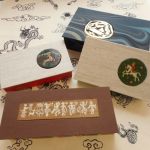
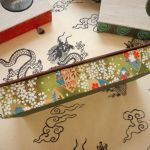
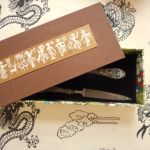
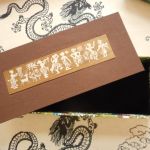
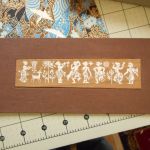
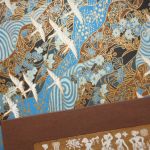
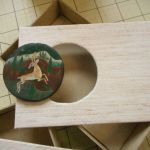
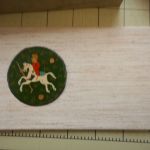
Here is where things are now, papers and bookcloth chosen, sizes determined, Davey board cut, bottom trays made and tops covered.

I didn’t have a paper chosen for the horseman when I took the pictures and I changed the paper for the dancers at the last minute.  I hope to finish all of them on Saturday.  If I do, I’ll post the finished creations here. Think I’ll try to sell them on Etsy first, as winter is very slow at local galleries here in snow country.
 

Leave a Comment

Filed under Boxes and Towers, Craft design

Smushed Cups

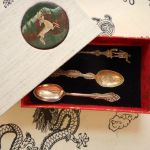
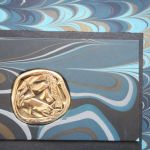
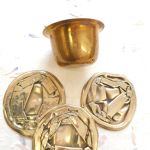
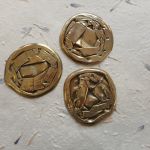
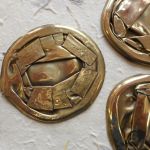
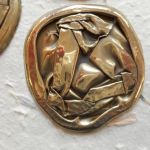
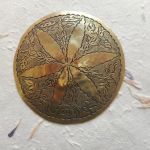
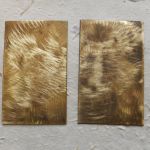
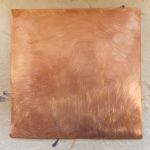
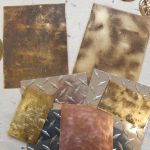
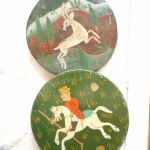
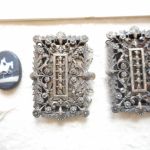
Sam Castner comes through again!  I recently asked Sam to flatten a small, incised, brass coaster.  I knew it would be easy for him since he has a press that will smash anything by putting a gazillion pounds of pressure on it.  At the same time, I gave him some brass drinking cups that had split their sides.  These had been brought home from India by my mother in the 1970s.  I gave him carte blanche with the cups – just saying to do something with them.  Since he was smushing (is too a word) my coaster, he decided to smush the cups also.  Brilliant. Here is the result:

All of these will be used as ornaments for books or boxes.  If you have a special desire for one, let me know and I can work to order.  When Sam delivered these, he also brought some other goodies.  I’m overwhelmed with the possibilities.

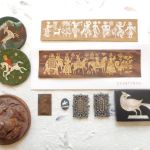
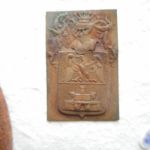
I’ve also been back at cleaning out junk and treasures that I’ve collected or inherited over the years and always keep an eye out for anything I can use on my books or boxes. Last week, I was really on a tear and besides getting rid of piles of stuff, rescued these for reuse.

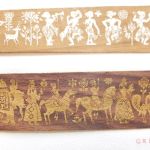
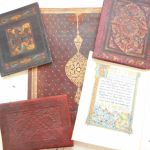
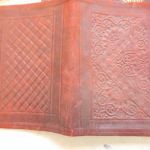
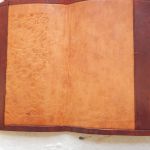
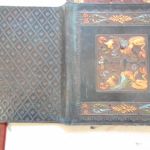
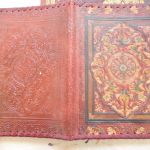
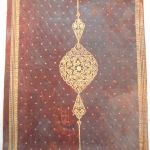
The last of my finds came from my aunt who lived in French Morocco (now Morocco) in the early 1950s.

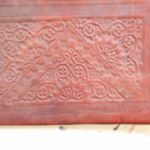
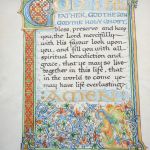
These cases or wraps seem to have been made to protect books or hold papers. I’m not sure what the large one was for. It’s much to big for a book.  I’m thinking about using the leather in some way to create covers for my blank books, but I may change my mind.  The vellum prayer was with the leather, but I think that was just happenstance.  It looks to me like modern English work. It is on parchment, but not old.  Maybe something my mother bought when she was studying illumination in England in the late 1950s, but I really don’t know.  Not a clue how to use it, but it’s neat.

Moral is it pays to clear out the junk!

Even if it does add to the “have to make” pile.

Leave a Comment

Filed under Art, bookbinding, Craft design, Other crafts

Scrapbook Construction

In the past few years, several people have asked if they could use my blank books as  scrapbooks.  My answer has always been an emphatic, “No!” Inserting extra thickness into any tightly bound book will sooner or later break the spine. With a Coptic or long-stitch binding there is a bit of leeway, but as soon as the boards or covers move beyond being parallel, the hinges are put under stress and will break.

The goal in building this type of book is to accommodate extra thickness between the pages while using a strong binding structure that will support extra weight.  I, personally, don’t like making scrapbooks: they tend to be large and I like small. The pages are difficult to sew and the endpapers can be a pain, I am documenting my progress on the page “Building a Scrapbook” if you are interested in the nitty gritty.  I’m still working on the books and will be updating the page as I progress.

On another matter entirely, I recently stopped by Sam Castner’s workshop and came away with some fabulous ideas and these:DSCN0001

Now I have to get to work designing and making!

Leave a Comment

Filed under bookbinding, Craft design

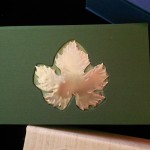
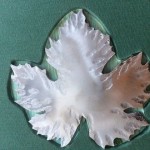
Boxes with Steel by Sam Castner

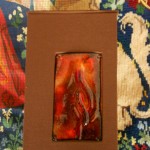
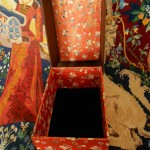
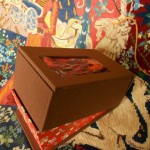
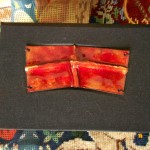
In the summer of 2012, I started making portfolios and since then I’ve added three more sizes of notepad covers.  Back when I started making them, I had a conversation with myself trying to decide whether to make those or boxes.  This winter I’ve come back to the boxes.  I started with some clamshell ones with a piece of my enameling inserted in the top. You can see one here, if you scroll to the bottom.

In December, before the deep freeze set in, I enlisted the help of Sam Caster, an accomplished metal artist, for ideas, encouragement and scraps. To my delight, Sam was very supportive and even willing to add his artistic touch in finishing my pieces.  For the past few months, I’ve been making more boxes to work with Sam’s designs.  We are finally ready to put some on the market! First are the ones with my enameling:

Then Sam’s work on stainless steel:

I’m planning on making these boxes to order to exactly fit people’s heirloom treasures, jewelry or wedding memories.  I think it will be a fun diversion from my books and a great use for all my paper!

I will be putting a few up on Etsy in the coming week and they will be available at the Arts Center.

Leave a Comment

Filed under Boxes and Towers, Craft design