As promised, here’s a blog about the quick weekend course on using hand-held torches to fire enamels on copper. Last summer my granddaughter and I had taken a week-long workshop that covered both kiln and torch firing. I had enjoyed that and have already used a few of my pieces in my books, so I was looking forward to being able to learn some new techniques and make more pieces. I was not disappointed.
For the basic procedures we used, see the page on Enameling.
The trickest problem with torch firing is that the copper can’t have a counter-enamel on the back. Without a counter, the enamel is more fragile and if it is put on too heavily, will crack or warp easily. I cheated on some pieces and countered them in a kiln.
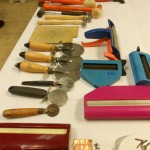
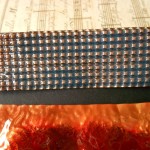
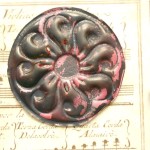
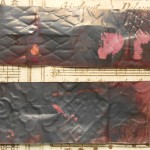
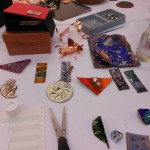
Texture was the first thing we worked on. The copper we were using as a base was rather thin and was easy to texture with crimpers, rollers and corrugaters as well as hammers. I found that putting a heavy texture into the copper made it sturdier and less likely to warp. Because I need flat pieces for my books, I was very aware of warping. Some examples:
- Some texturing tools
- Double corrugation
- Stamped Texture
- Stamped Texture
- Various methods
- Reverse
- Reverse
- Front with too much enamel
- Reverse showing texture
- Work in Progress
- Work in Progress
- Mostly Finished
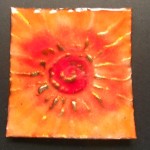
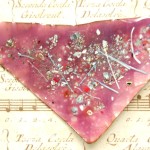
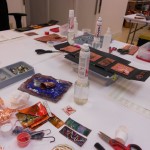
If you want the texture to show, the enamel has to be transparent, not opaque. On the pinky-rose piece, even with transparent enamels, the underlying texture was lost because of the amount on enamel I put on the right side. You can see the texture on the reverse. I really enjoyed playing with the various textures and could have spent a lot more time on it. Unfortunately on the weekend courses you really have only one day of work. The entire class spent Saturday from 9:00am to 9:00pm torching in spite of cold, wind and dark. We used the torches outside, so light was a problem. Unfortunately, I don’t have a picture of the torch table, but there were 6 or 8 torches set up around a table outside. After putting the enamel on a piece, it had to be carried outside to be fired. One advantage was that it was cold enough to cool the metal quickly afer firing.
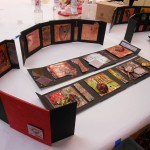
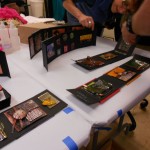
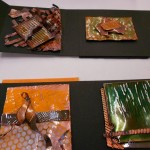
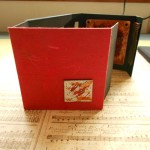
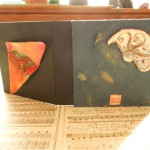
The instructor, Steve Artz, made boxes for all of the students as a way for us to display the pieces of enamelling we completed. Here are some pictures of the boxes as well as some close-ups of my pieces.
- Boxes with enameling
- Boxes with enameling
- Boxes with enameling, close-ups
- My Box
- My Box – inside
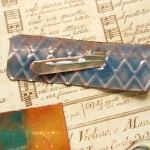
- My Box – backs
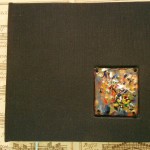
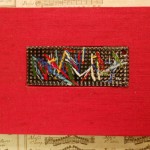
Lastly, here are two completed books. The black one has a piece I made in the summer. The red book was made with a torch-fired piece in the Book Embellishment workshop, which will be my next blog.
- Cloth with enameled inset

