How to Design a Book, Granan style
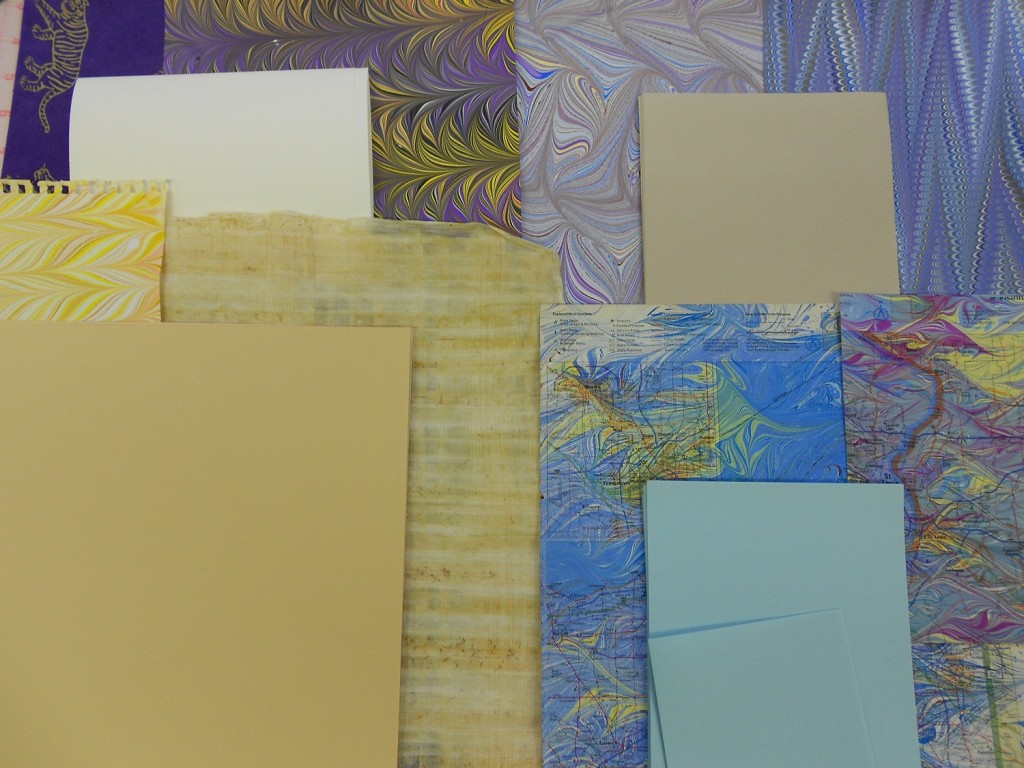
I always enjoy the design phase of making a book. The possibilities seem endless and I get to play with dozens of sheets of great paper. I can start from many places: a piece of leather for a spine, a engaging engraving, an idea that crosses my mind or even just a title. Usually, however I start with the outside cover. Certain papers just demand to be used. The photo below shows my latest batch of candidates.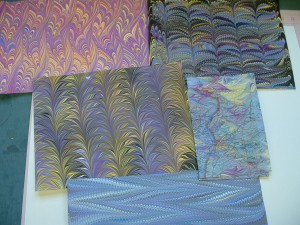
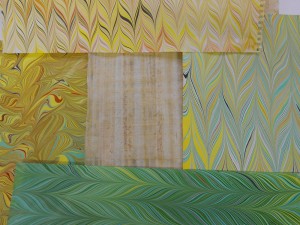
These were the five papers I was thinking about using for covers. I have found that it is easiest to work on several books at once, so one day I am gluing or sewing or cutting. I have done as many as six at a time, but the best number is four. It divides the work into blocks that are efficient, but never boringly repetitious.
From these papers I left off the flame-like pattern in the upper left as I had recently done some similar patterns. Next step is to find some complimentary paper for the endpapers. I some times use the same paper, but not in any of these.
First up was the map that I had marbled. I wanted to use more maps inside, but didn’t have more of the same piece.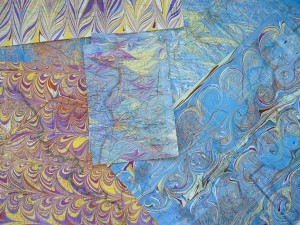
The map I’ve chosen for the cover is in the center, surrounded by possible candidates for endpapers. Since you don’t see the endpapers and the cover of a book at the same time, it doesn’t have to be an exact match. I try to pick something that either echoes or picks up a contrast from the cover.
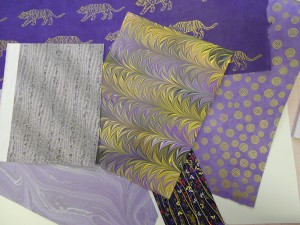
Here are the choices I was considering for the black palm pattern. Again, the cover is in the center.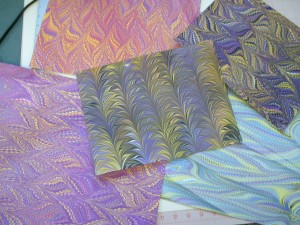
I had a lot of trouble with this selection as all these papers have very bold designs and seemed to fight with each other. The next day, as I was choosing what paper to use for the textblock, I reconsidered and pulled out a new batch,
that aren’t hand marbled. I was much happier with this selection.
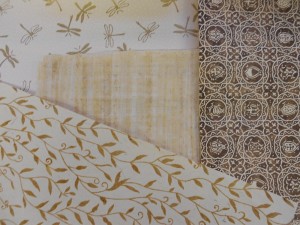
I had forgotten about the papyrus I wanted to use, so I eliminated the second black marbled piece. With the papyrus, I also had to go through two rounds. The first were some Egyptian-themed papers, but I wasn’t happy with them.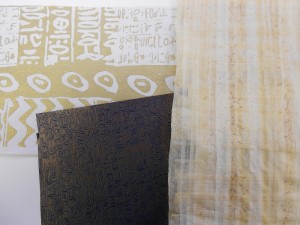
So I tried two other colorways and liked them much better.
I did chose one, but I think I’ll do one of the others later.
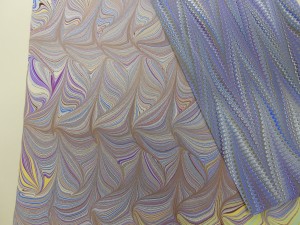
The last cover was very easy. I am using a piece of my marbling that I really love and the endpapers were made at the same time from some of the same colors.

Pingback: Back to Work | Losing Her Marbles
Pingback: Design vs. Doing | Losing Her Marbles
Pingback: Catching Up | Losing Her Marbles
Pingback: Finished | Losing Her Marbles
Pingback: Finally, Back to Marbling | Losing Her Marbles
Pingback: New Projects – Notebooks and Clay Books | Losing Her Marbles
Pingback: Wood Carving at the John C. Campbell Folk School | Losing Her Marbles
Pingback: Going for a Trifecta | Losing Her Marbles
Pingback: Books, Metal and Magic | Losing Her Marbles