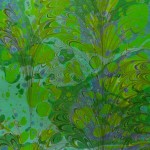
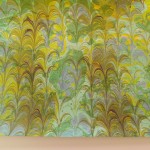
A few weeks ago, I had a marbling session that wasn’t going very well, not really badly, but I just wasn’t thrilled with anything. So, I decided just to have some fun by pulling out some old pieces and seeing if I could make anything out of them. Some were decent, but boring, others had flaws and a few were disasters that I’m not sure why I even kept! One of my favorite things about marbling is that I never know exactly what a piece will look like when I lift it from the tray. Will it have a bubble? Will it have a hesitation line? Will it be perfect? Will the colors match what I wanted?
When I overmarble, putting one layer of marbling on top of another, all bets are off. I can never tell exactly how the two patterns or the two sets of colors will react with each other. Rarely, I have something amazing, sometimes it’s dreadful, but it’s always interesting.
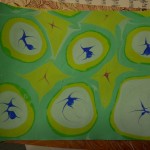
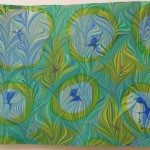
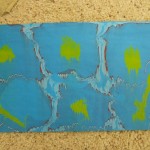
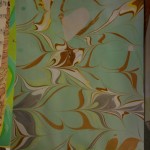
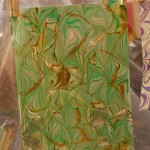
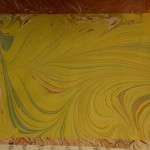
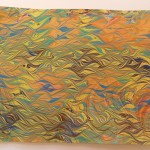
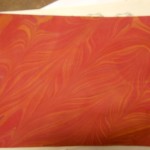
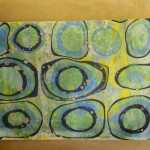
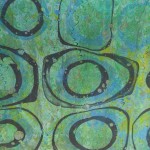
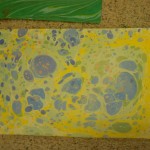
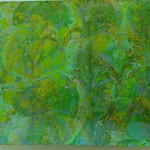
Here are some before and afters for some of the overmarbling I did.
- Weird spiders original
- becomes Caged Birds & Fish
- Original “egg” pattern
- Fine-lined swags over a plain “egg” pattern
- Original has large bubble, top center
- Totally different piece
- Very Bland Yellow
- Gives an under layer of interest to colorful new piece
- Red texture without a spark (sorry for focus)
- First marbling gives a wood grain background to the new piece
- Original was already overmarbled
- Third layer of marbling
- More interesting, but still don’t love it
- Very average stone pattern
- Gets new life with overlay of greens
- Closeup showing how the colors change
- I don’t have a photo of this original, but you can trace the yellows, purple and green of the first layer.
- Closeup
I want to try this technique on a bunch of other pieces. One technical note, I forgot that some of my early pieces had been done with watercolors rather than acrylics. This means that some of the original paint smudged or washed off when I tried to alum the piece. I usually use a sponge to alum, but I might have been able to reduce the problem by using a spray bottle. I now test a corner first to make sure the paint won’t bleed or smear.
In other news, I was finally able to start work on my garden. I usually have it turned over by mid-April. It’s May and I’m just starting. It’s going to be small this year as I still have pickles from last year! Lots of other outdoor work to be done and not much time.

