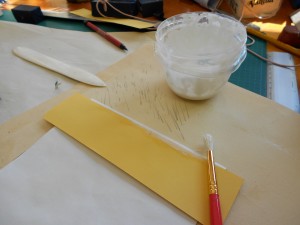
After having done all the design work, cut, folded and printed the sheets for the text block, I’m ready to begin the work that will be permanent. Up to this point, anything can be changed fairly easily; different endpapers, new covers, even the shape of the book, are all mutable. Once the textblock is sewn, it’s final.
Sewing the text block.
The first step in preparing the text block for sewing is to punch holes for the linen thread. One hole a bit in from the head and the tail and a pair on either side of the linen tapes. For most of my books, I use two tapes, but one the taller books I sometimes add a third. I use either linen tape or French ramie tape depending on my mood and which I happen to grab. The linen tape is a bit thicker and strong, but it leave more of a profile under the endpapers. The ramie is thinner and can be feathered to be almost invisible if I am using very thin paper. I personally like to see the profile of the tapes because it shows that the book is well constructed and has strong joints.
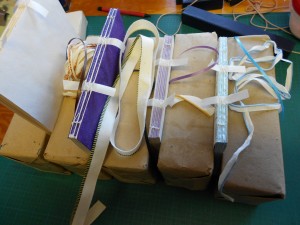
There are dozens of different styles of sewing and I use a very basic one that crosses the threads over the tapes and ties the gatherings (sections or signatures) together with a kettle stitch at each end. Since I don’t have a proper book press, I feel that this gives the tightest structure. In the later pictures you can see how I use covered bricks in place of a press.
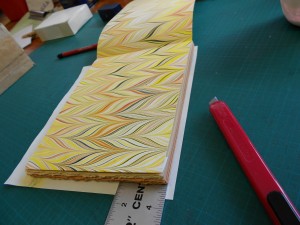
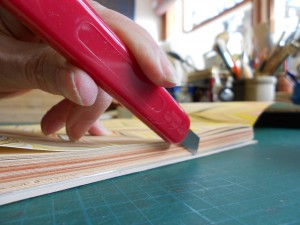
After the book is sewn, I tip in the endpapers and trim them to match the textblock. Again there are many different ways of adding endpapers.
Continued on Making a Book, step three
title
To be continued ……


Pingback: Catching Up | Losing Her Marbles
Pingback: Finished | Losing Her Marbles