Continued from Making a Book, step two
Last bit of design work
Choosing ribbons and headbands.
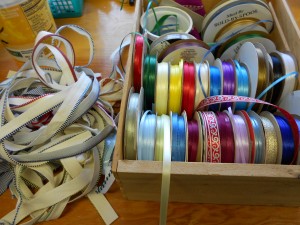
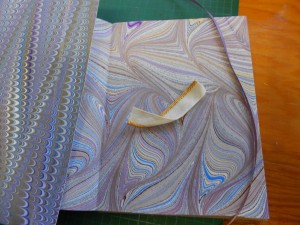
Choosing the ribbon place marker is always fun. I have a whole box of colors and widths that I can choose. Sometimes I match, sometimes I contrast, but I’m not stumped very often by not having anything that I like. The headbands are another matter. Although I have a variety of sizes and colors, sometimes I’m frustrated with being unable to find a real match. I have made my own at times, but it is time consuming and not my favorite thing to do. For very special books, I have made headbands that are sewn onto the textblock instead of using the “cut & paste” variety.
Selecting the Spine material.
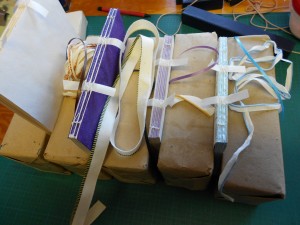
I use a variety of types of bookcloth for the spine and corners of my books. Most are paper-backed Italian cloth, either with texture or plain, but I also use Kennett and American buckram which are unbacked. Occasionally, if I am in the mood and the color speaks to me, I use leather. Although I have done some full leather binding, I usually just use the leather spine in a case-bound book.
In the pictures, I have laid samples of possible choices of bookcloth around the cover paper for each book. The only one that gave me a problem was the purple palm cover. Seems to be a theme here! As I was about to give up and settle on a dark navy that wasn’t quite right, I remembered I had some black leather. I just had pieces of it, but fortunately one was just the right size. Using leather means a lot of extra work as the leather has to be pared along the edges so that it is about the thickness of a cover paper. I’m not an expert leather worker, so it takes a while for me to have nice thin, smooth edges. Like every skill, it takes practice and I’m getting better.
Continued on Making a Book, step four


Pingback: Catching Up | Losing Her Marbles